


Step 1
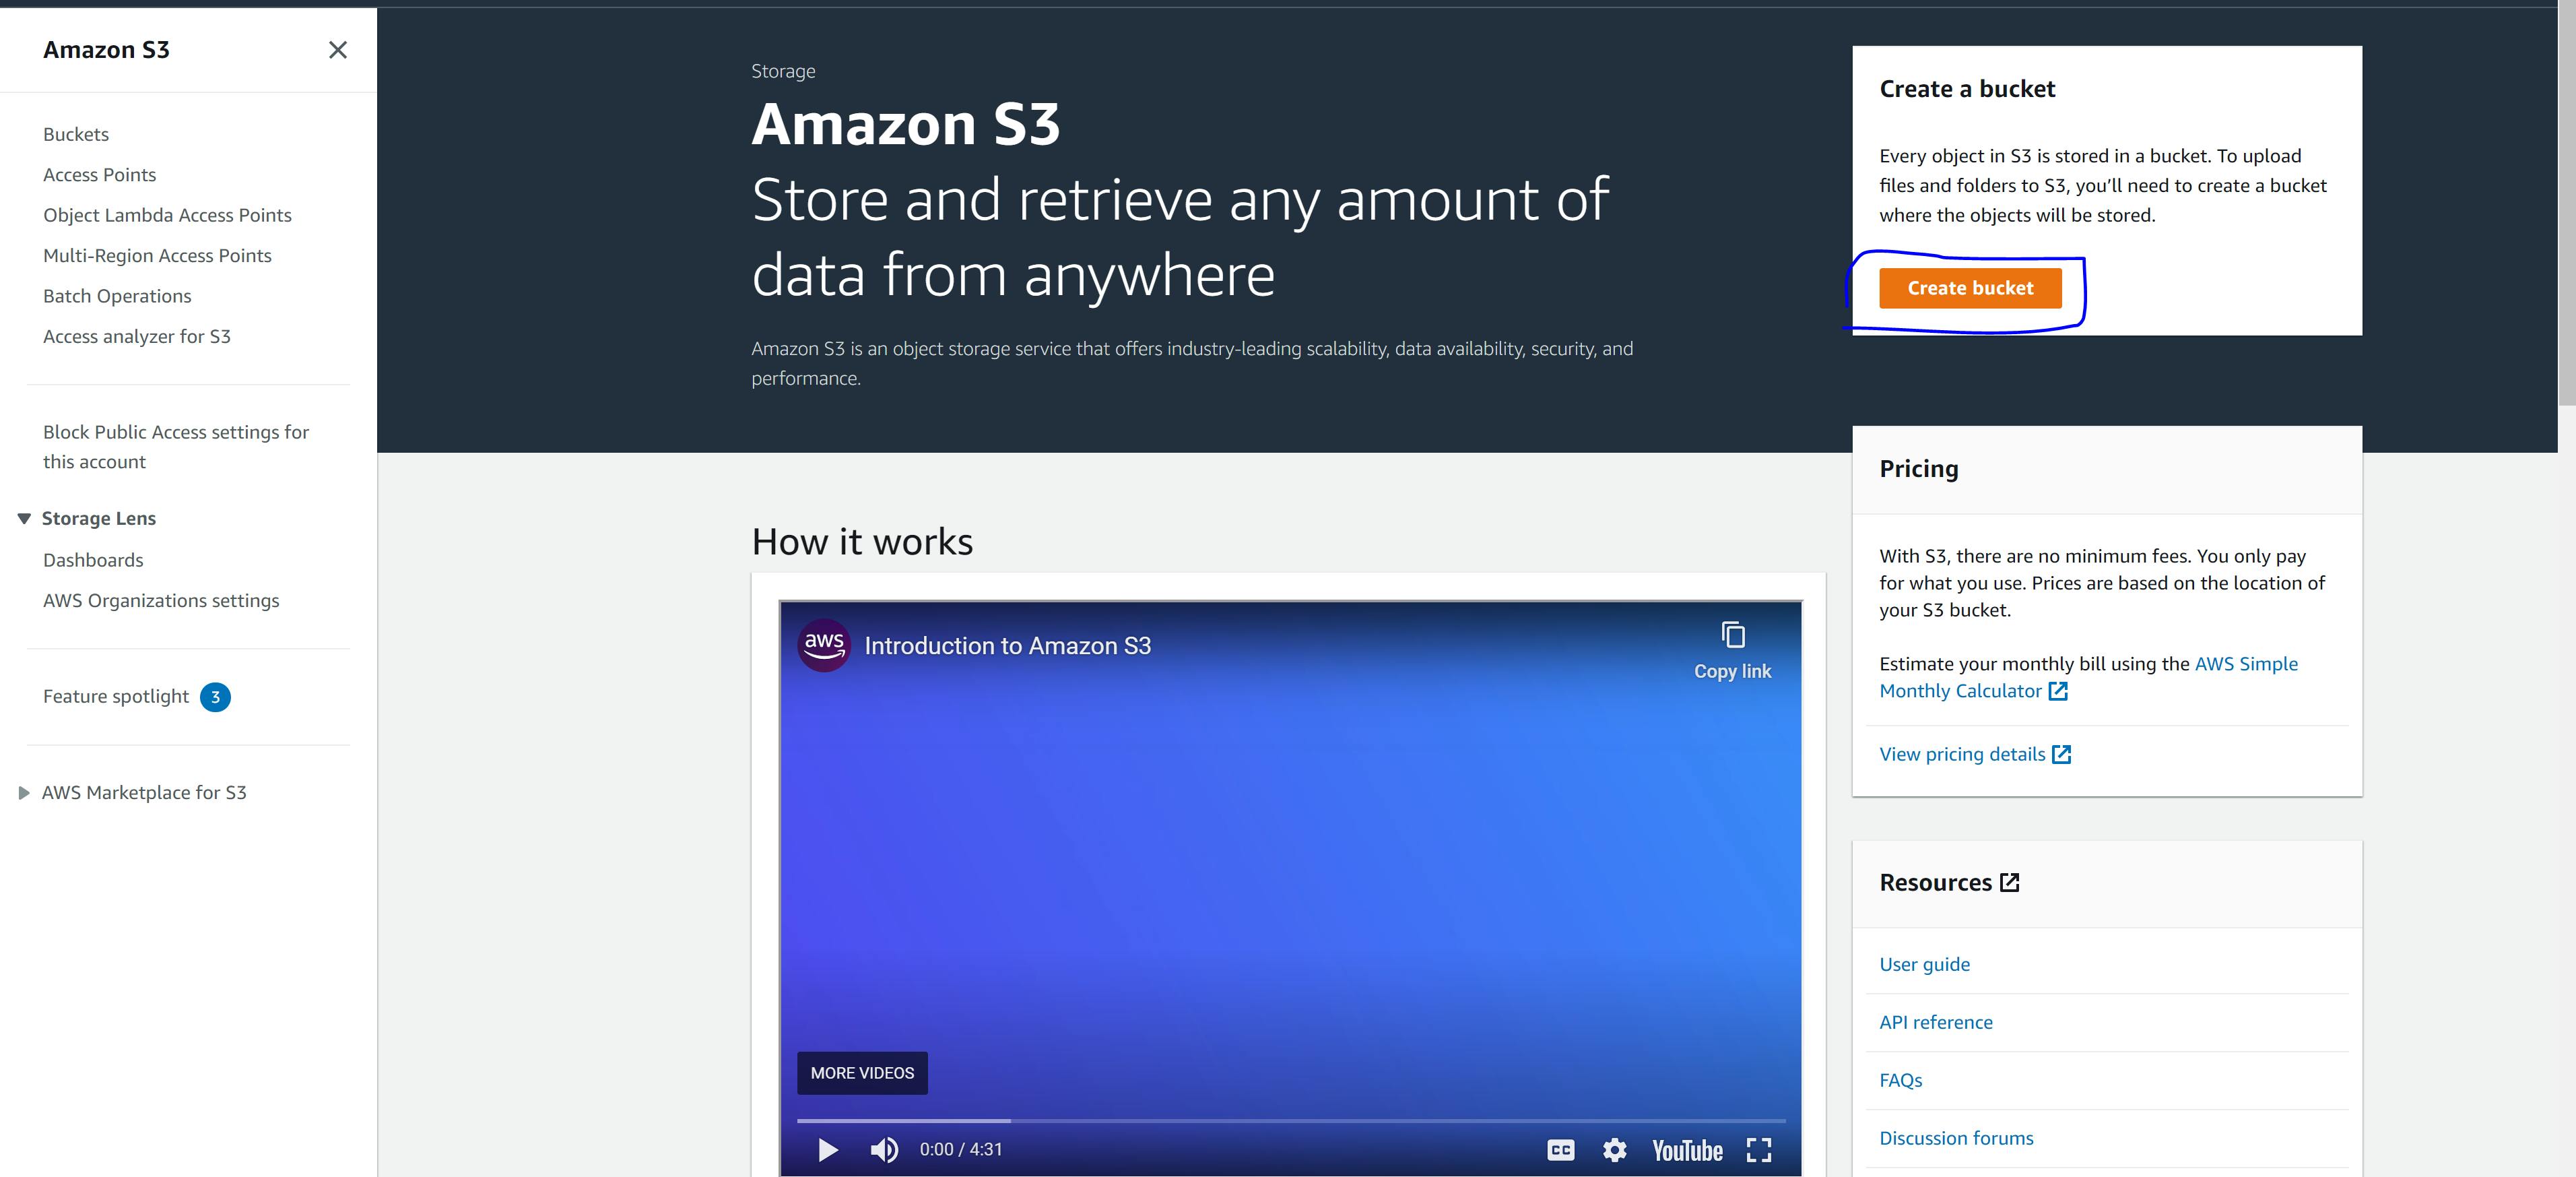
Login to the AWS Console
Navigate to the S3 and click Create bucket
Step 2
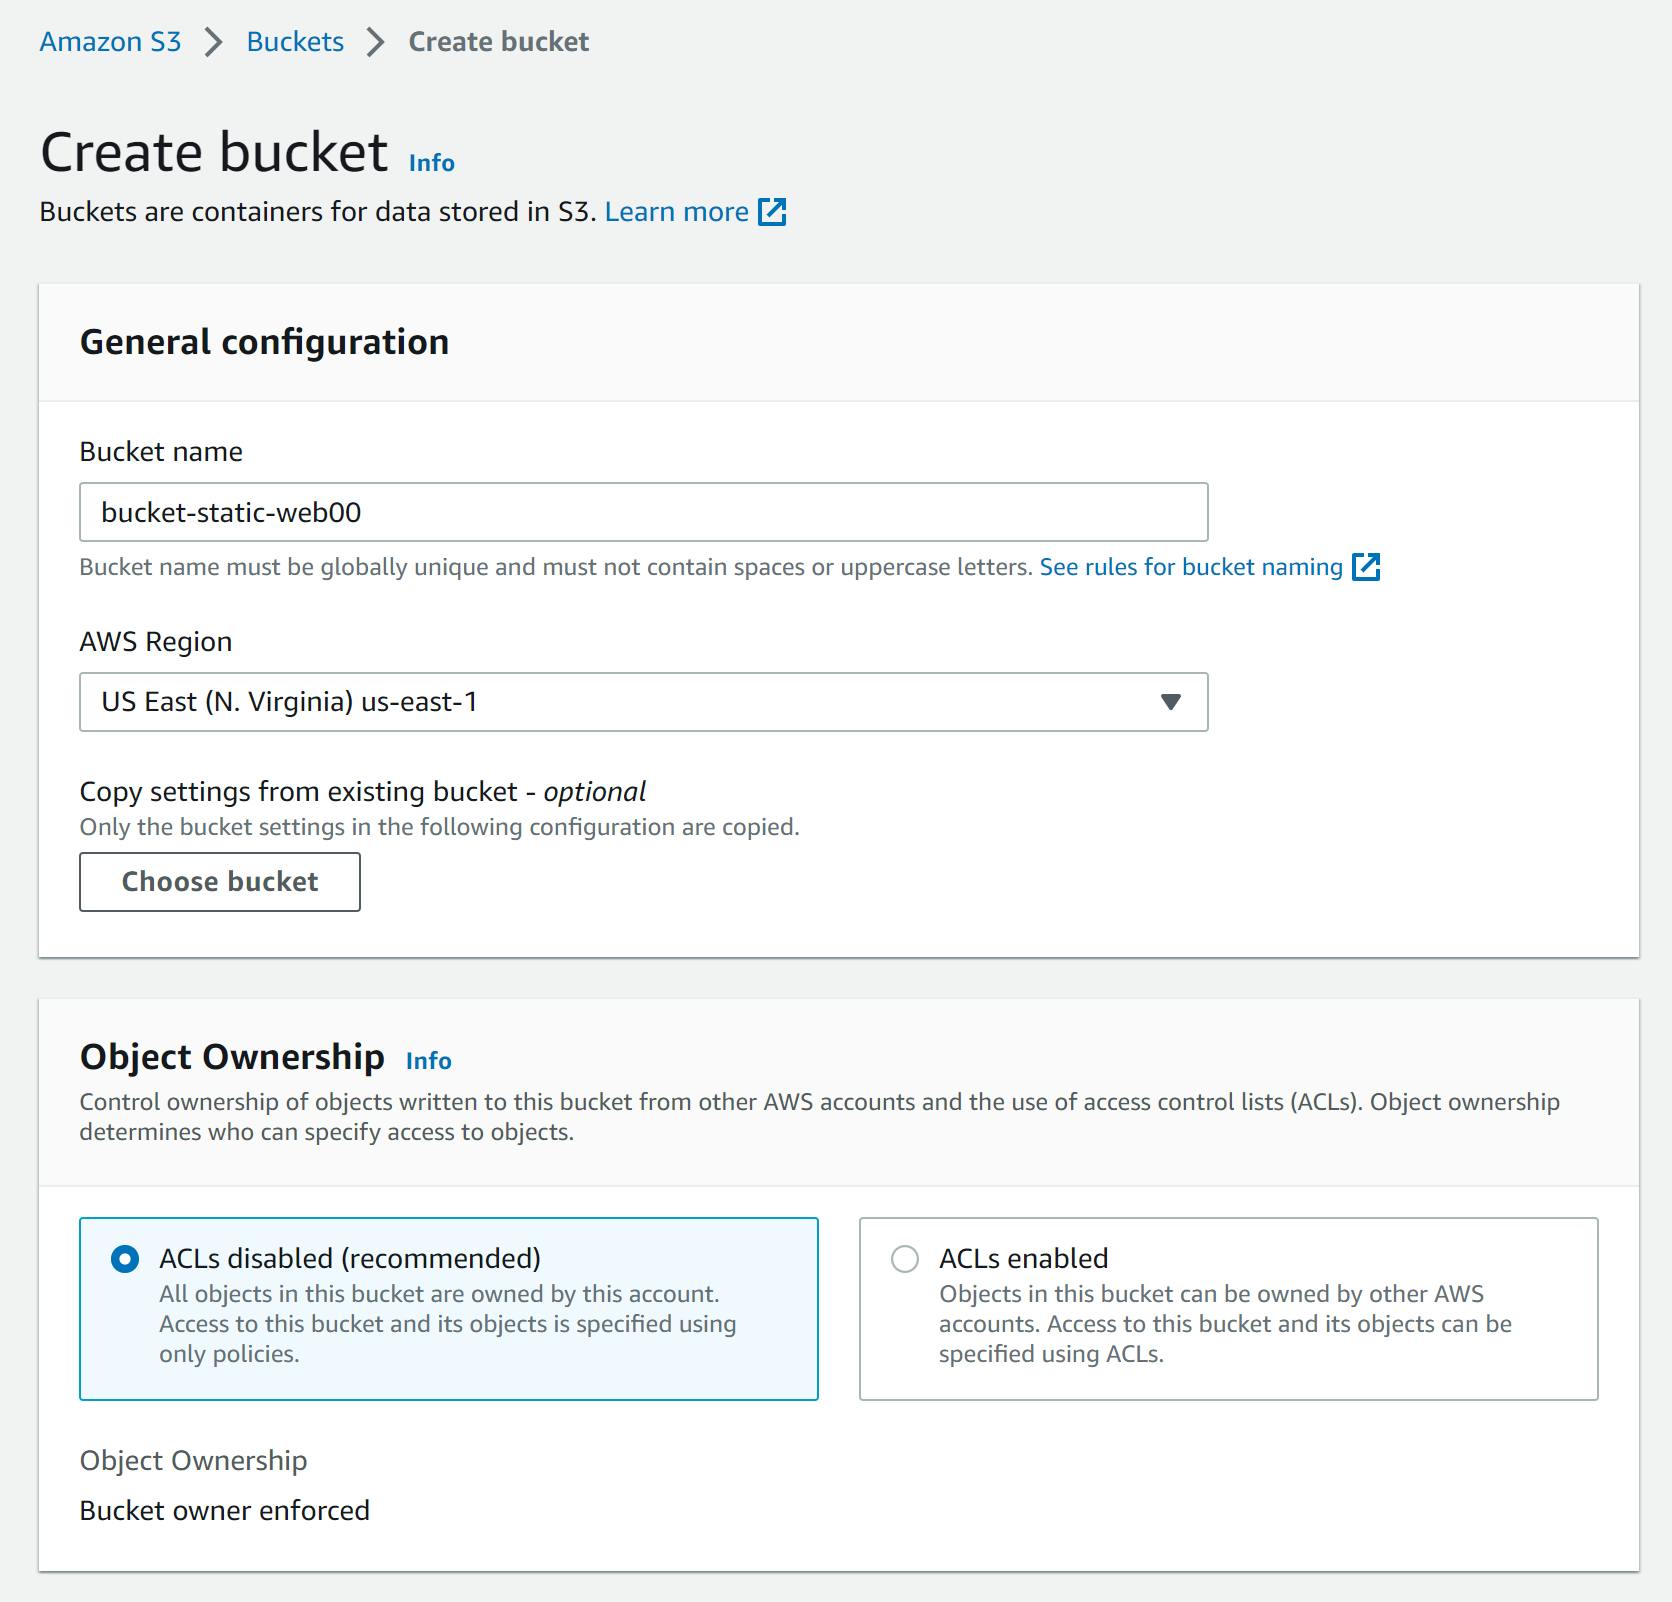
Give your bucket a unique name
Choose a region
Select the ACLs disabled (recommended)
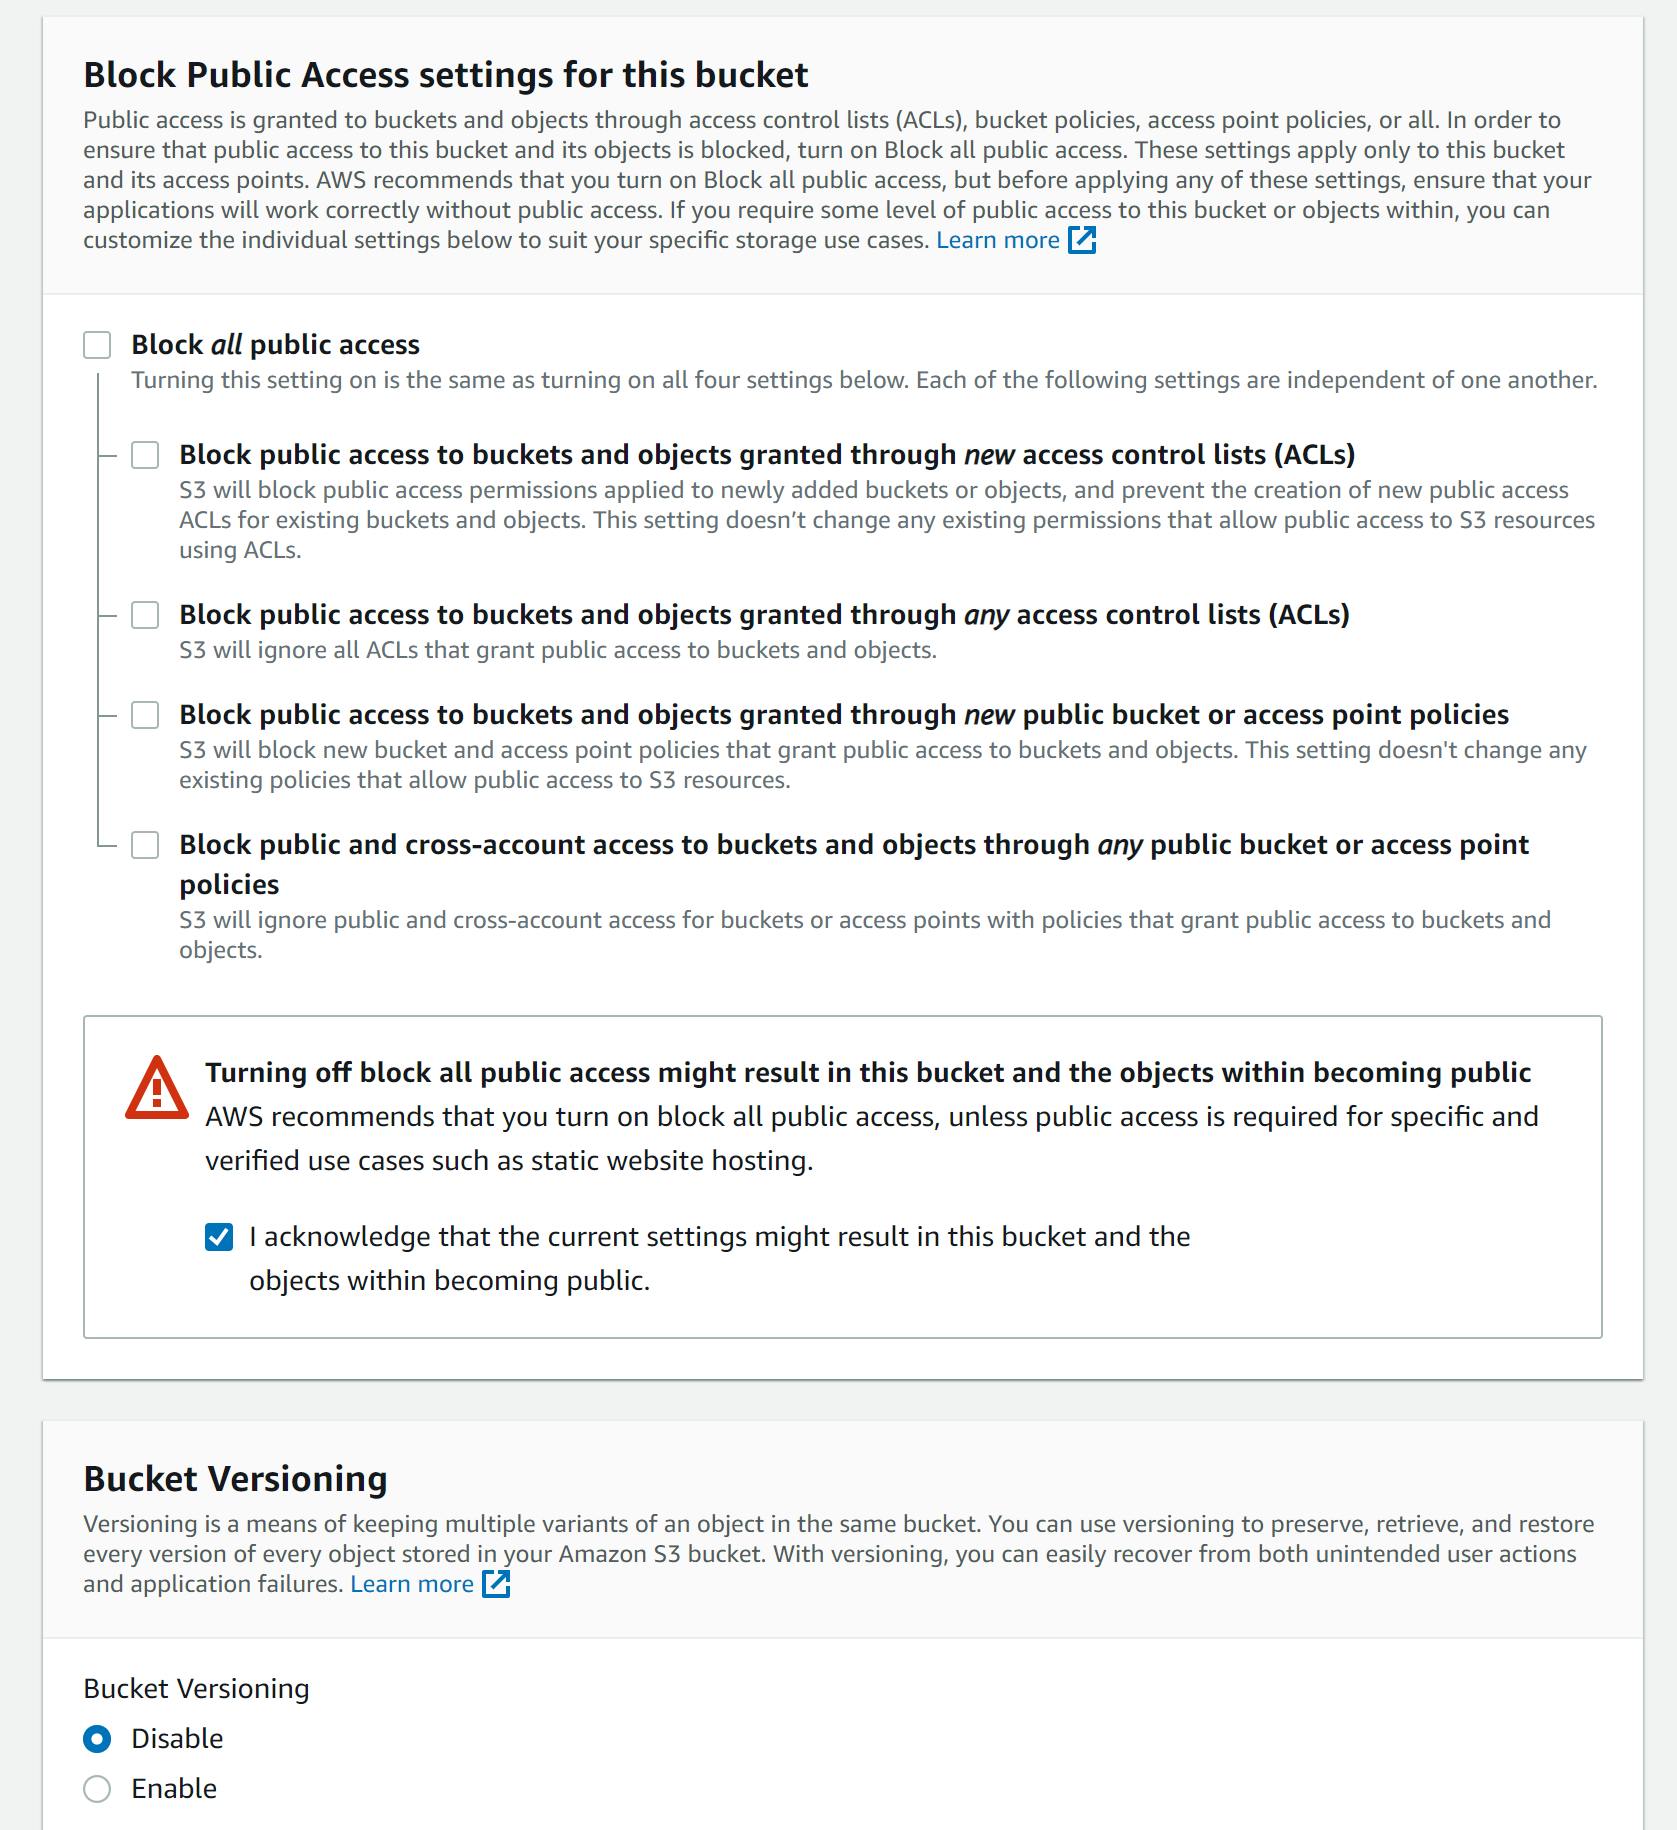
Turn off block all public access (Note: this is not a good practice, but for this tutorial, we will turn it off
Disable bucket versioning ( we don't need it for now)
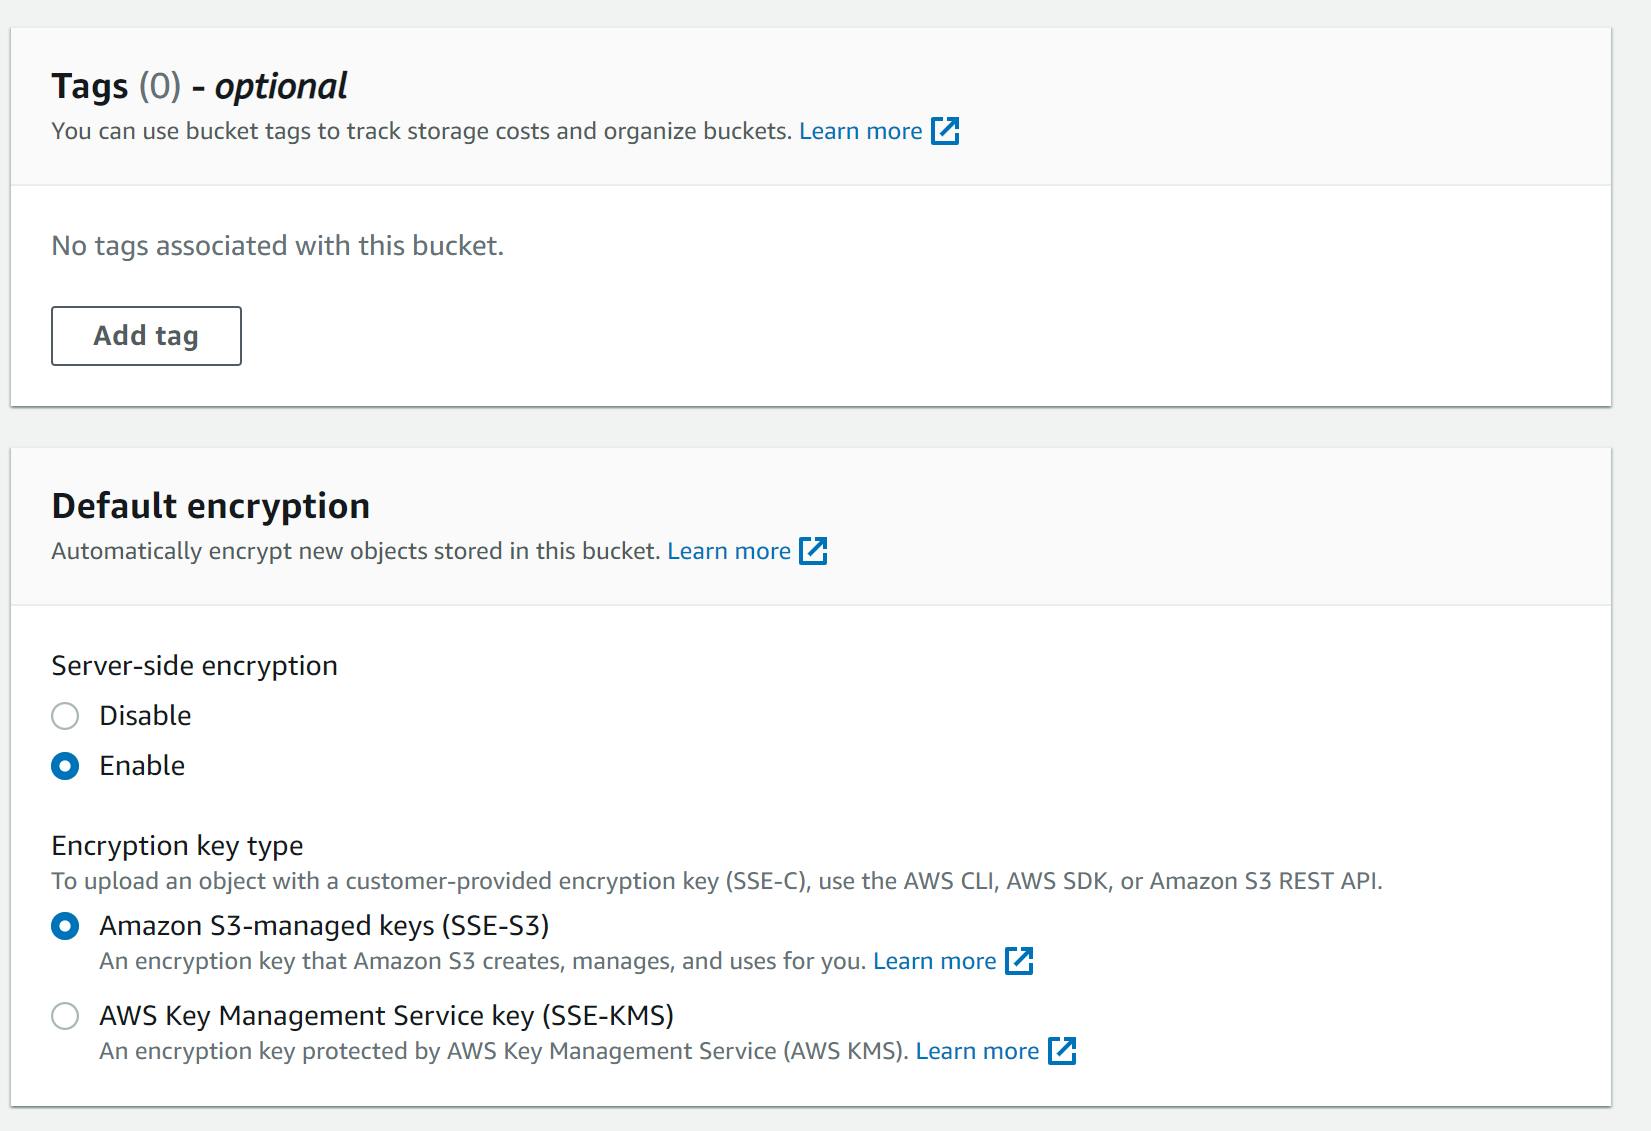
Enable the server-side encryption and choose the Amazon S3-managed keys (SSE-S3) encryption type
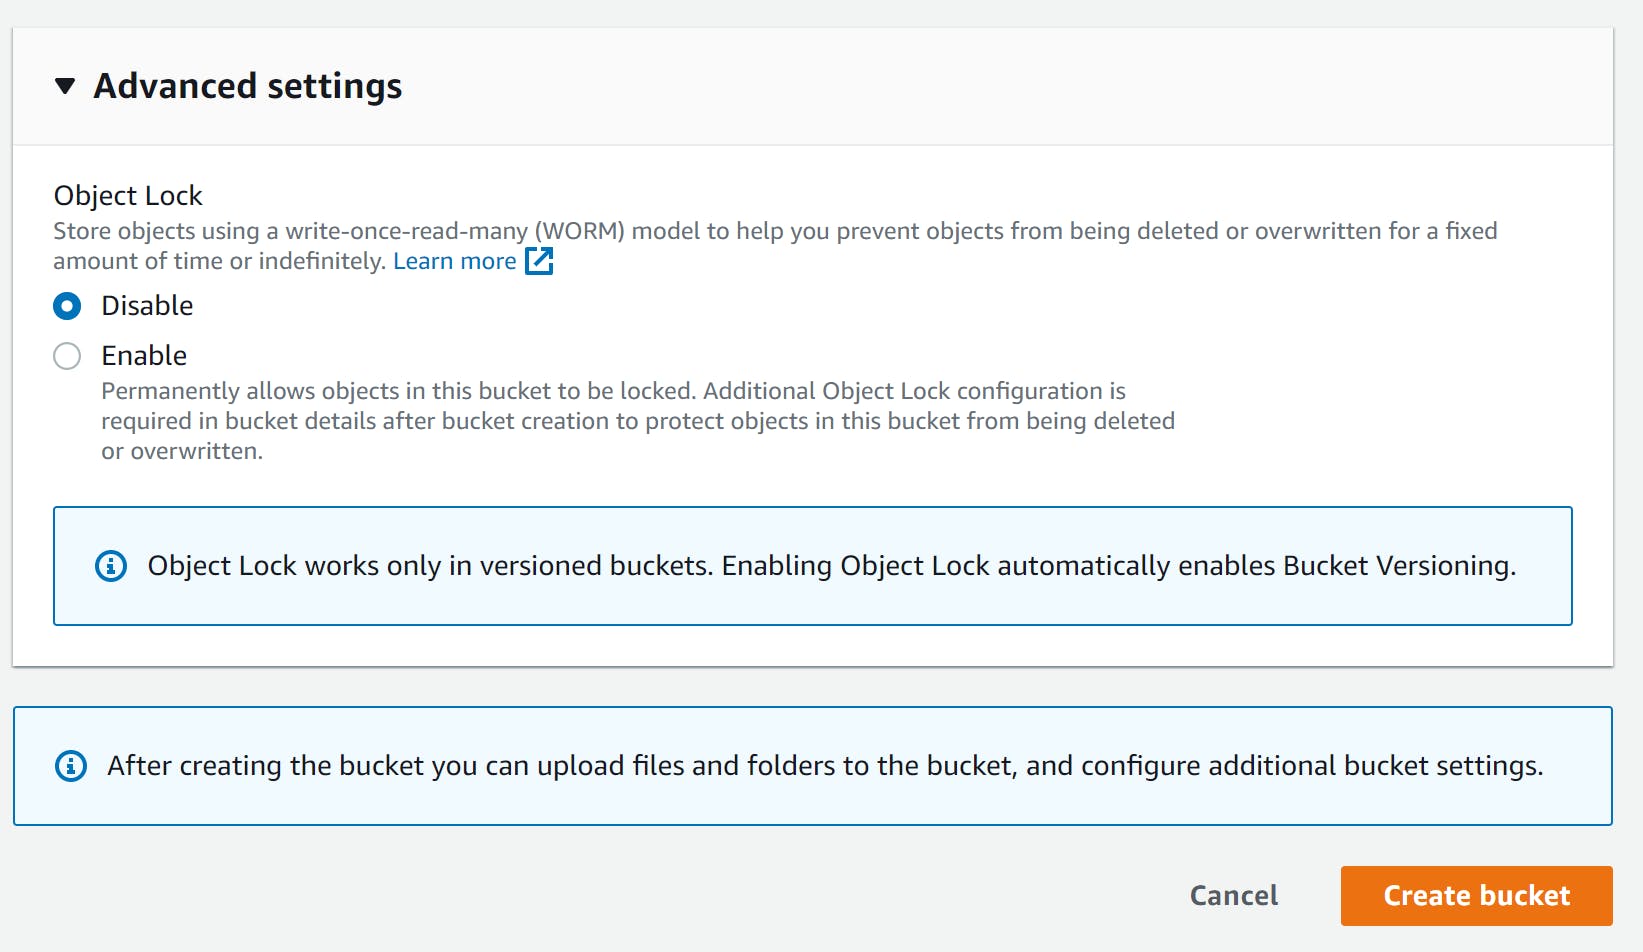
Leave everything as default and click Create Bucket.
Step 3
- Now that our bucket has been created
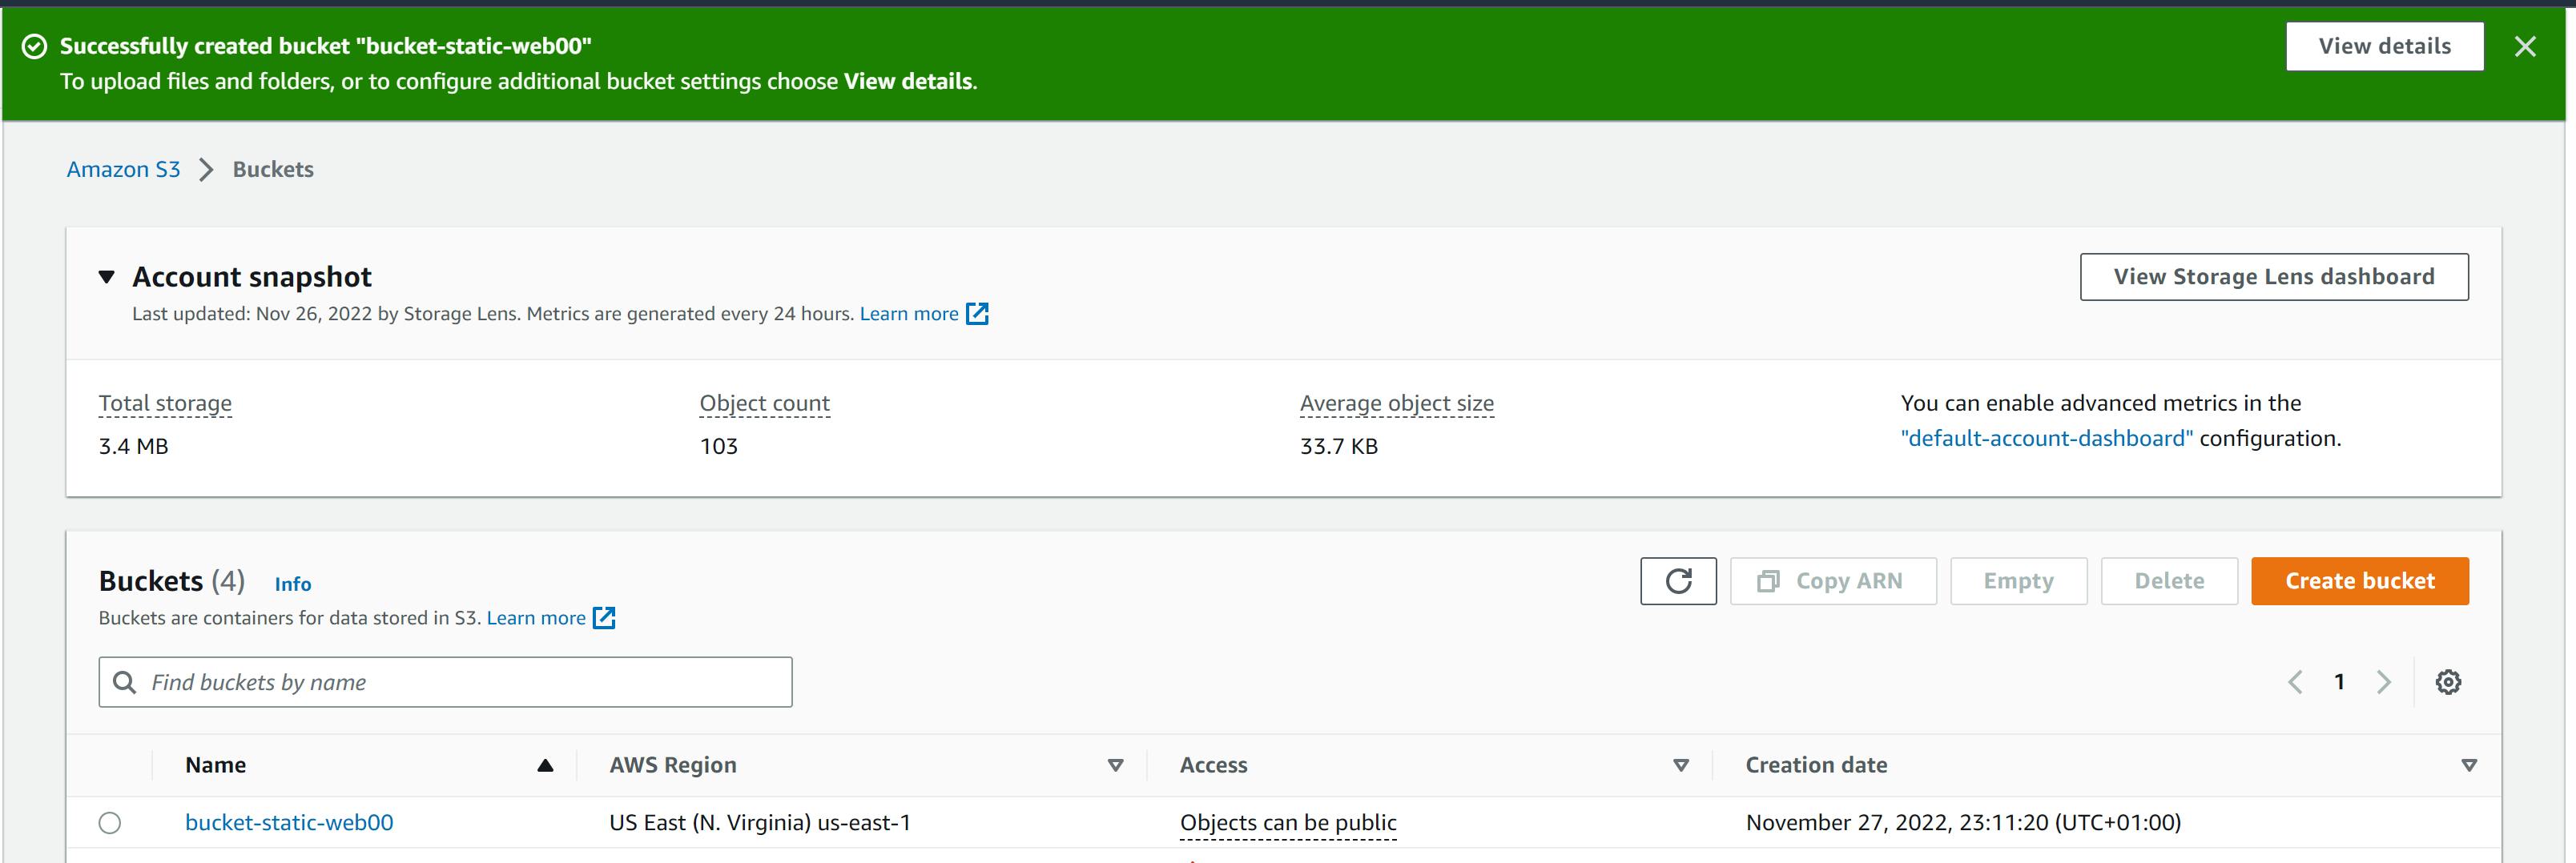
Click on the bucket we just created.
Let's upload our website file to the bucket
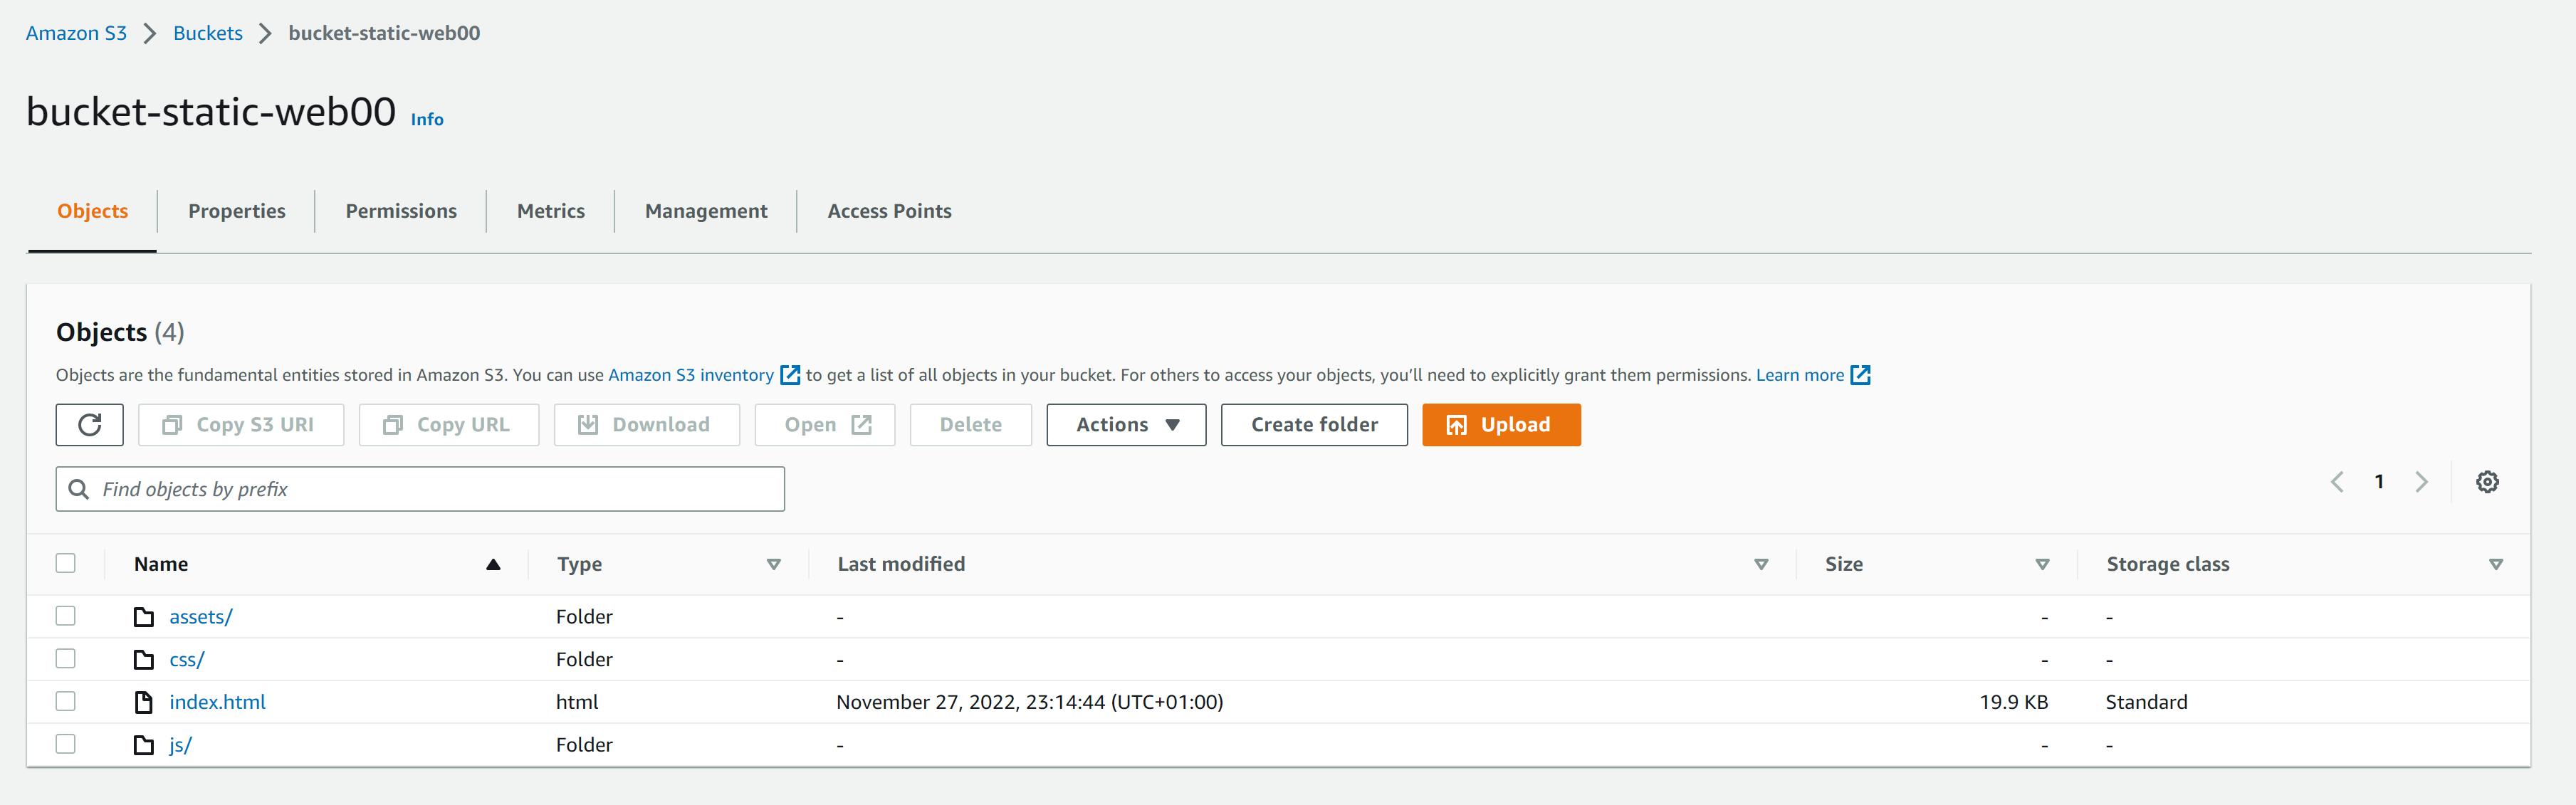
Now that our website file has been uploaded successfully. Let's make a few setting
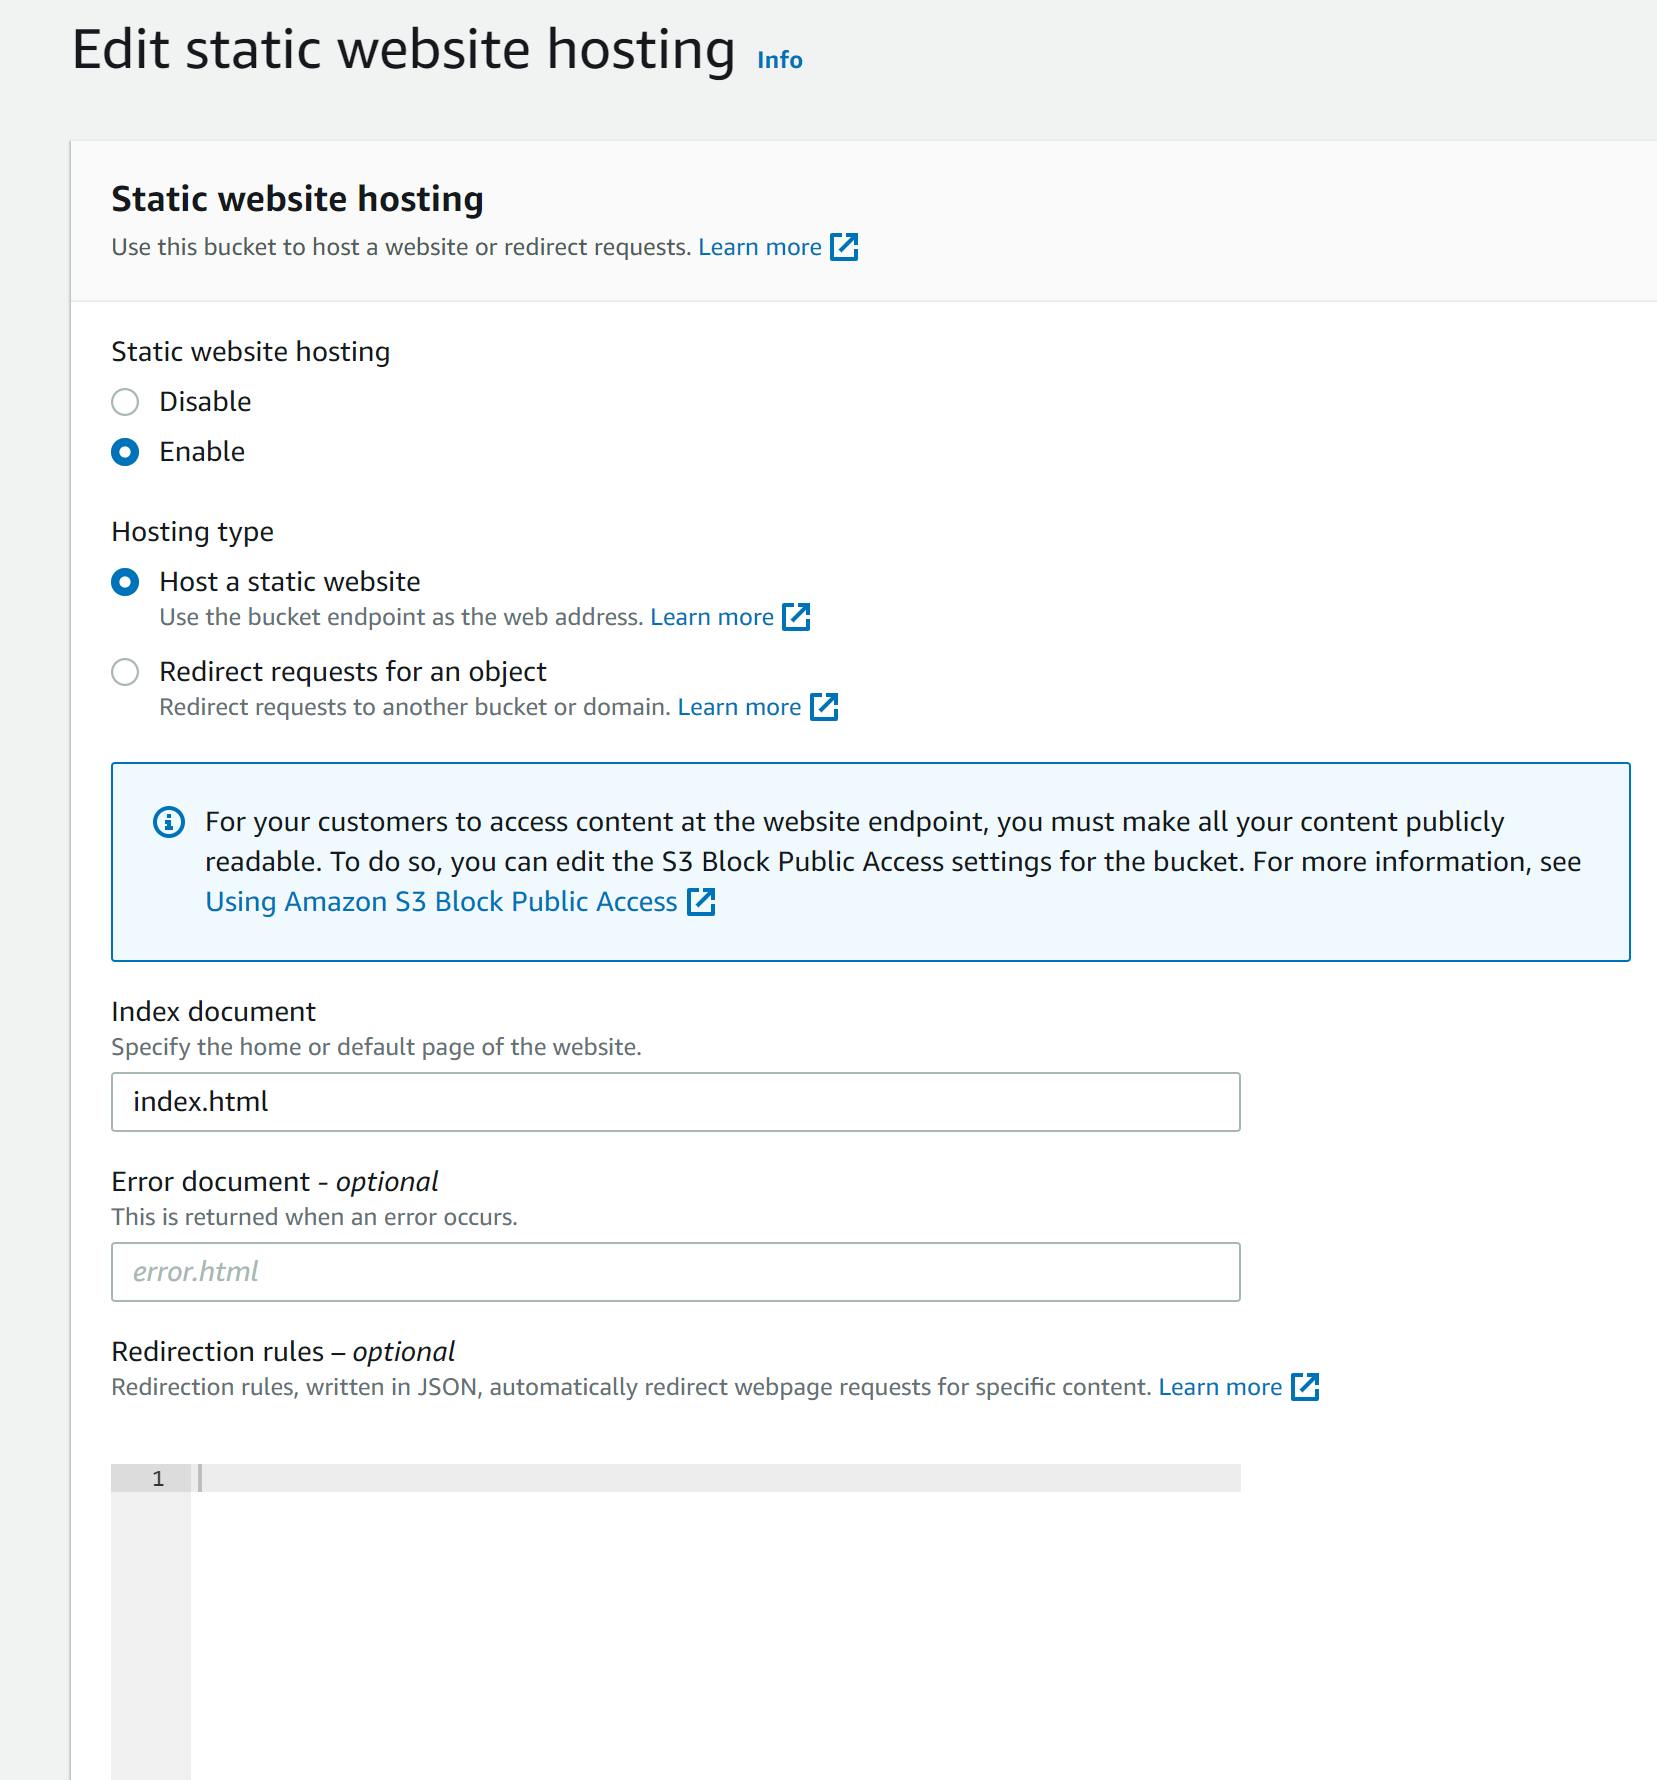
Step 4
Click on the properties tab and scroll down
At the Static website hosting option, click edit to change the settings

Enable the static website hosting
Select host a static website as the hosting type
Input "Index.html" to specify the home or default page of the website.
Input "error.html" if you have an error page or leave it (It's optional) and save changes.
Step 5
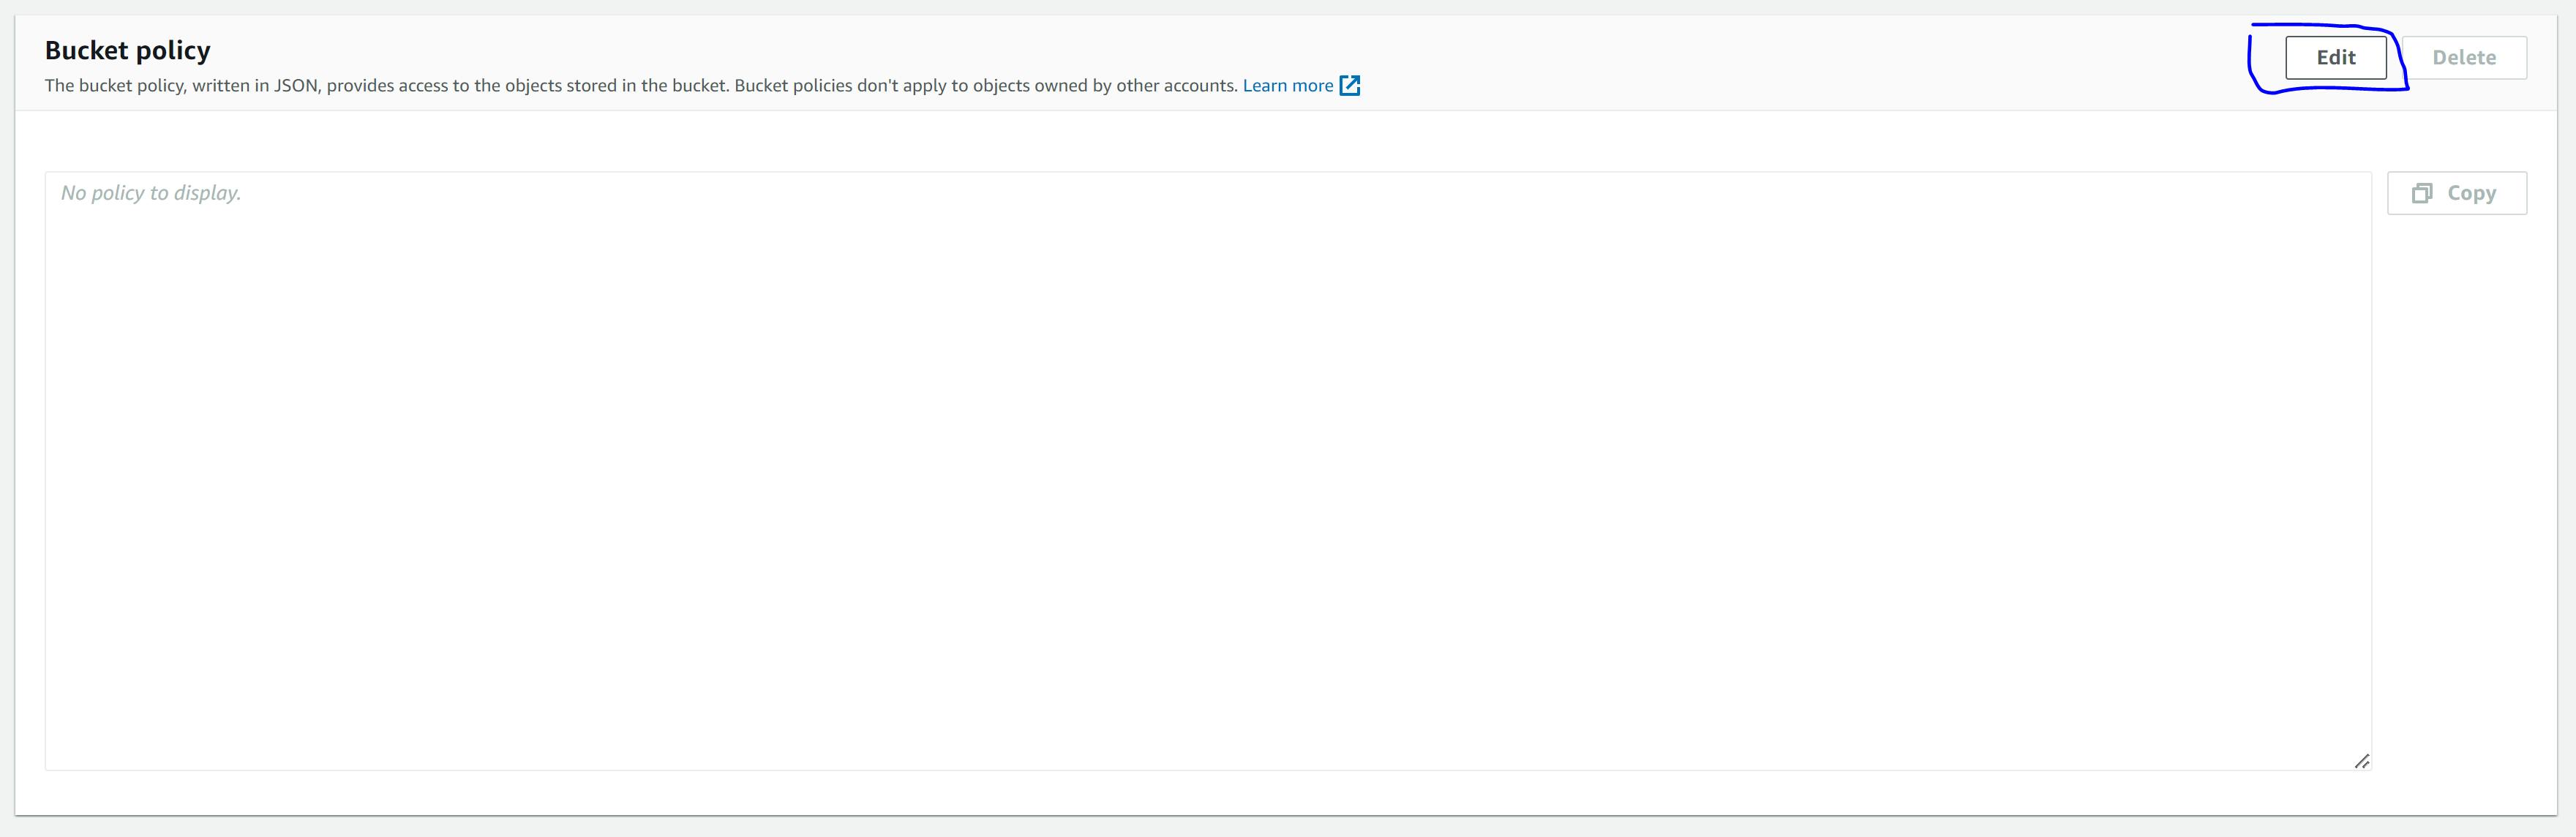
Click the permission tab, we need to change some settings to enable our website to be accessed publicly
Scroll to the bucket policy and click edit
- Now let's copy the blow policy and paste it into our text box and replace the bucket name with our own
{
    "Version": "2012-10-17",
    "Statement": [
        {
            "Sid": "PublicRead",
            "Effect": "Allow",
            "Principal": "*",
            "Action": [
                "s3:GetObject",
                "s3:GetObjectVersion"
            ],
            "Resource": "arn:aws:s3:::bucket-web-app00/*"
        }
    ]
}
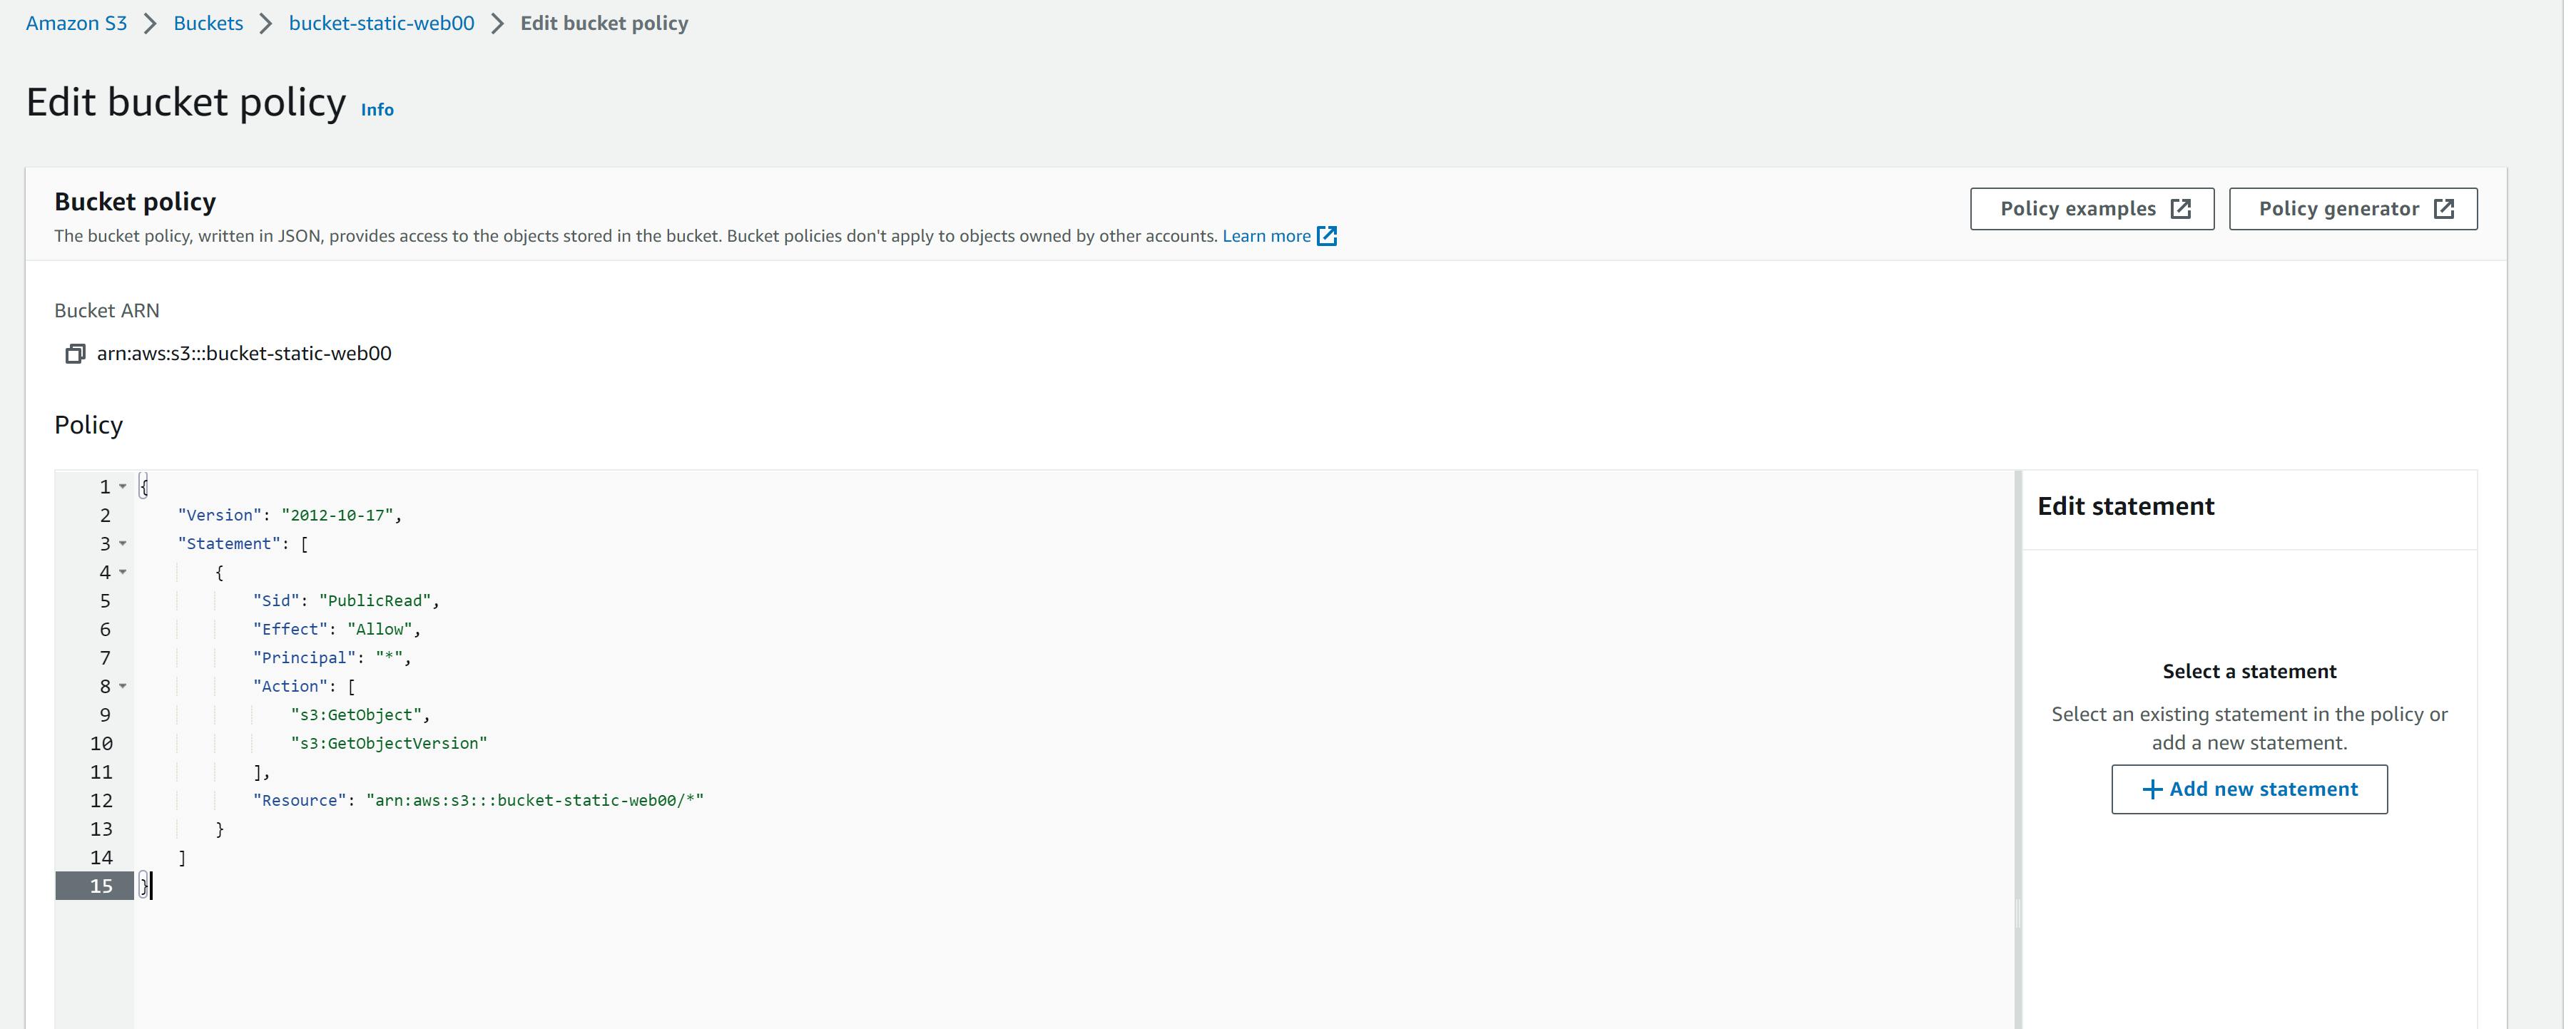
- Click on save. Our bucket is now public and can be accessed by everyone
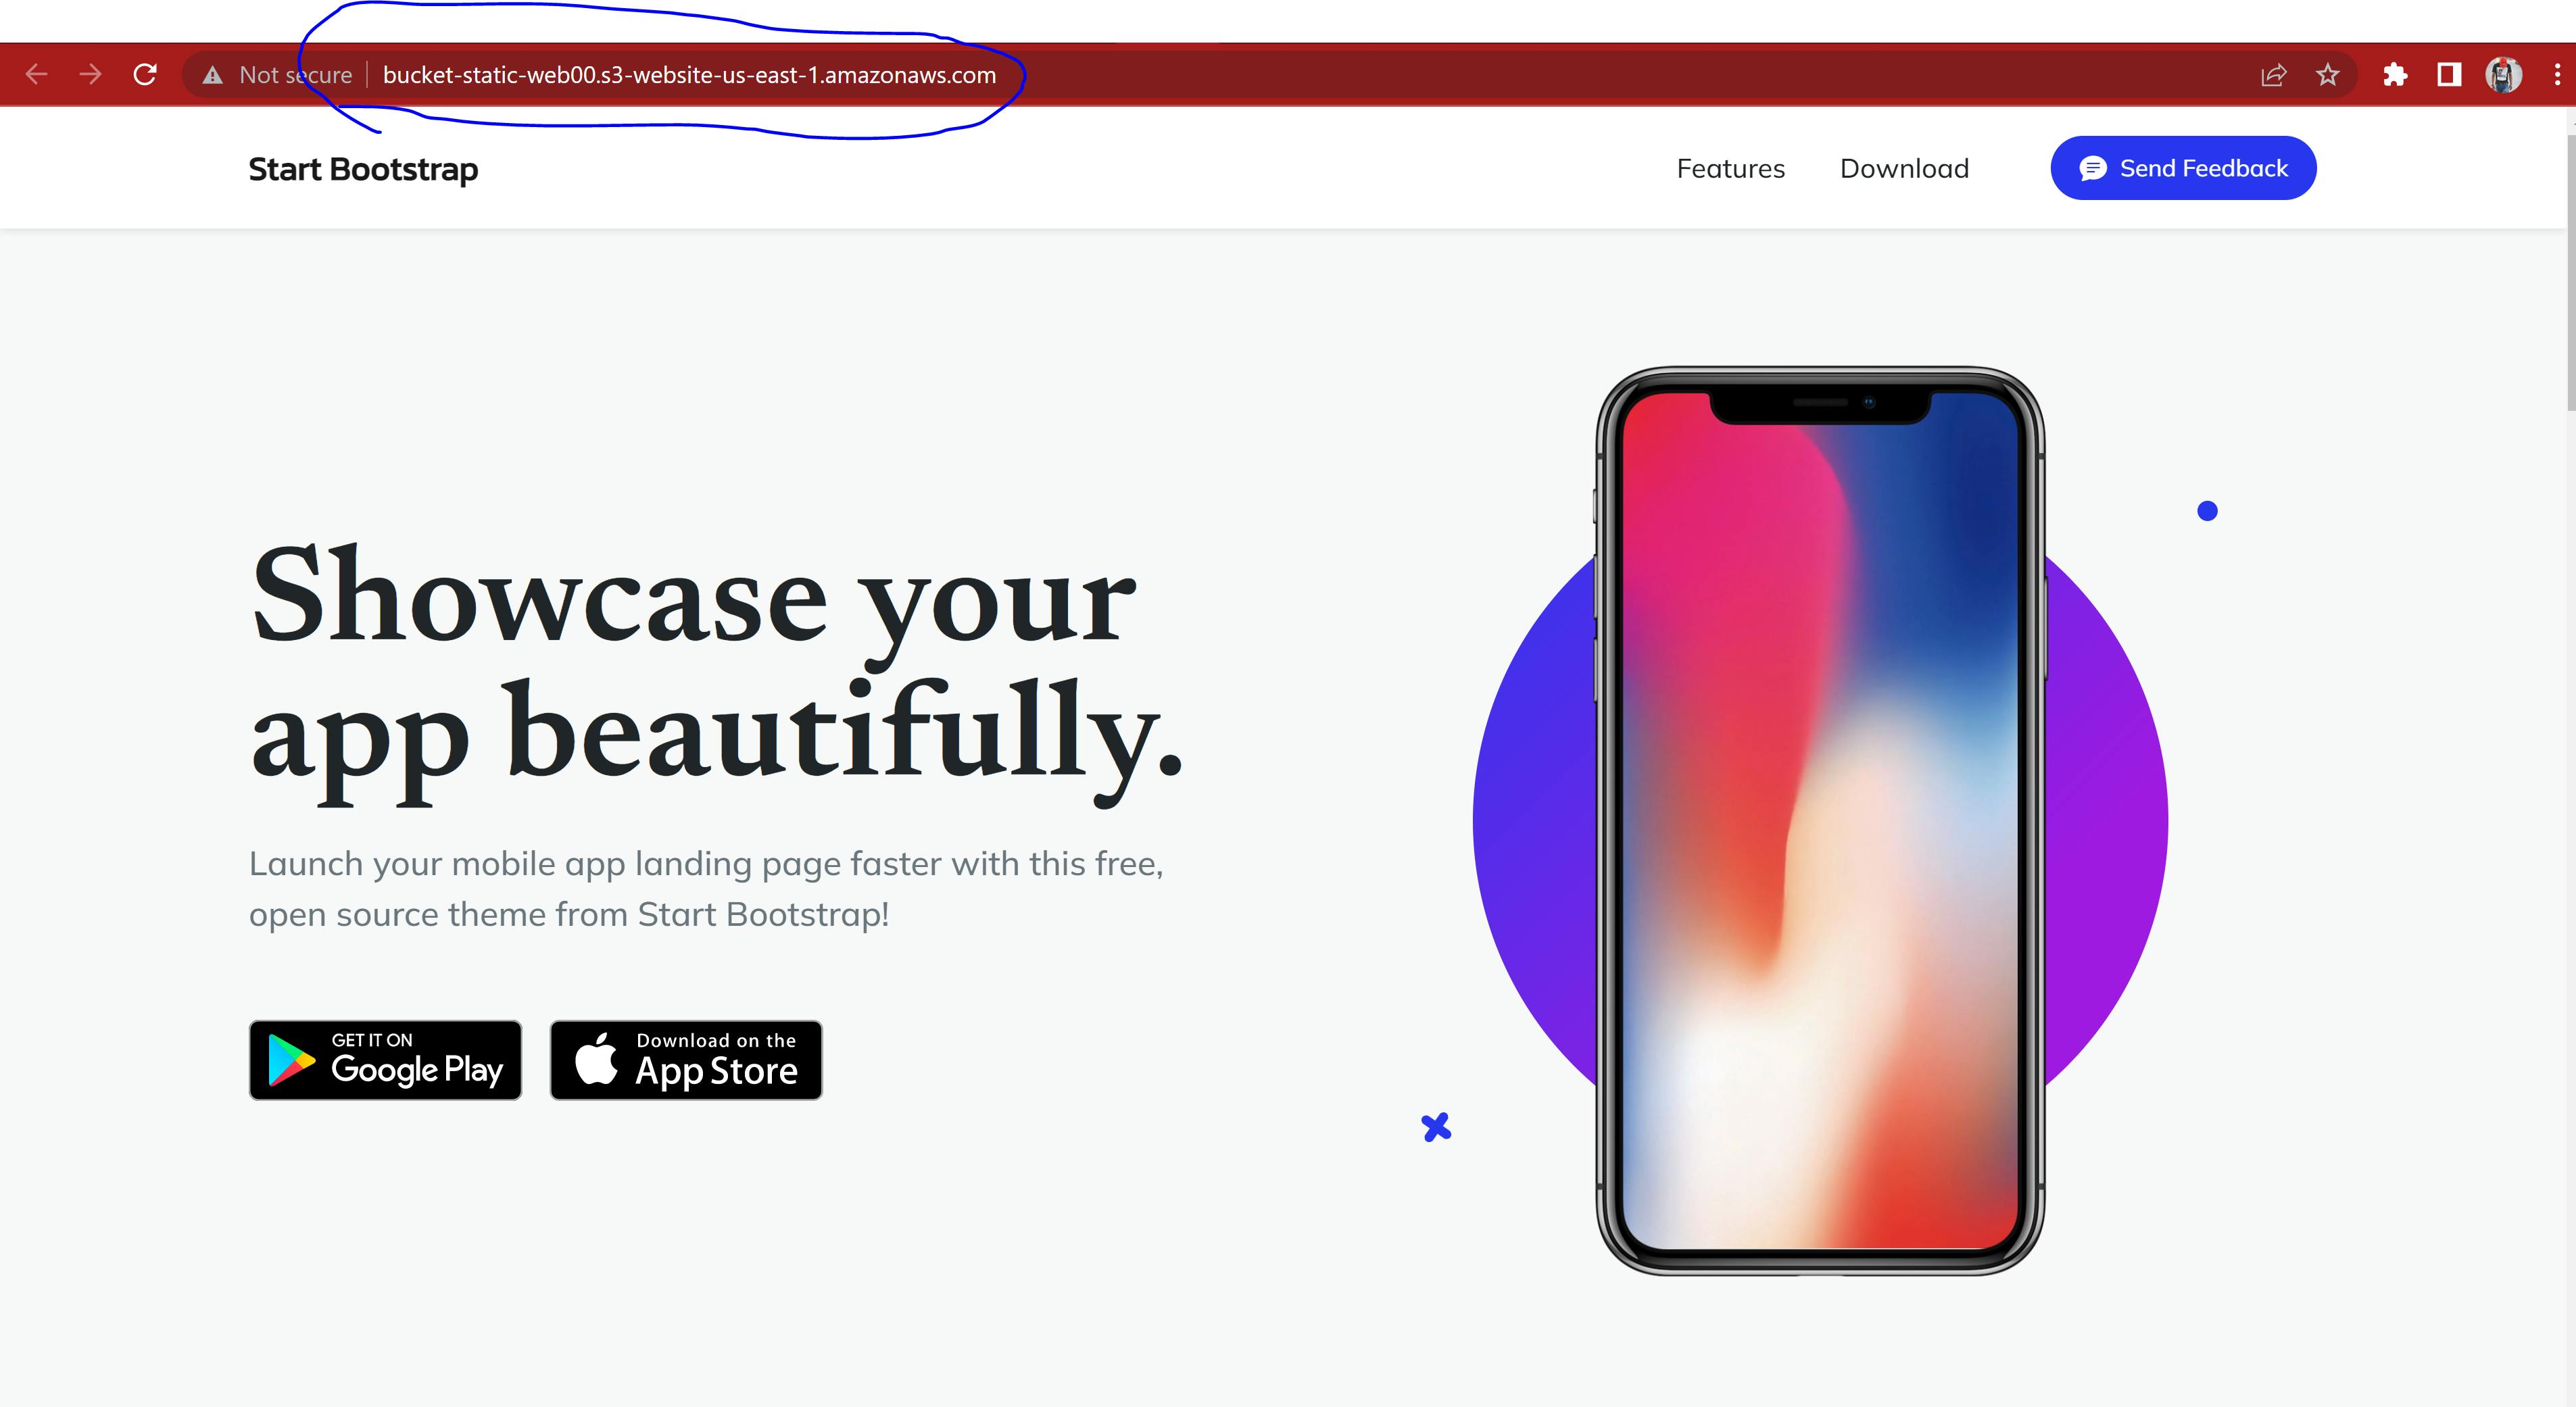
Step 6
Let's go back to the properties tab
Navigate to the static website hosting option
Copy the URL or click on the link to access our website

Viola! Our website is up and running
Congratulations! We have just successfully hosted our static website on AWS S3 In our next tutorial we will discuss how to make our website secured and using a custom domain