AWS LightSail is a platform as a service (PaaS) that provides a simple web user interface to manage the servers and basic configuration around it.
It offers virtual servers, storage, databases, and networking, plus a cost-effective monthly plan. It’s designed to help you start small, and then scale as you grow.
In this tutorial, we will create an Amazon Linux instance in Amazon Lightsail. After the instance is up and running, we will connect to it via SSH within the Lightsail console using the browser-based SSH terminal.
Step 1
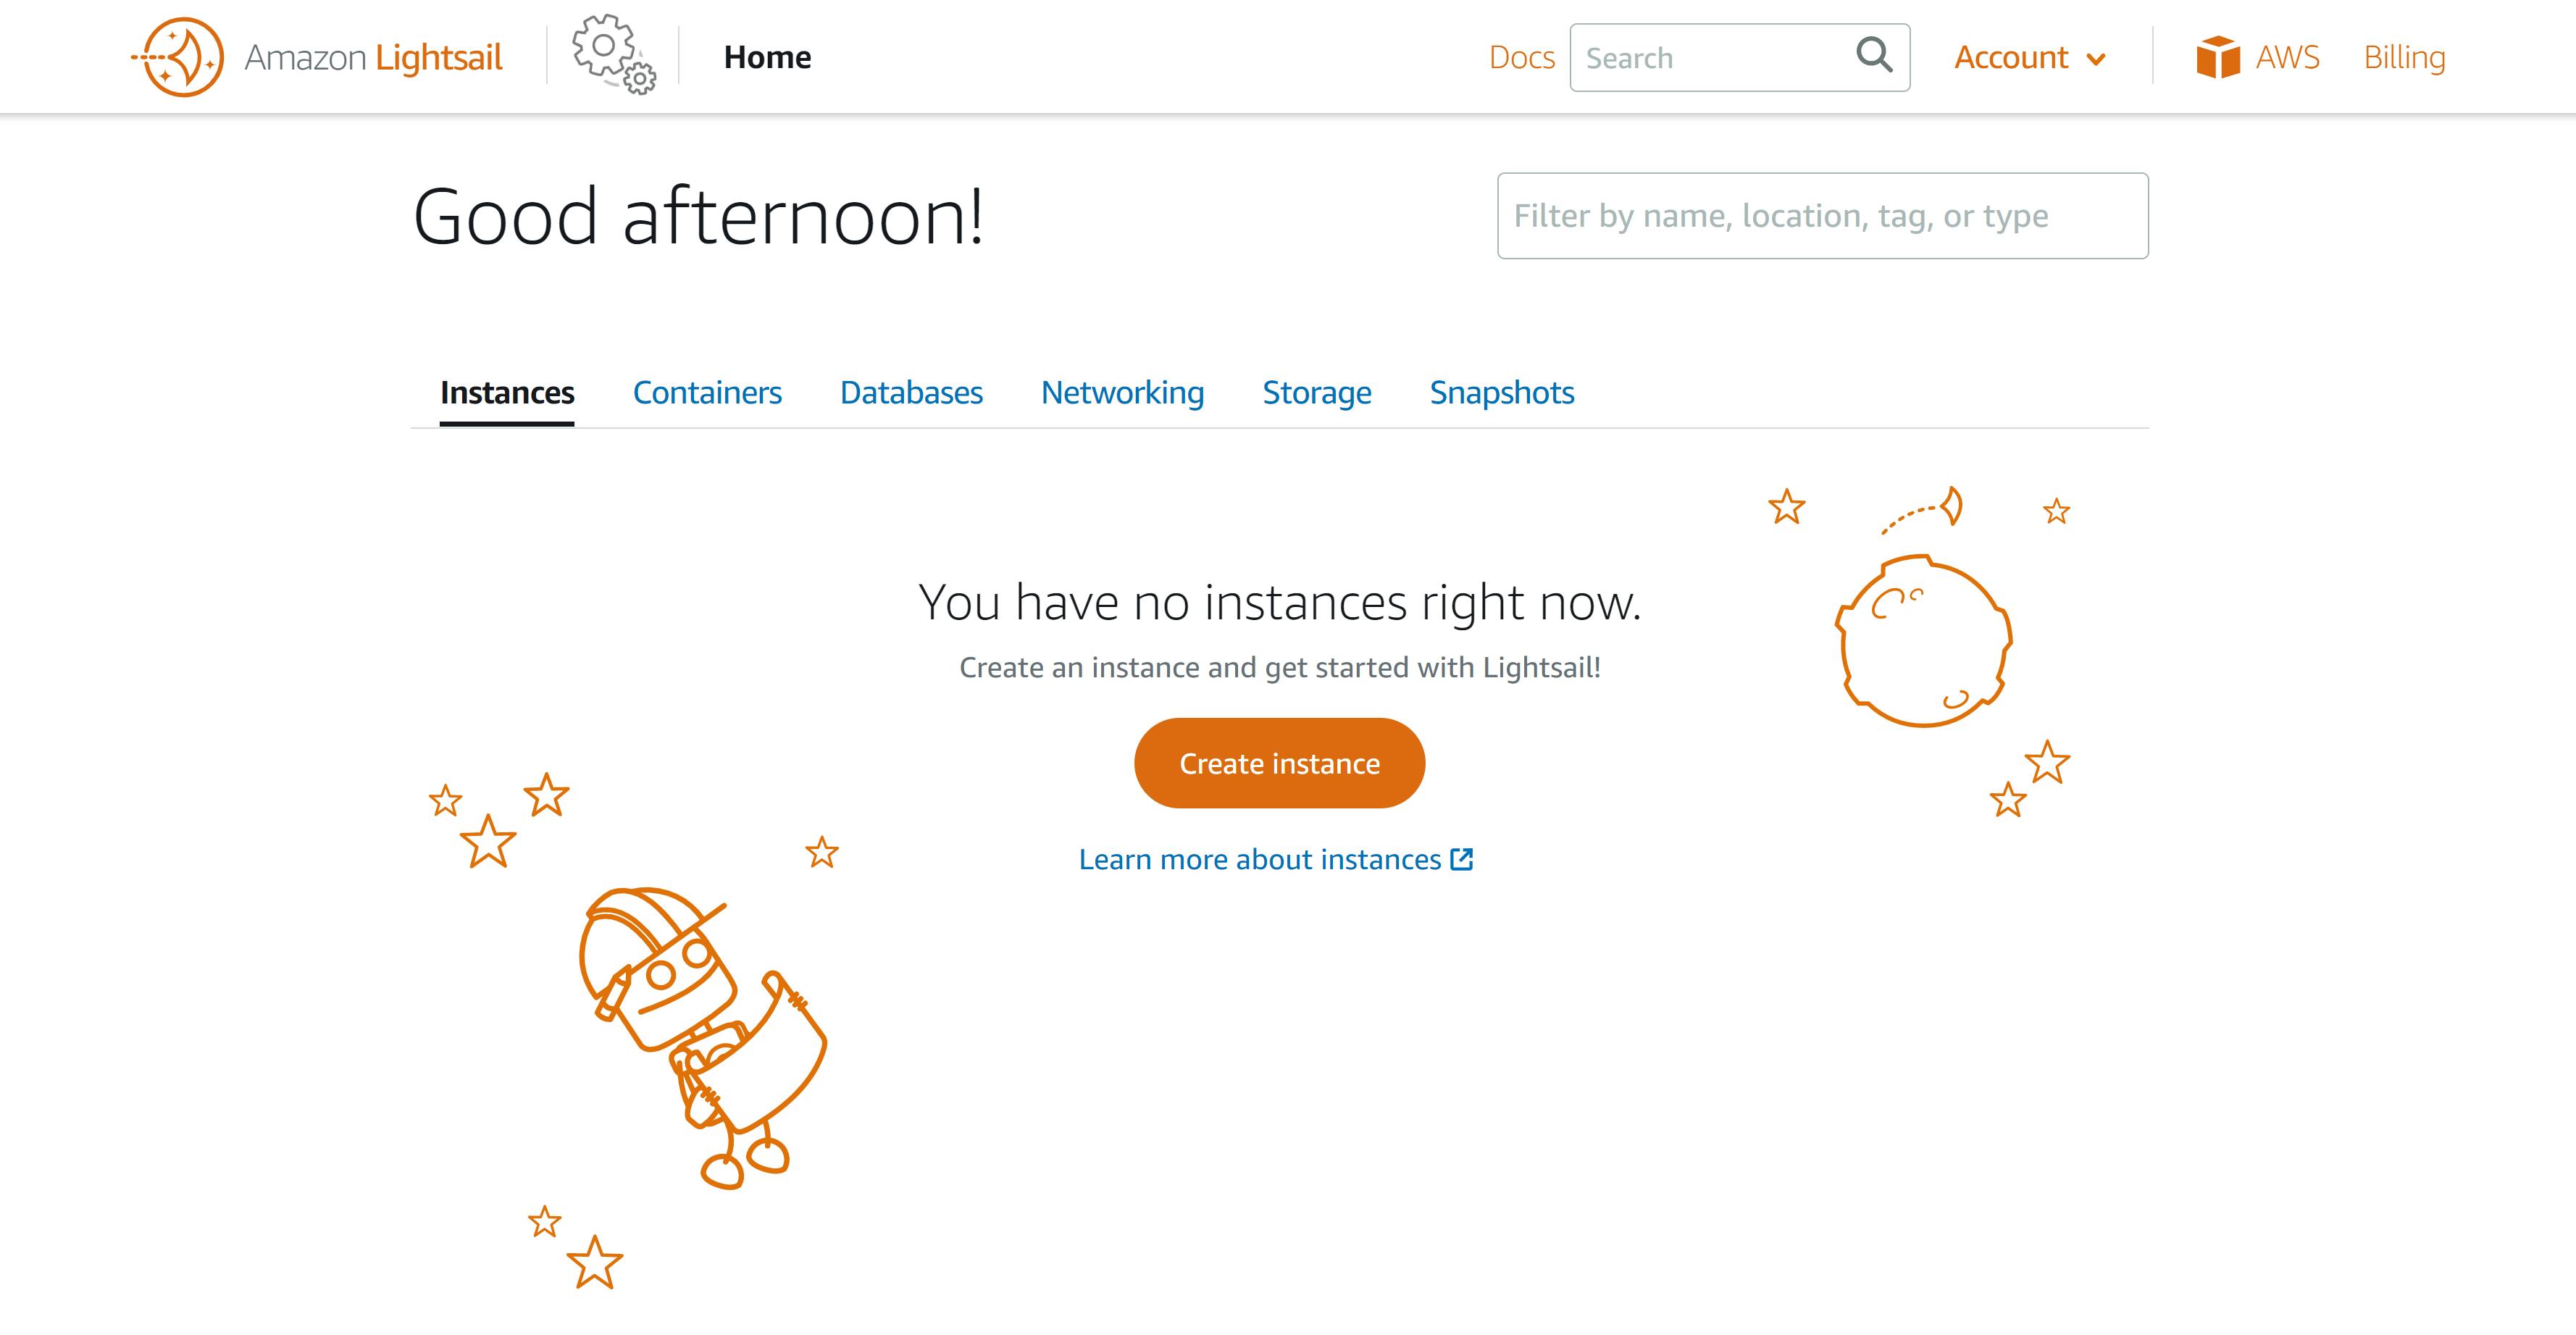
- Login to the Amazon console and Launch Lightsail
- Click on create instance
Step 2
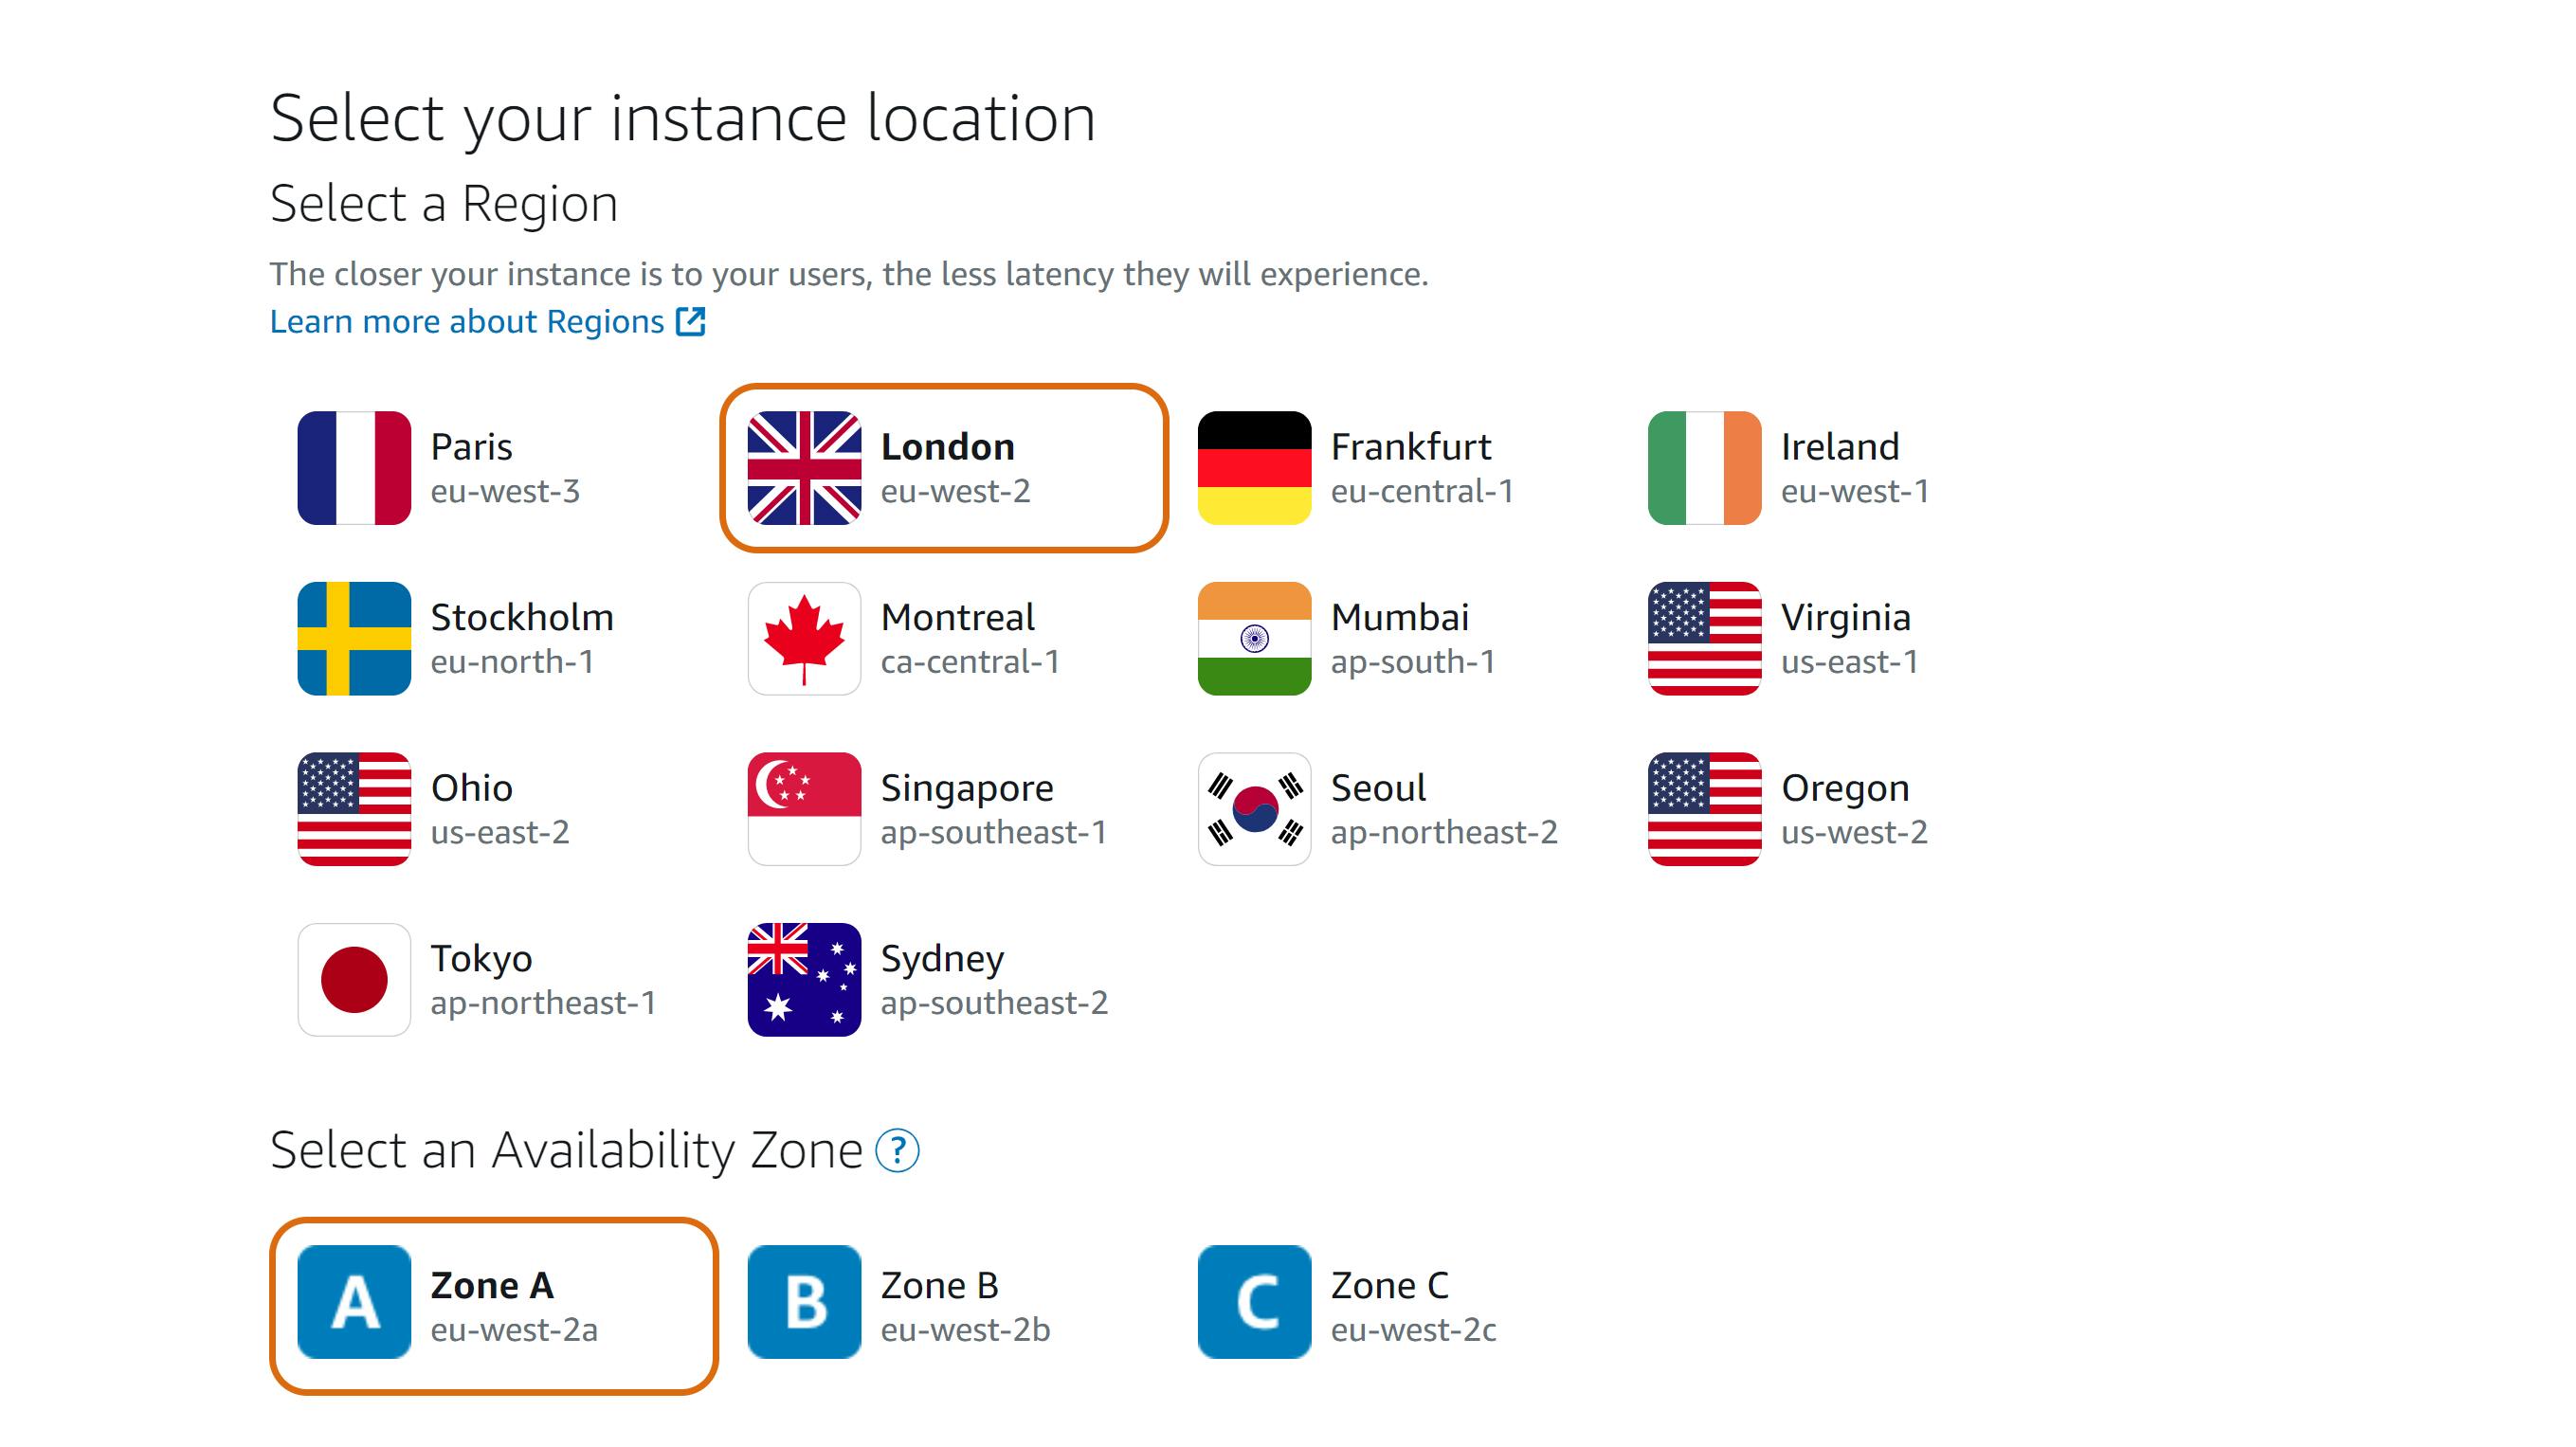
- Select a Region
- Select an Availability Zone
Step 3
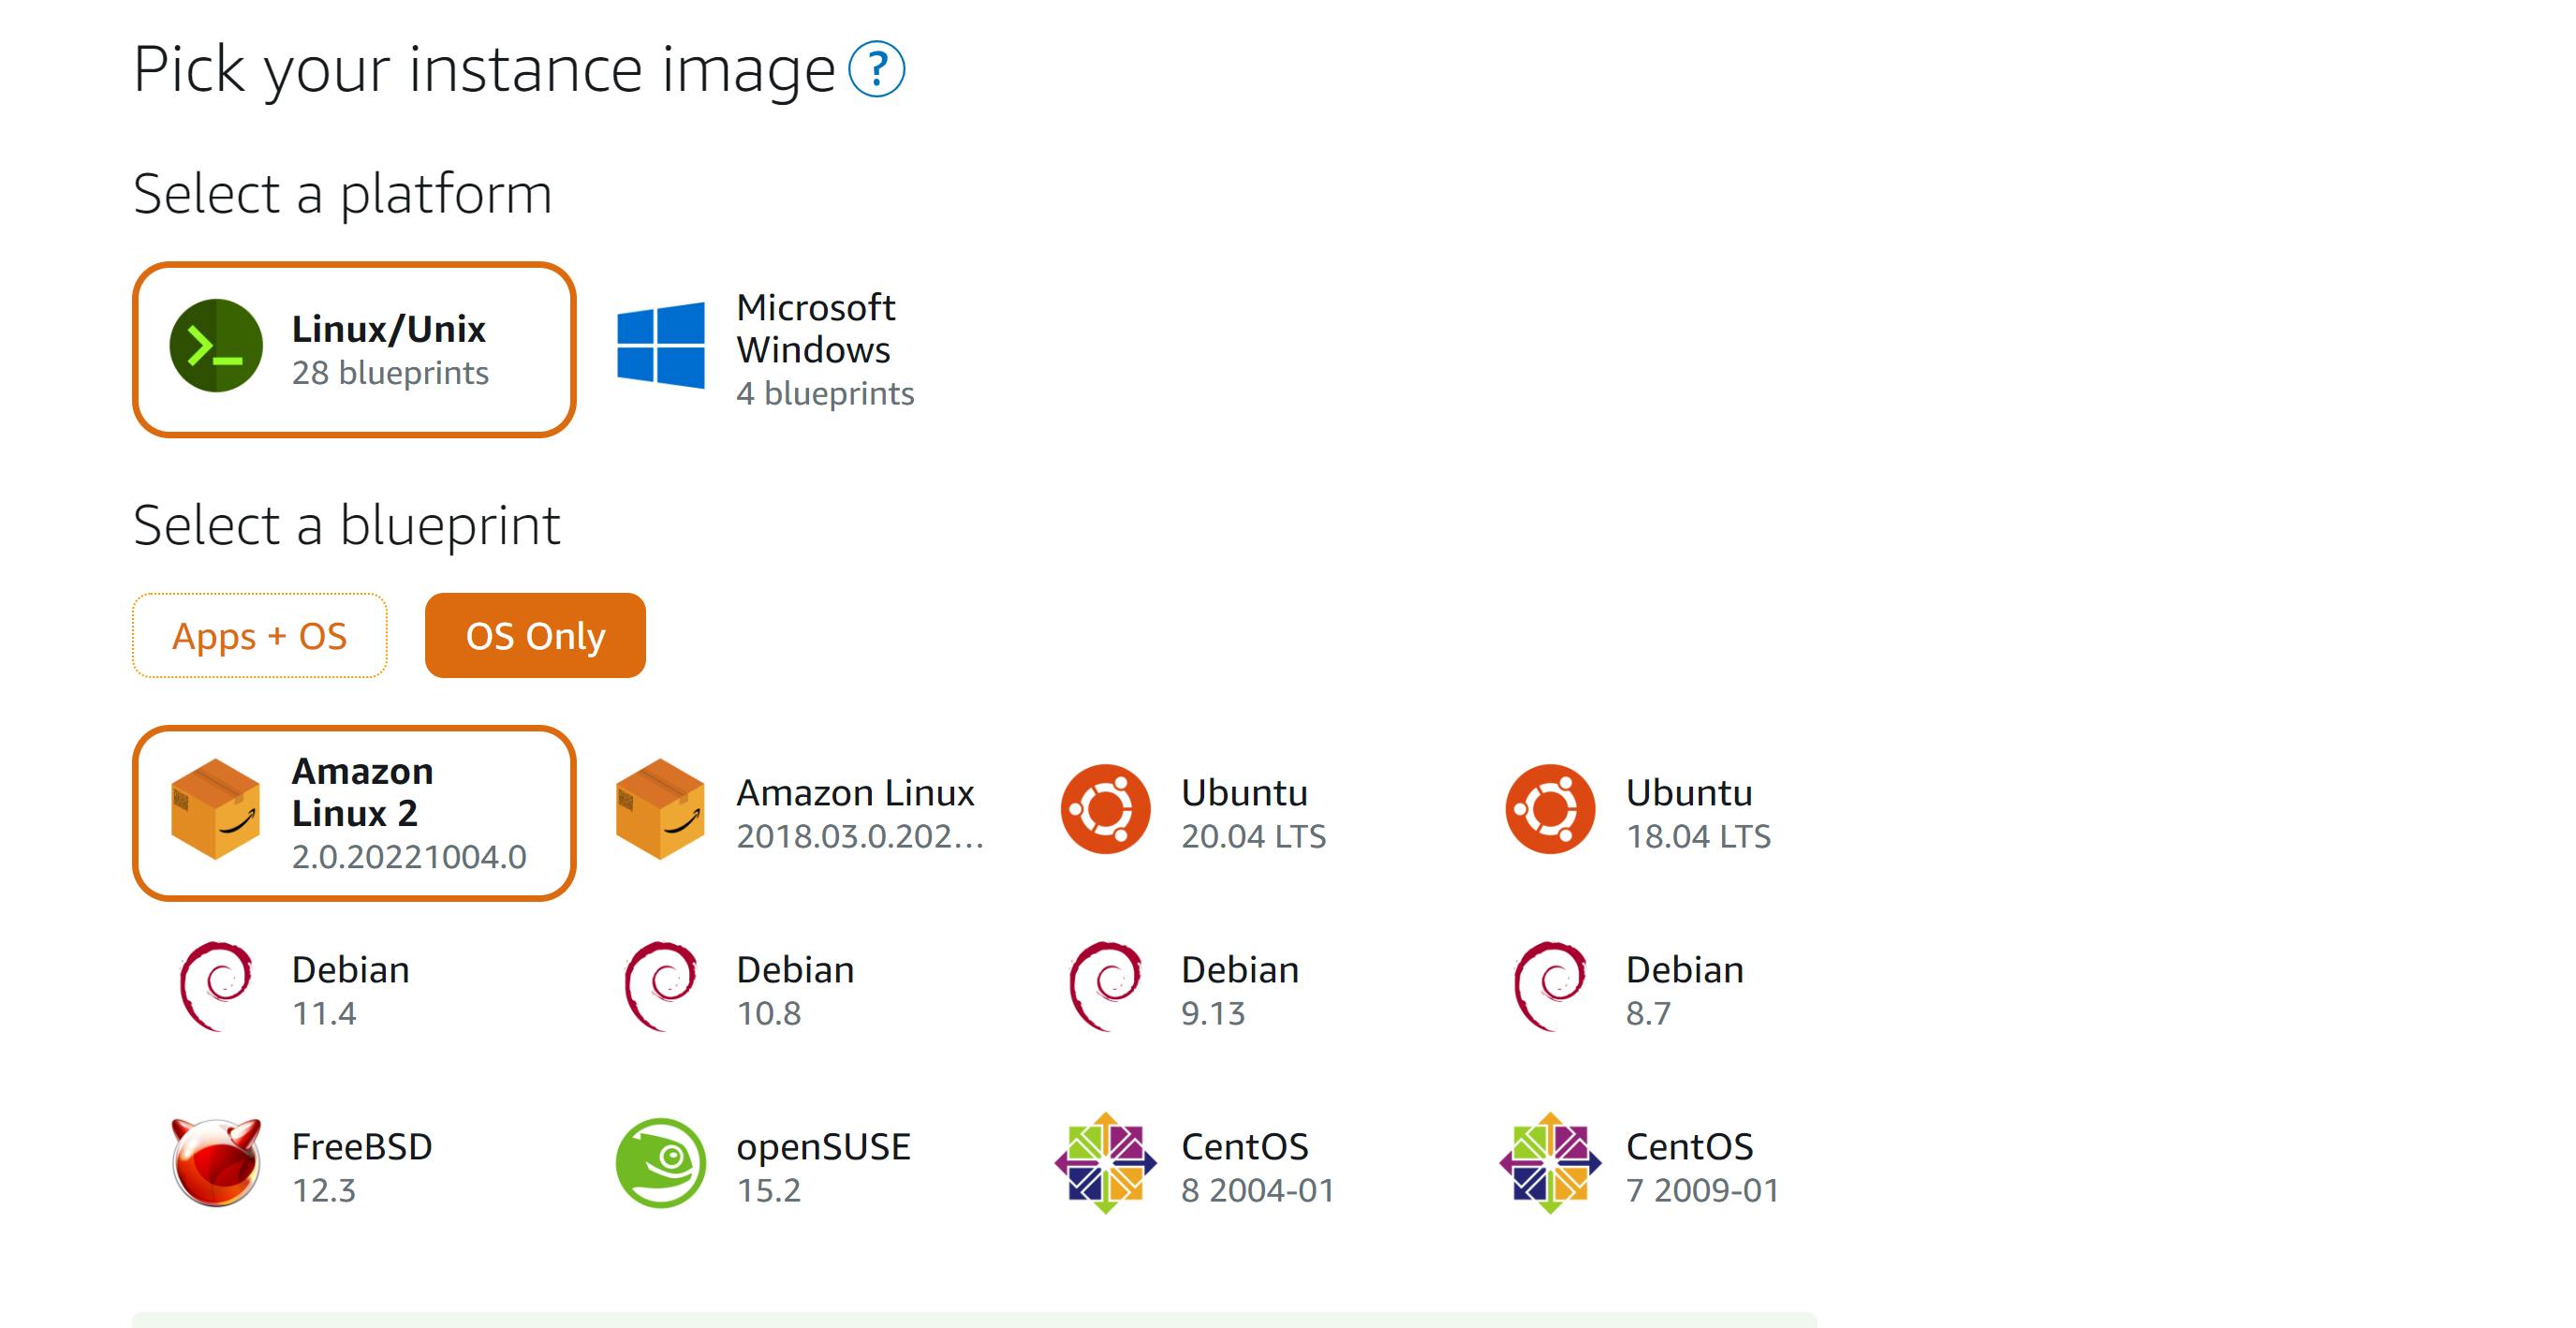
- Select an instance platform
- Choose the Linux/Unix platform option, and choose OS Only
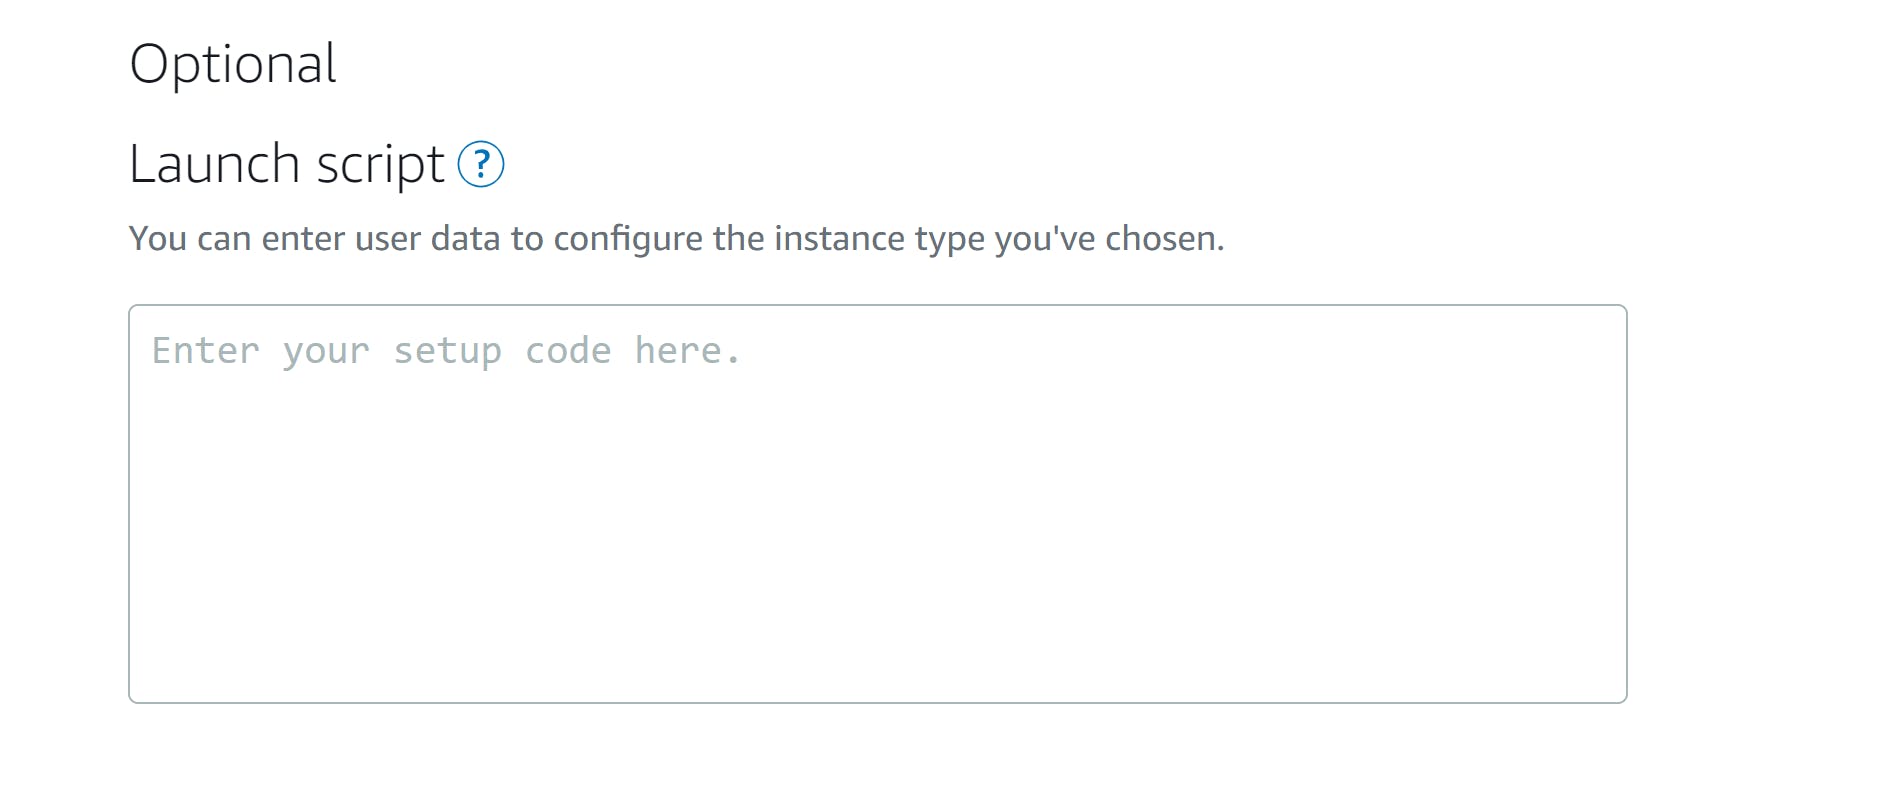
(This is optional) Select Add launch script to add a script that will run on your instance when it launches
Step 4
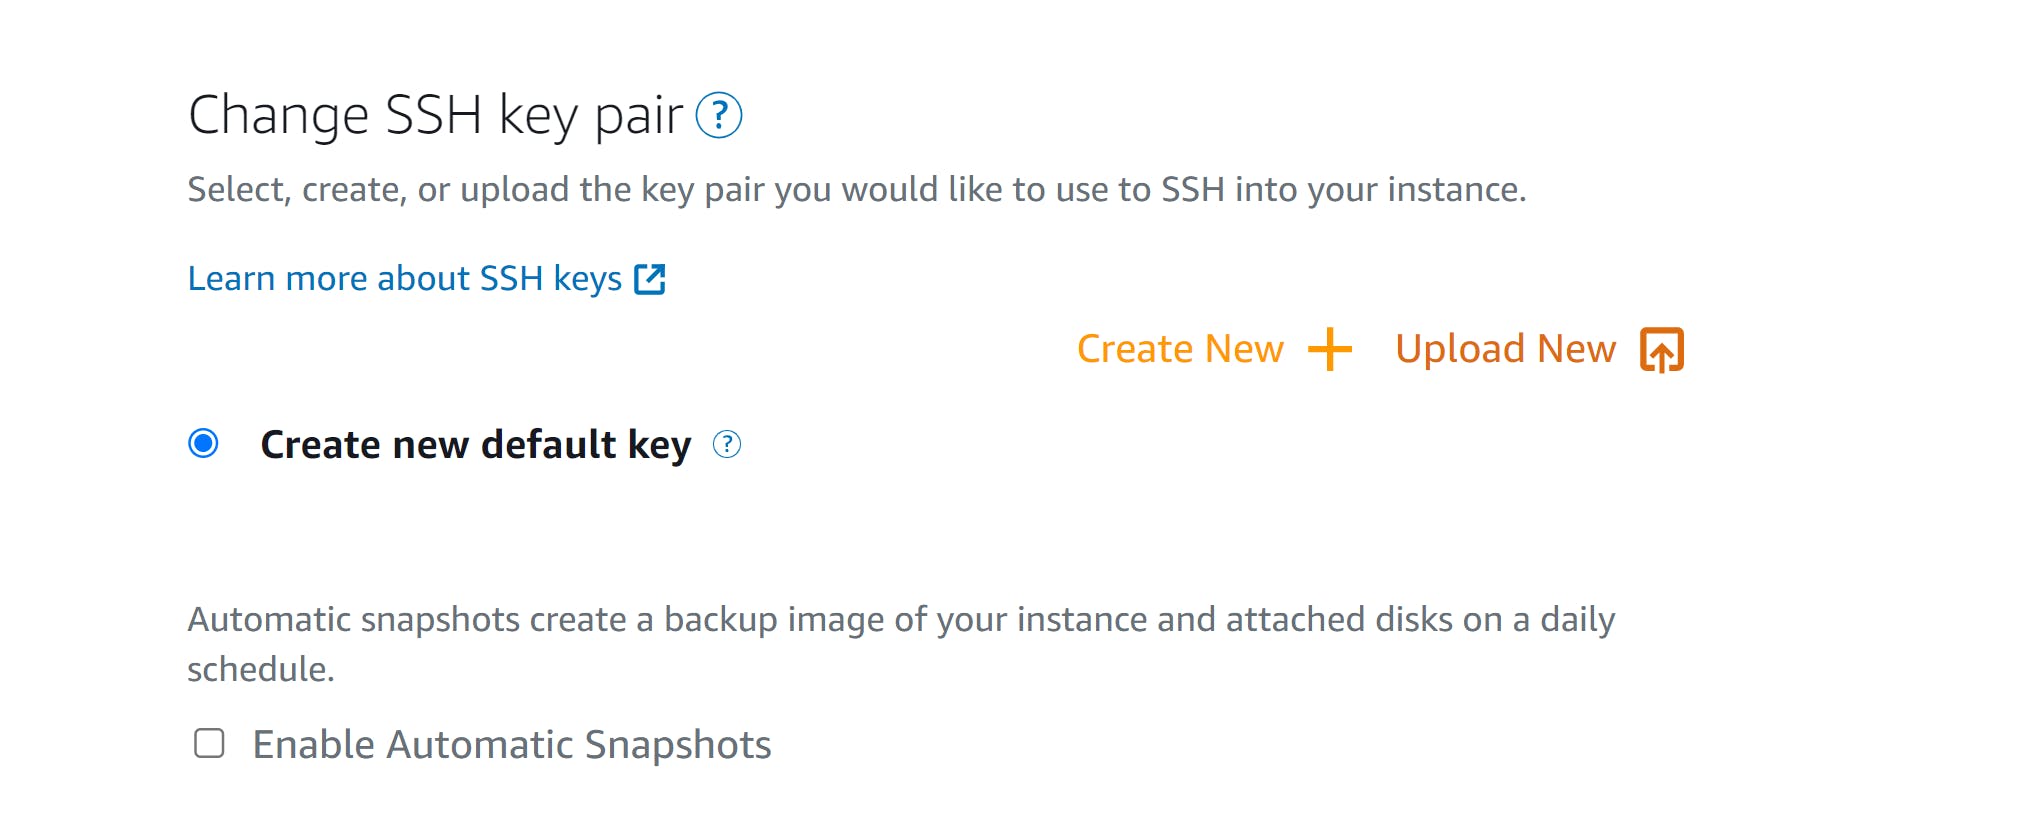
Select change SSH key pair to select, create, or upload the key pair you would like to use to SSH into your instance.
(This is optional) Enable Automatic Snapshots if you want to automatically create a backup of your instance image
Step 5
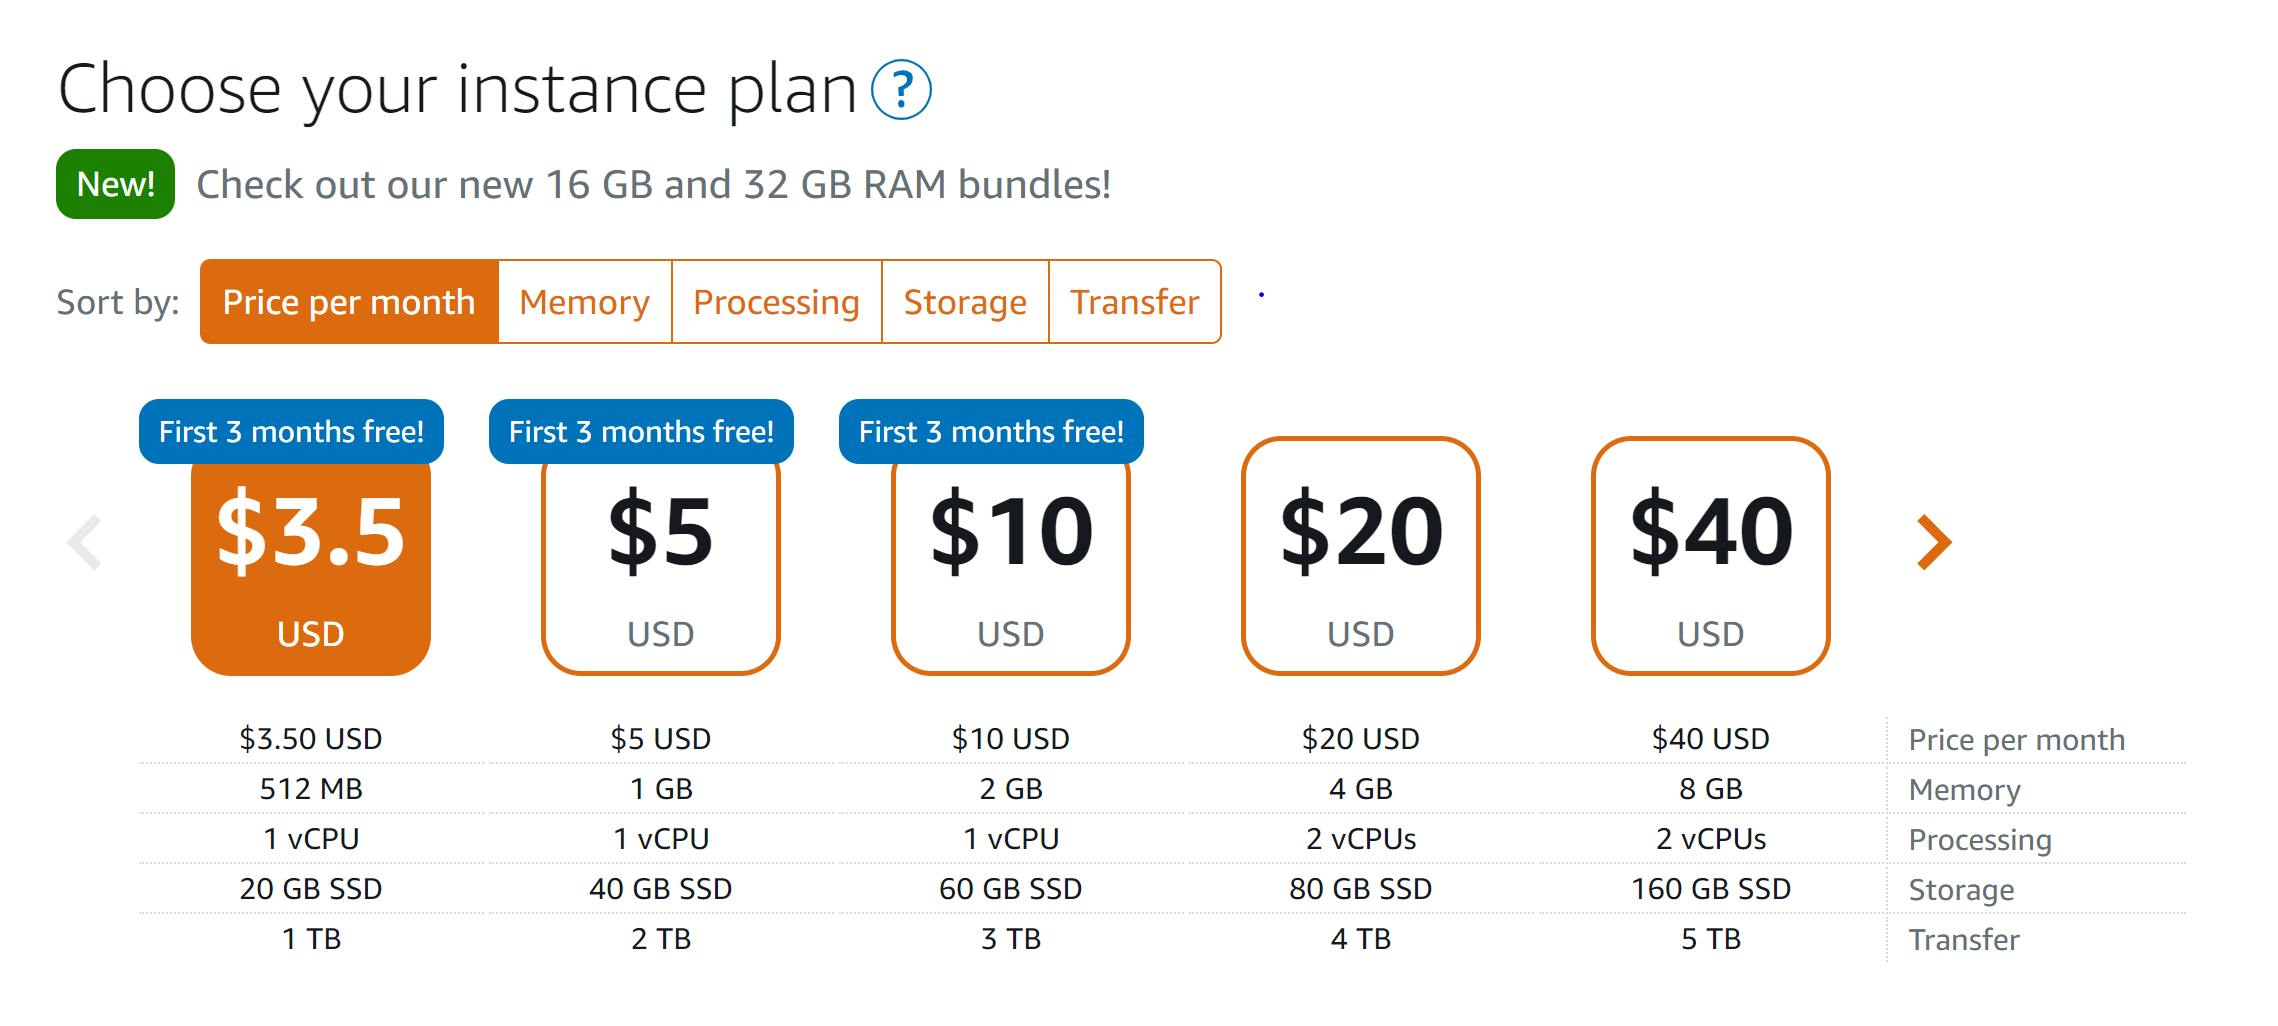
- Select an instance plan
- Select the $3.5 plan (It's within the free tier)
Step 6
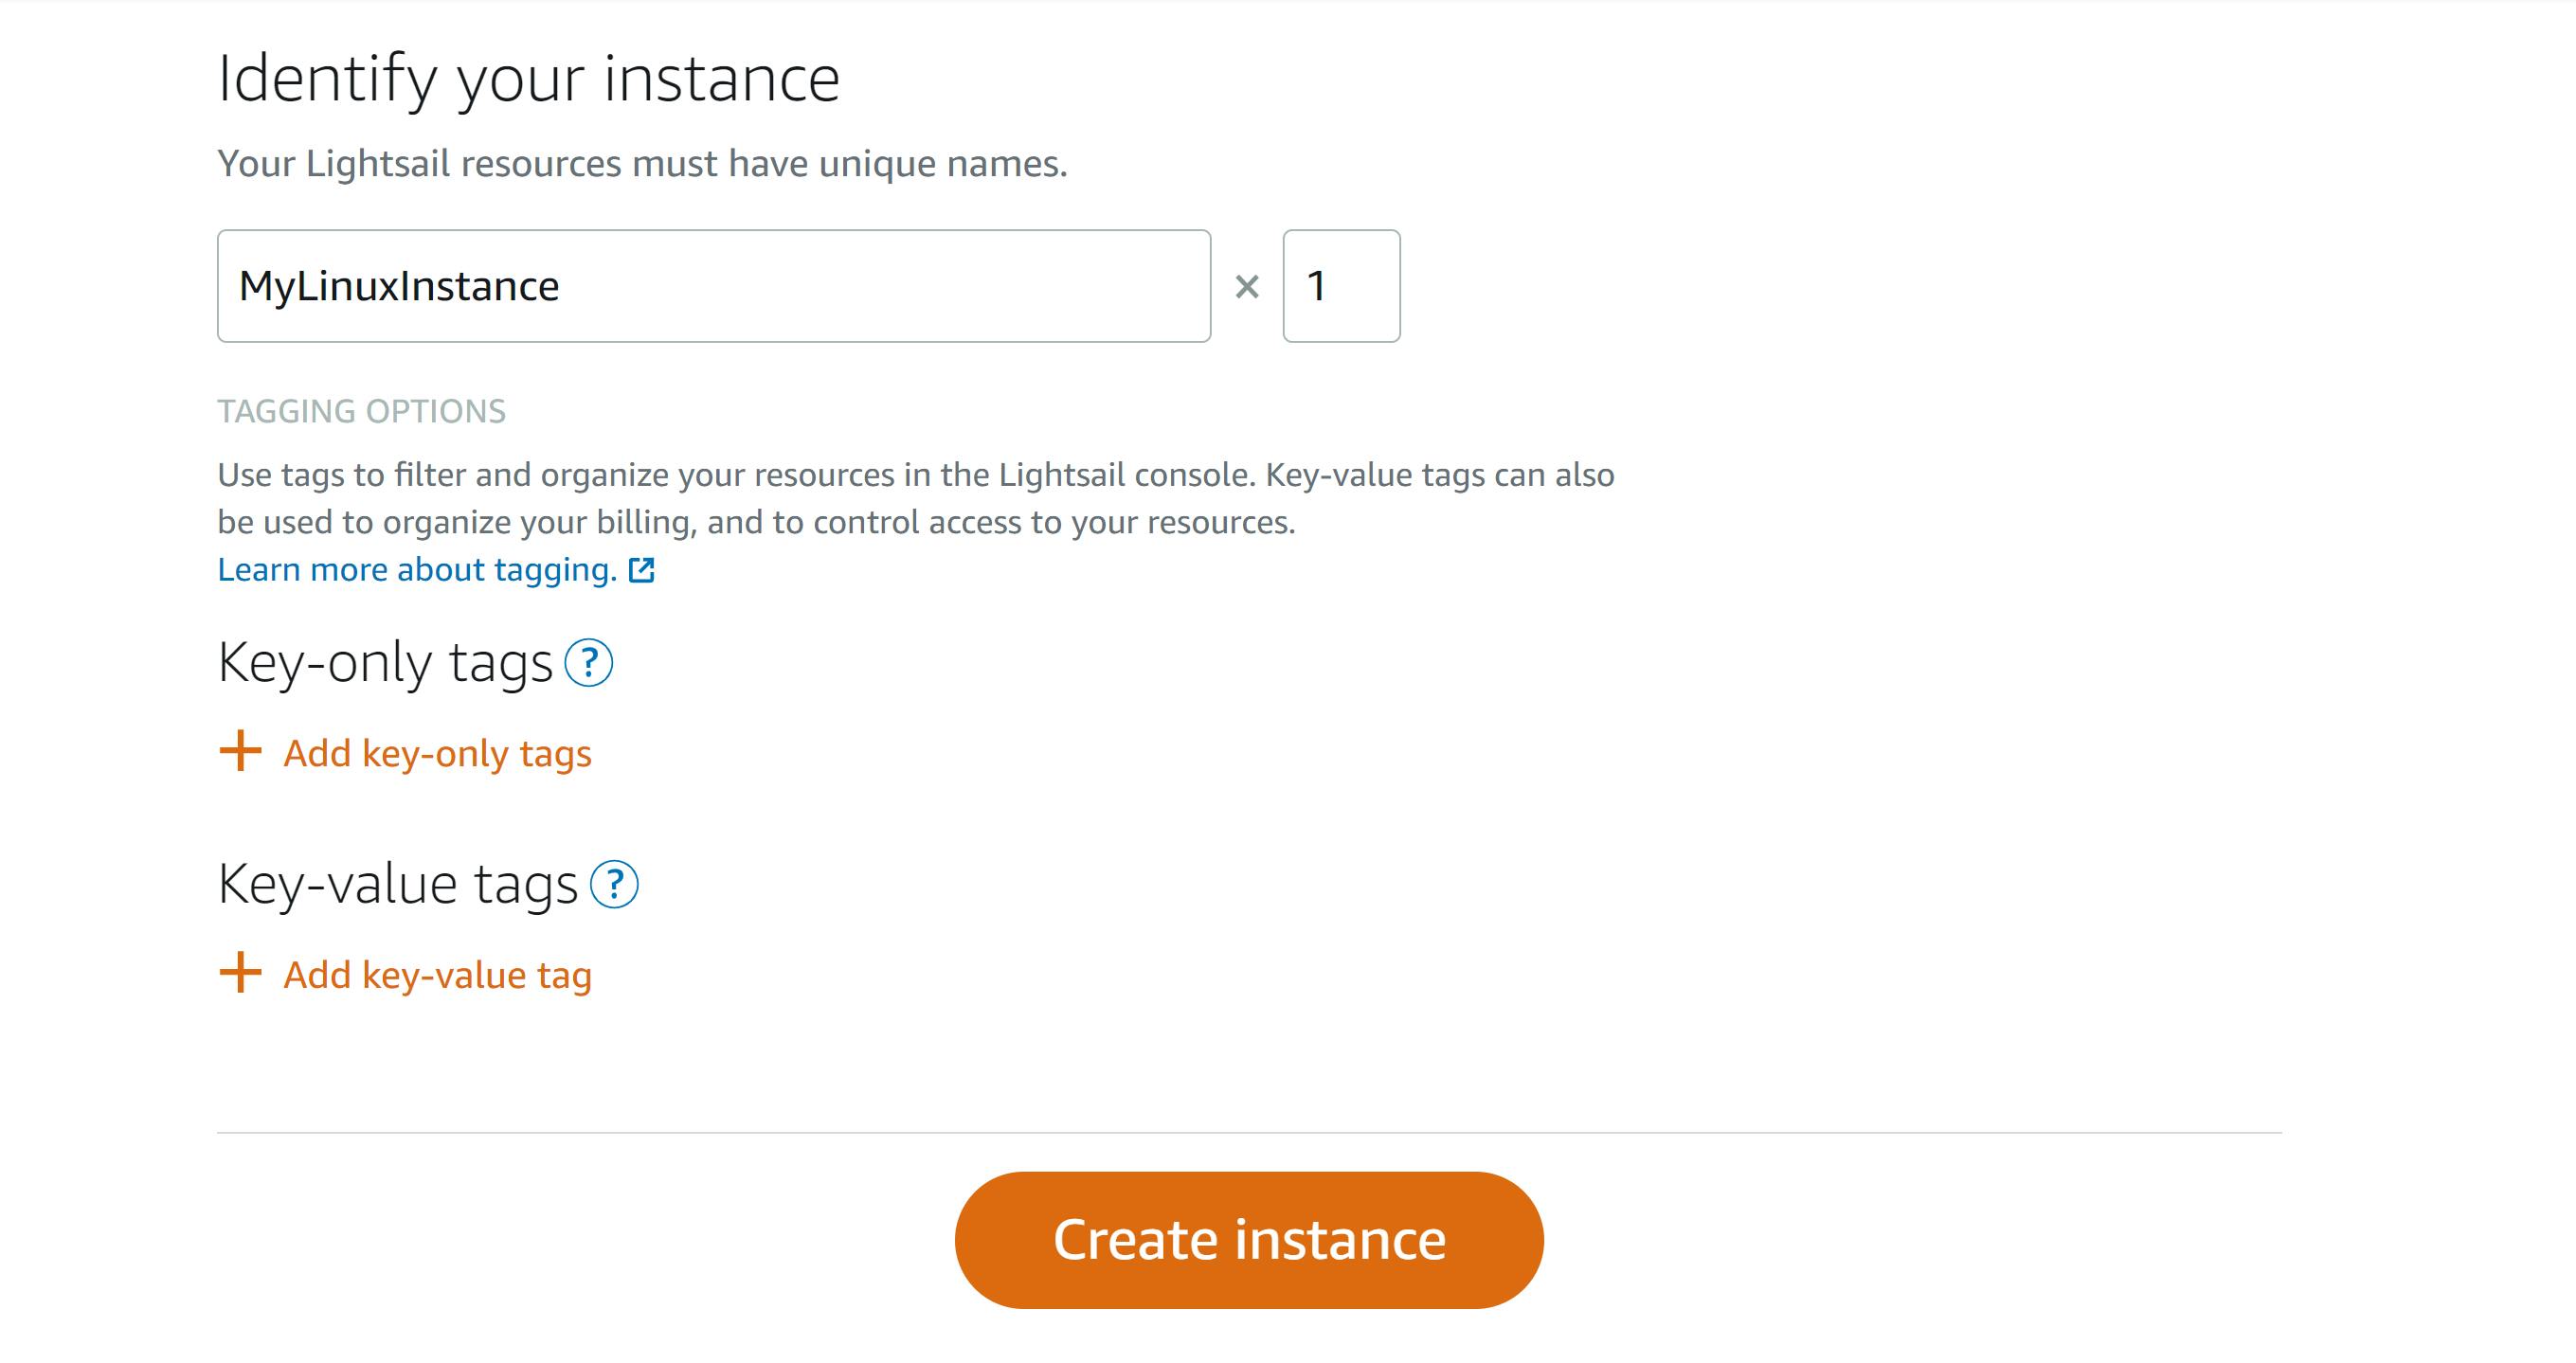
- Name your instance
- Leave the tag option as default
- Select create instance
Step 7
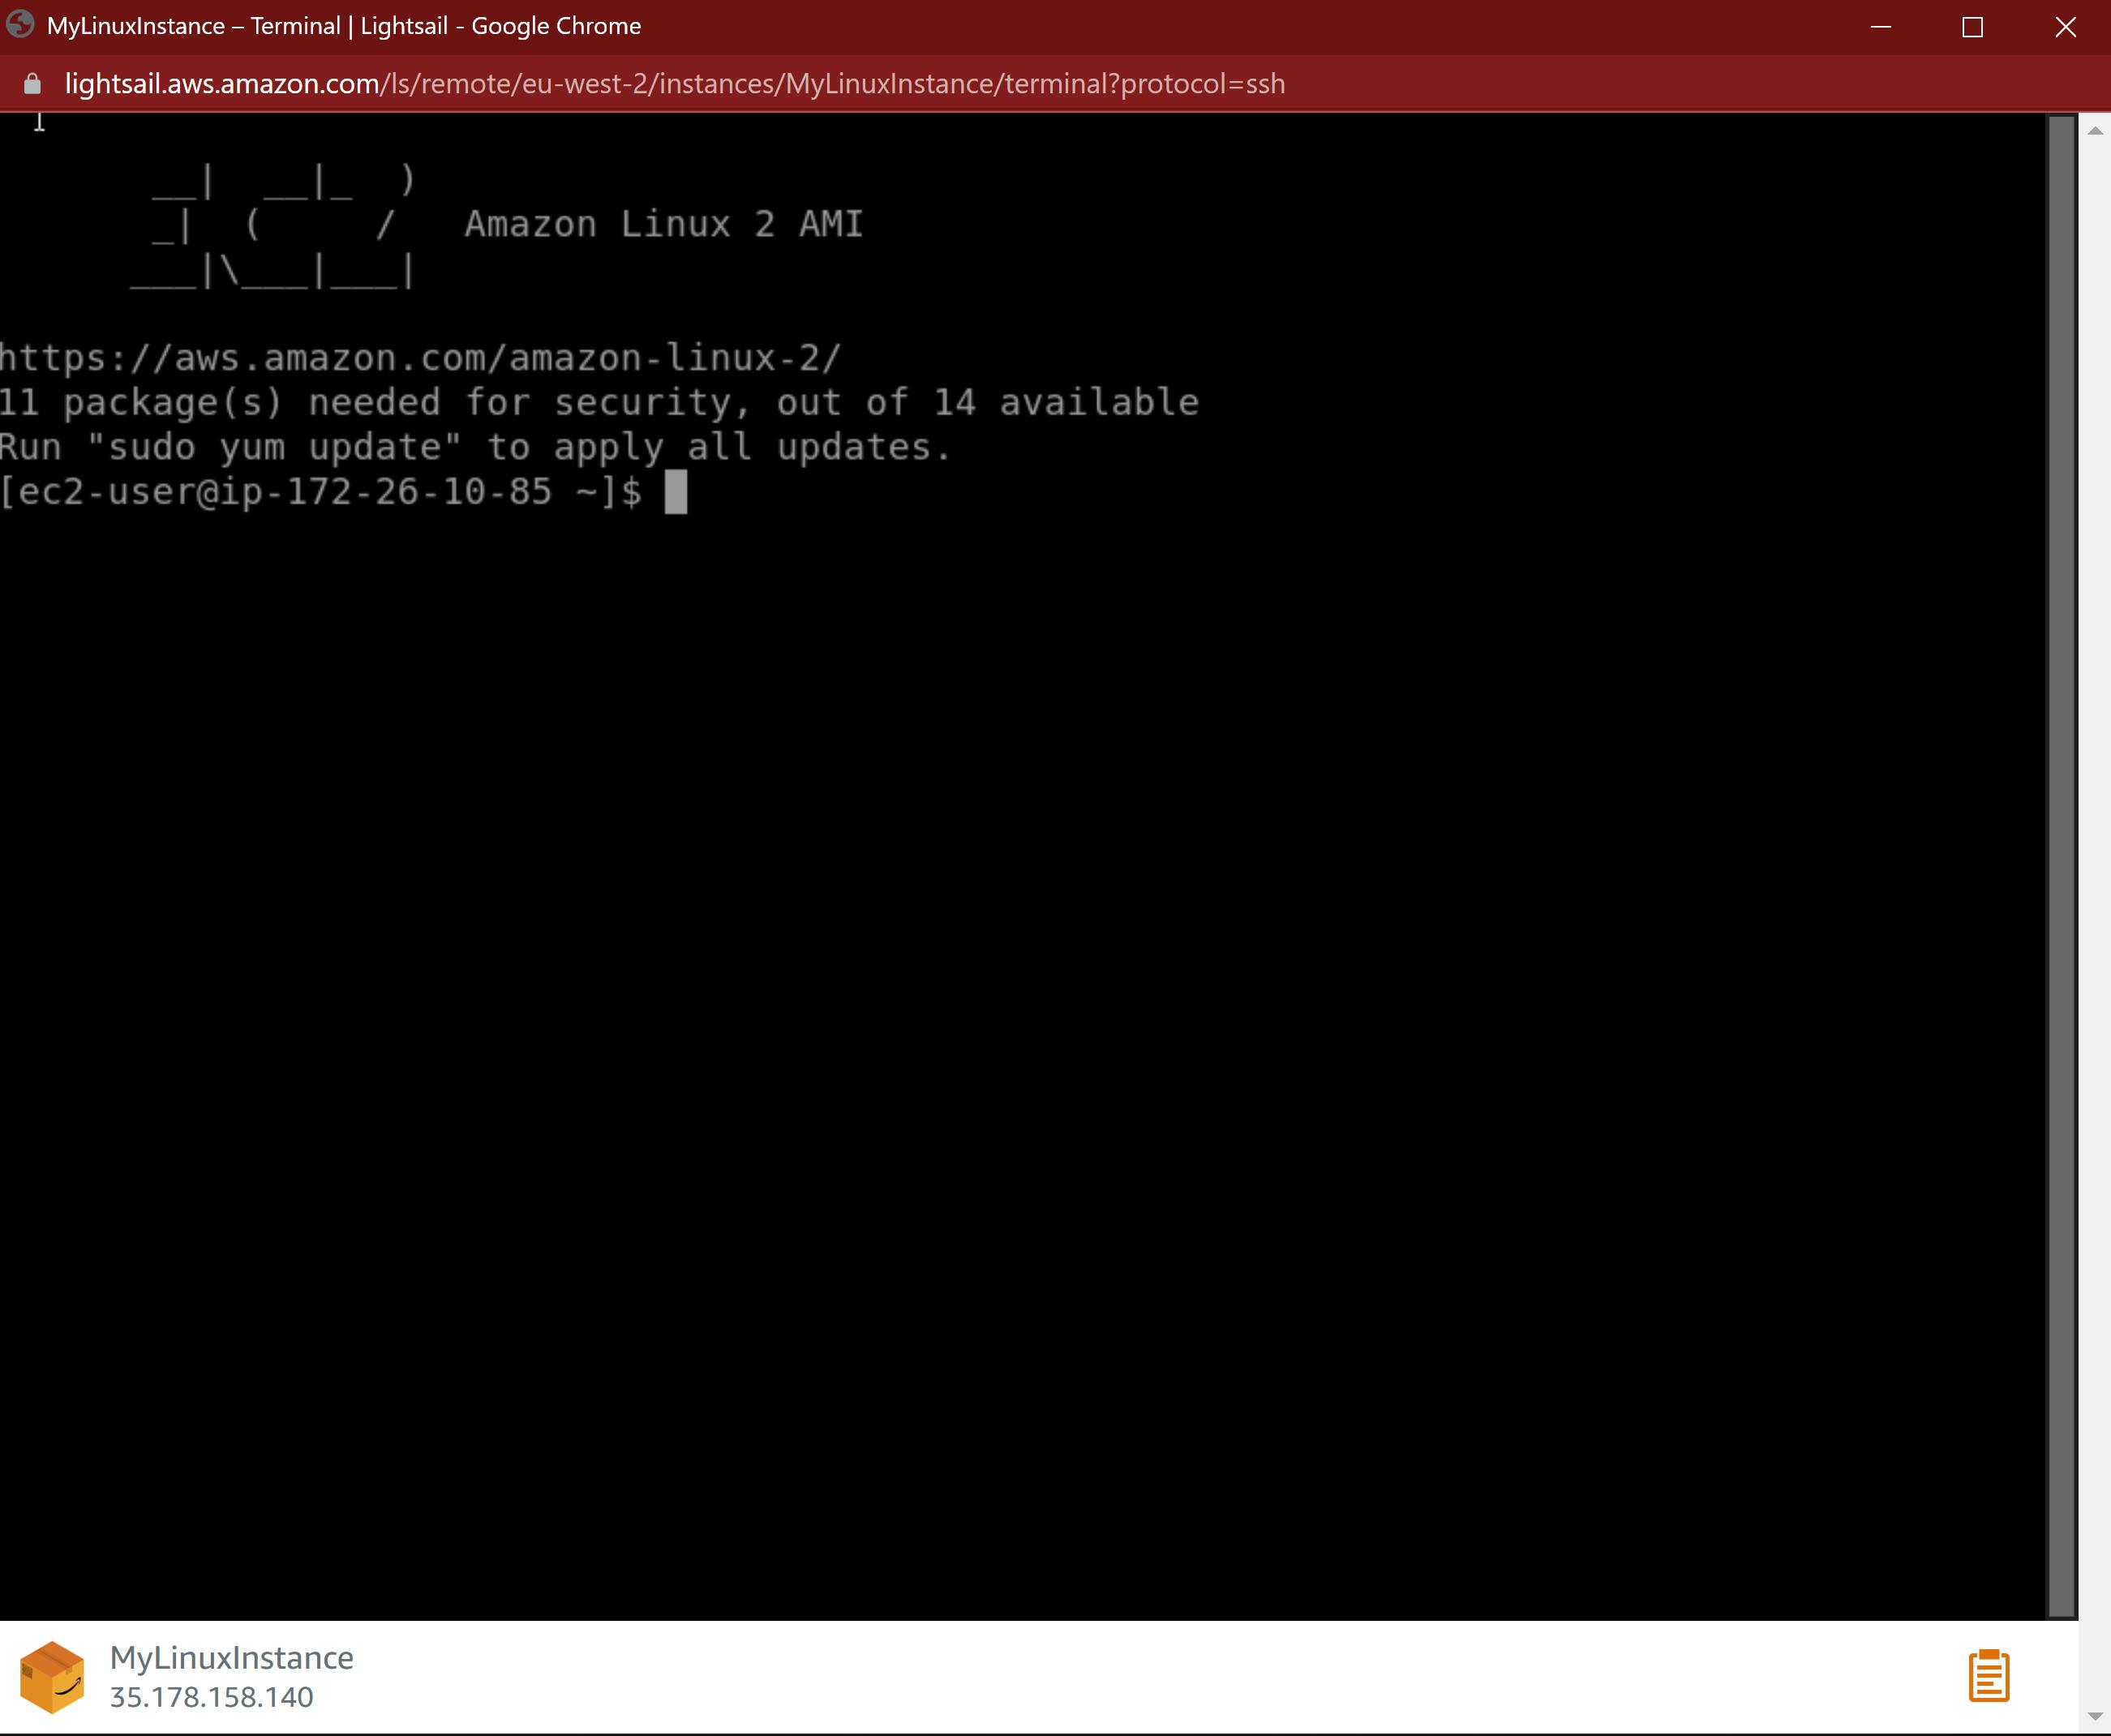
Our instance has been created successfully Now let's connect to our instance
- Click the terminal icon, or the ellipsis (⋮) icon and click connect
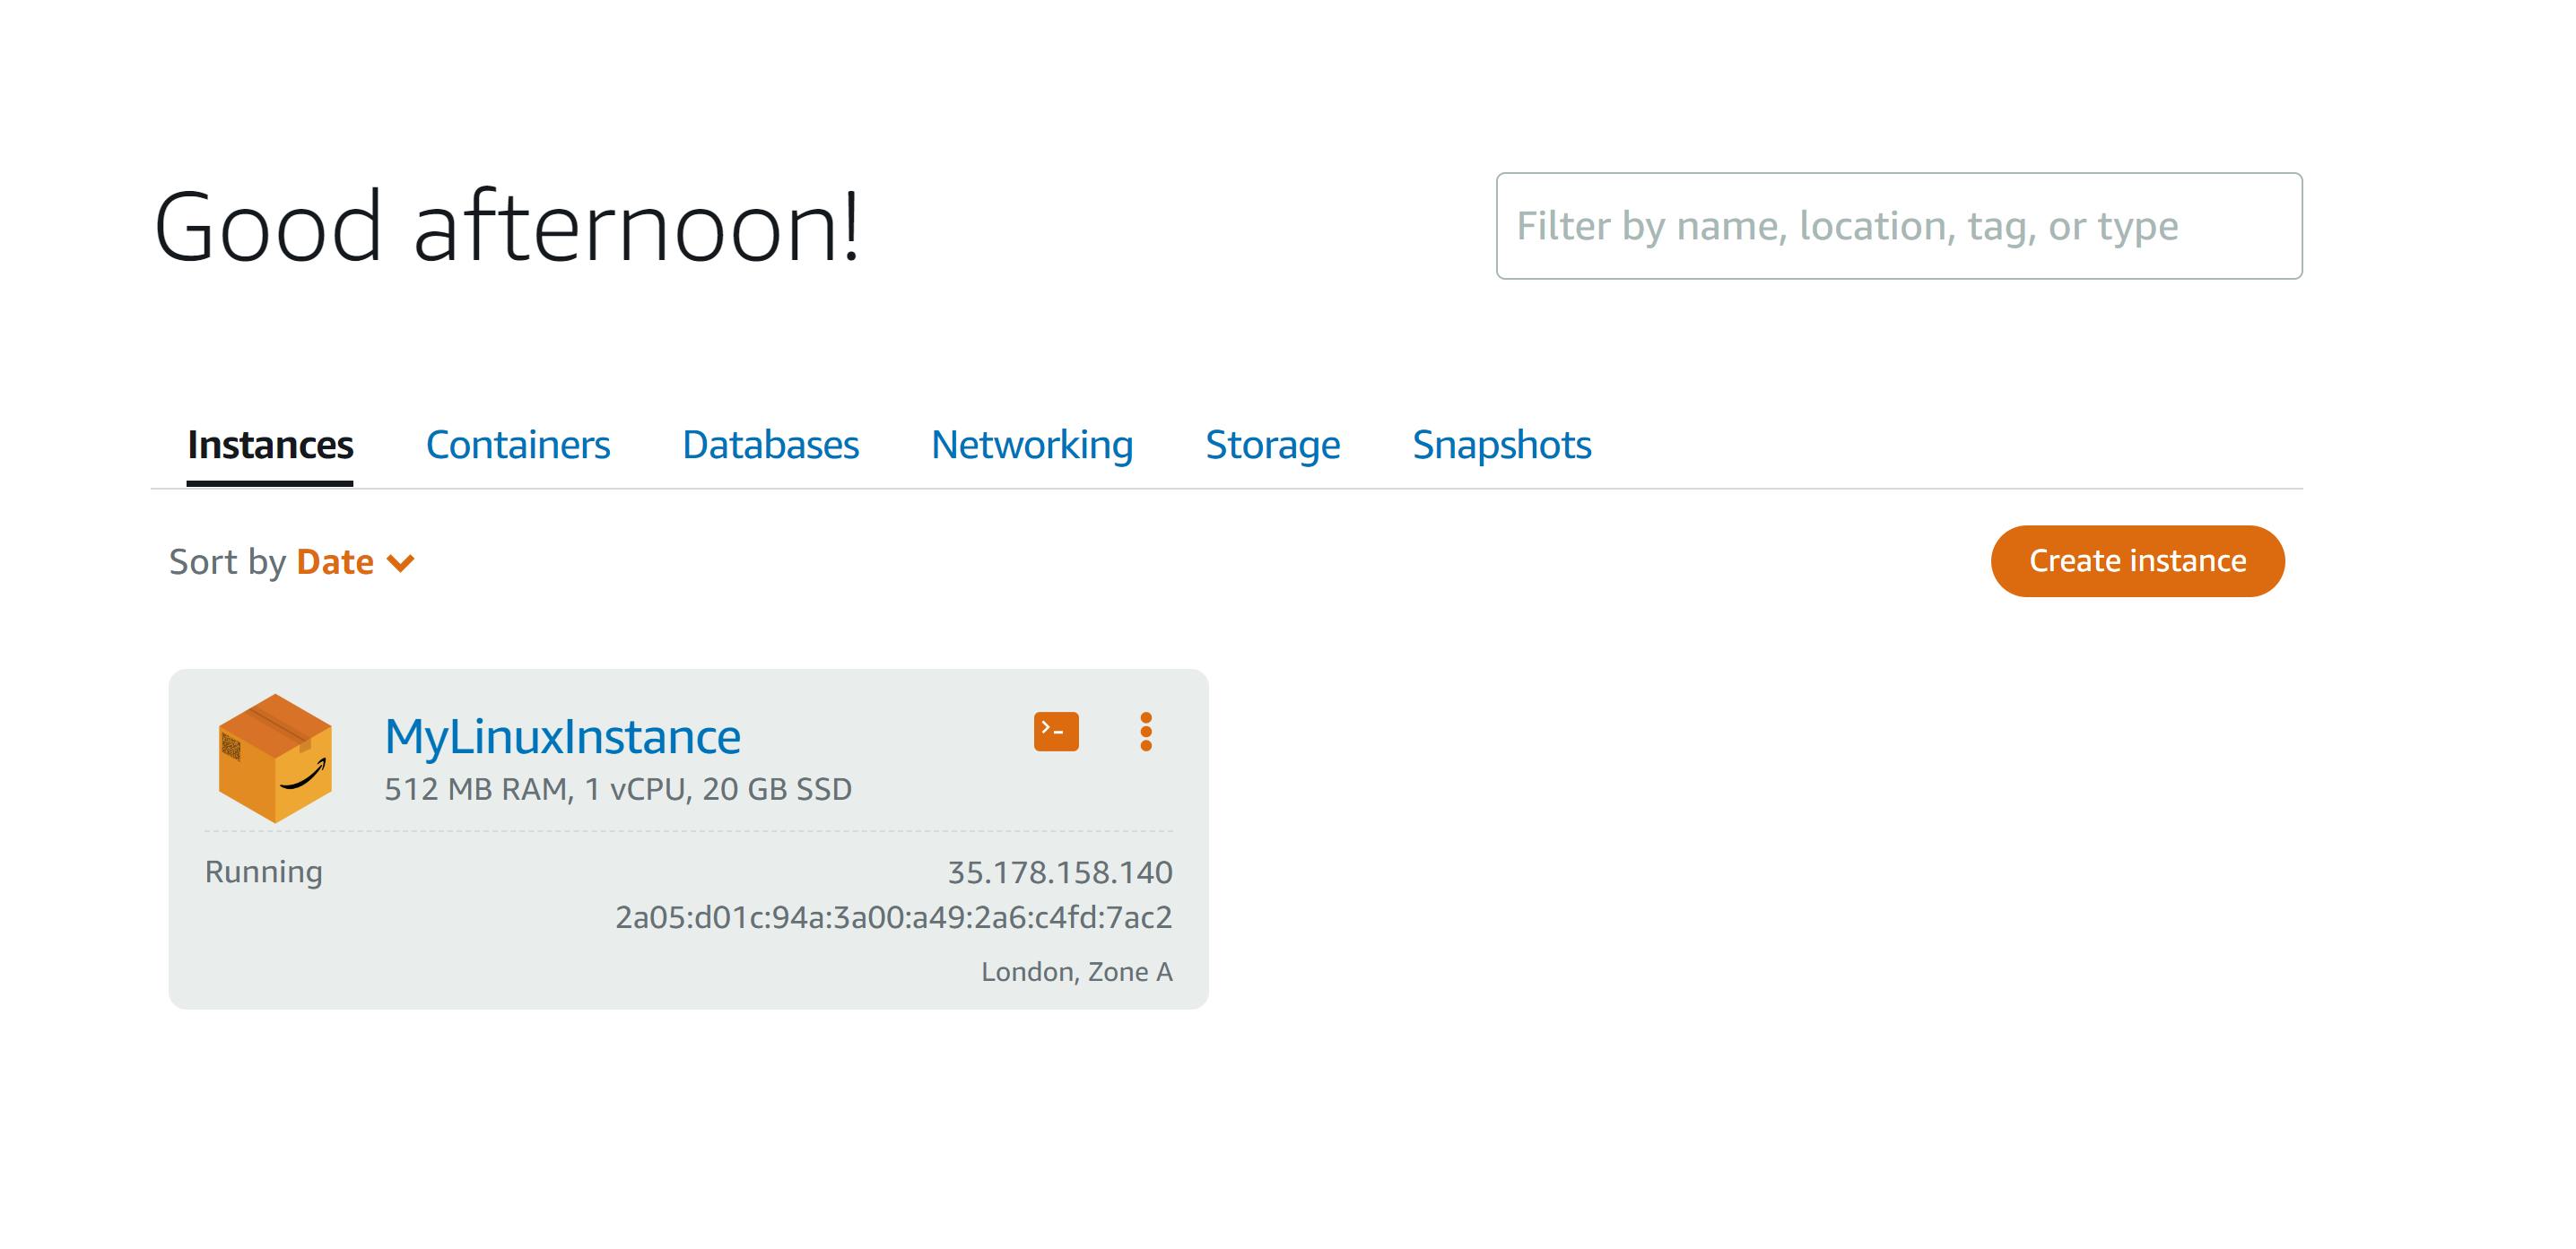
Yes! our Linux instance is up and running
