

Hello!
Today we will be launching a Windows EC2 instance using the AWS management console.
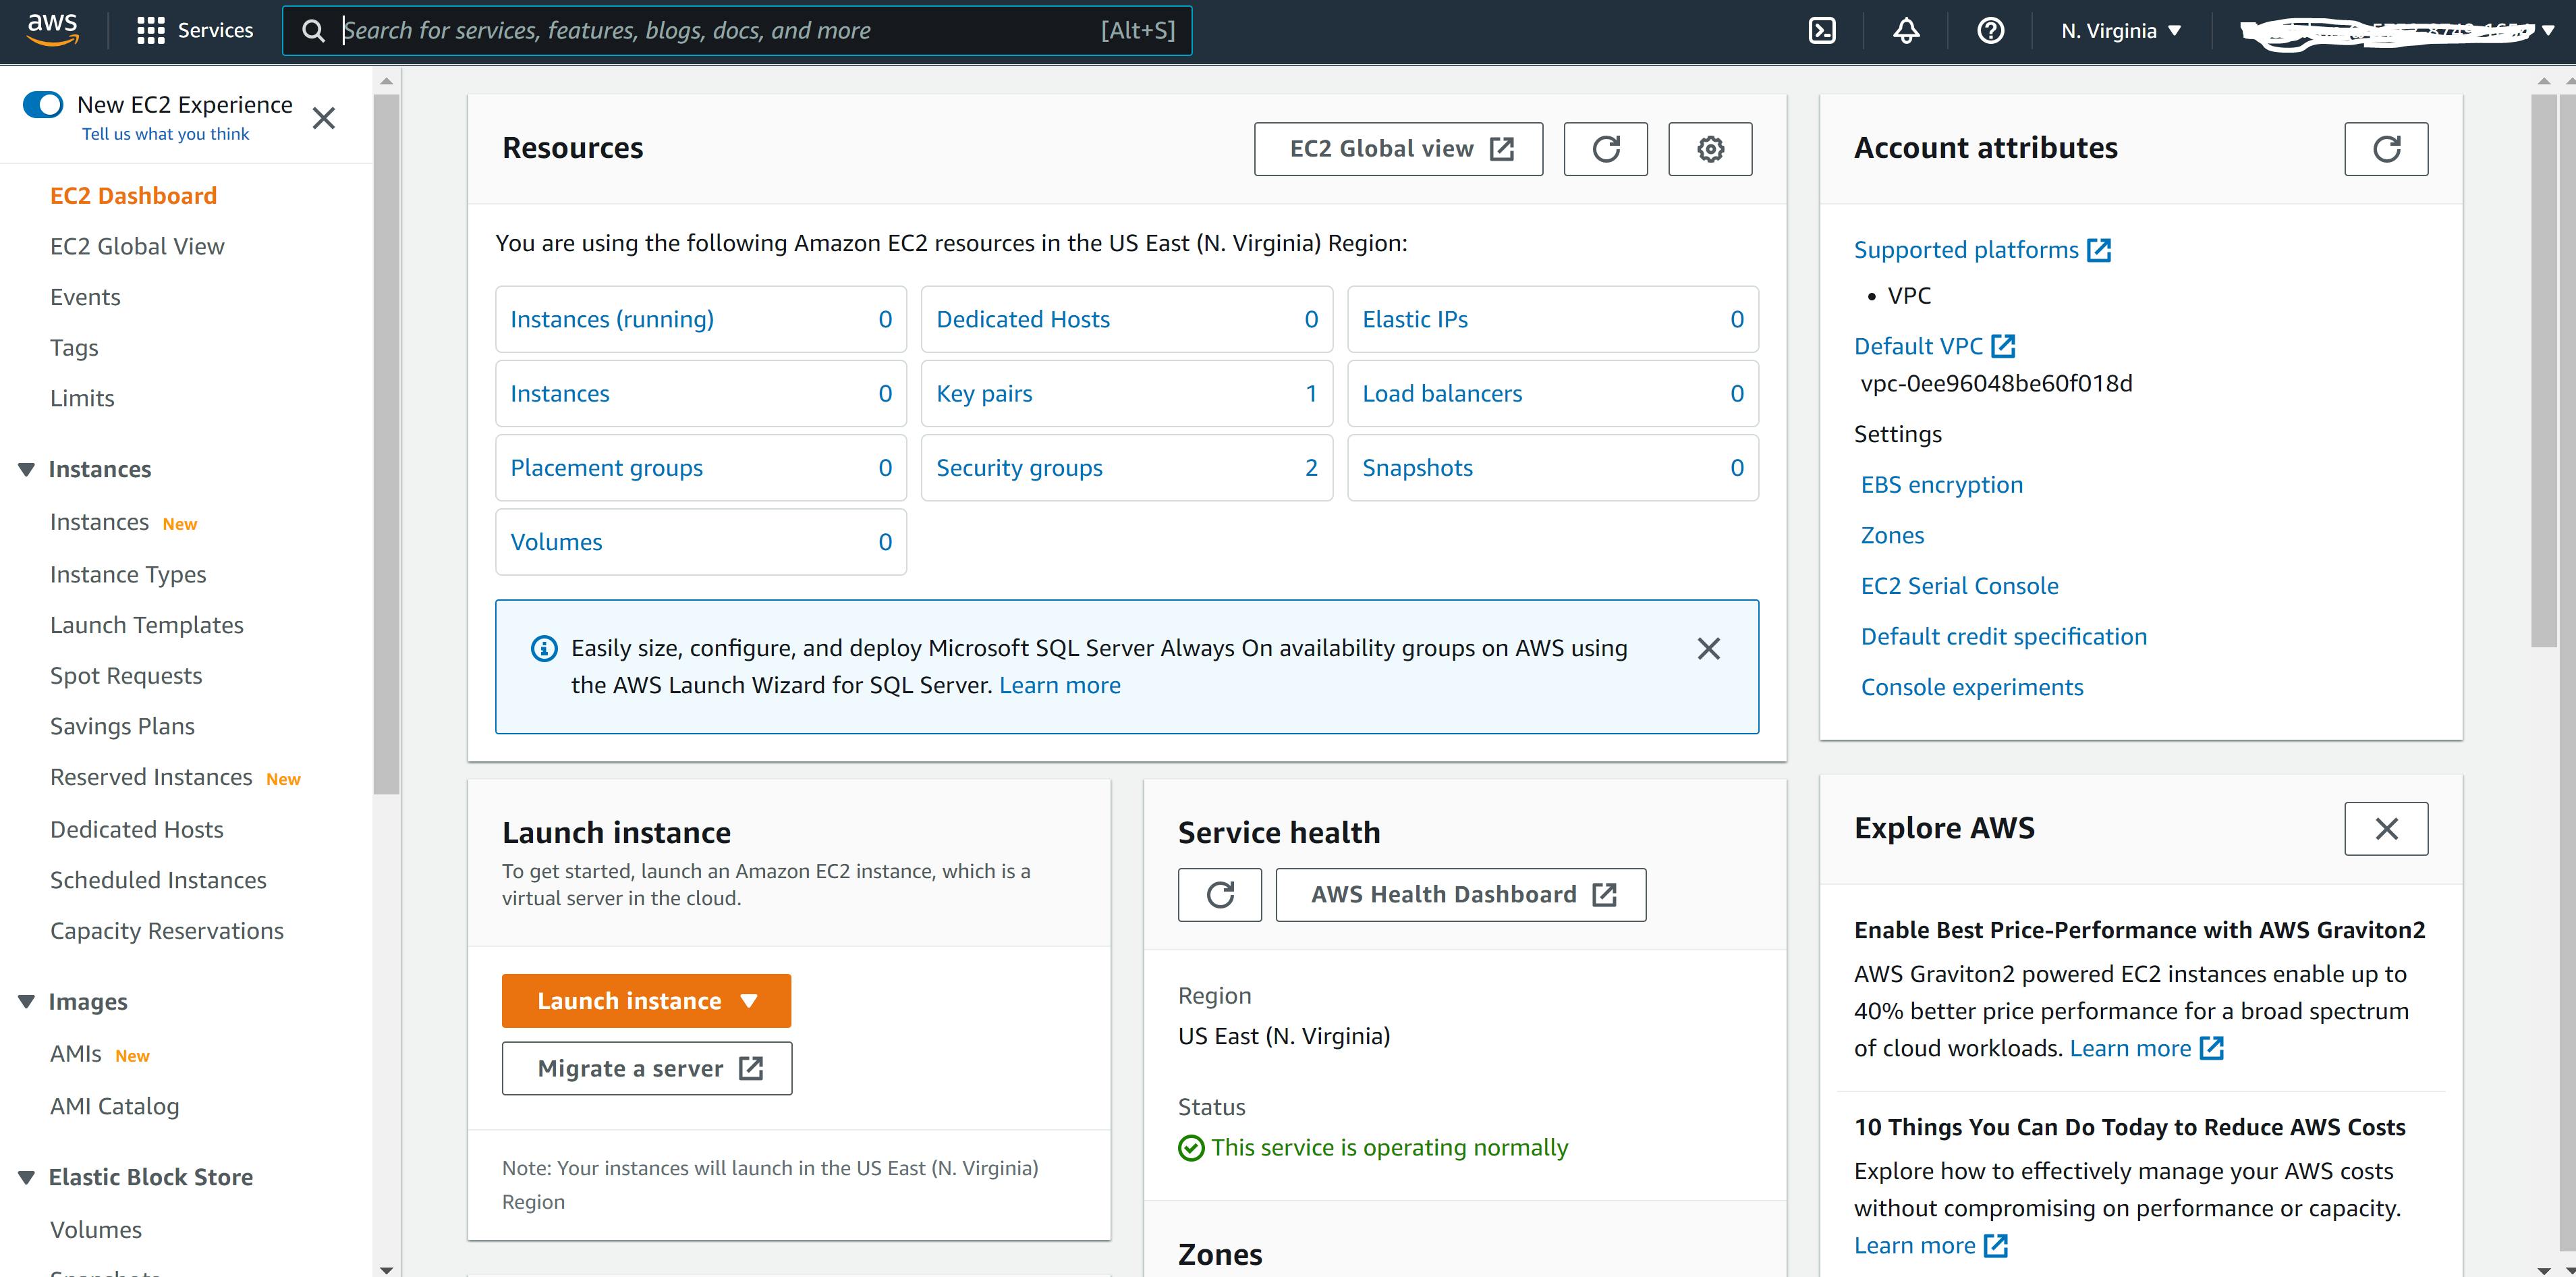
Step 1
Log in to the AWS account and navigate to the EC2 dashboard Click on Launch instance
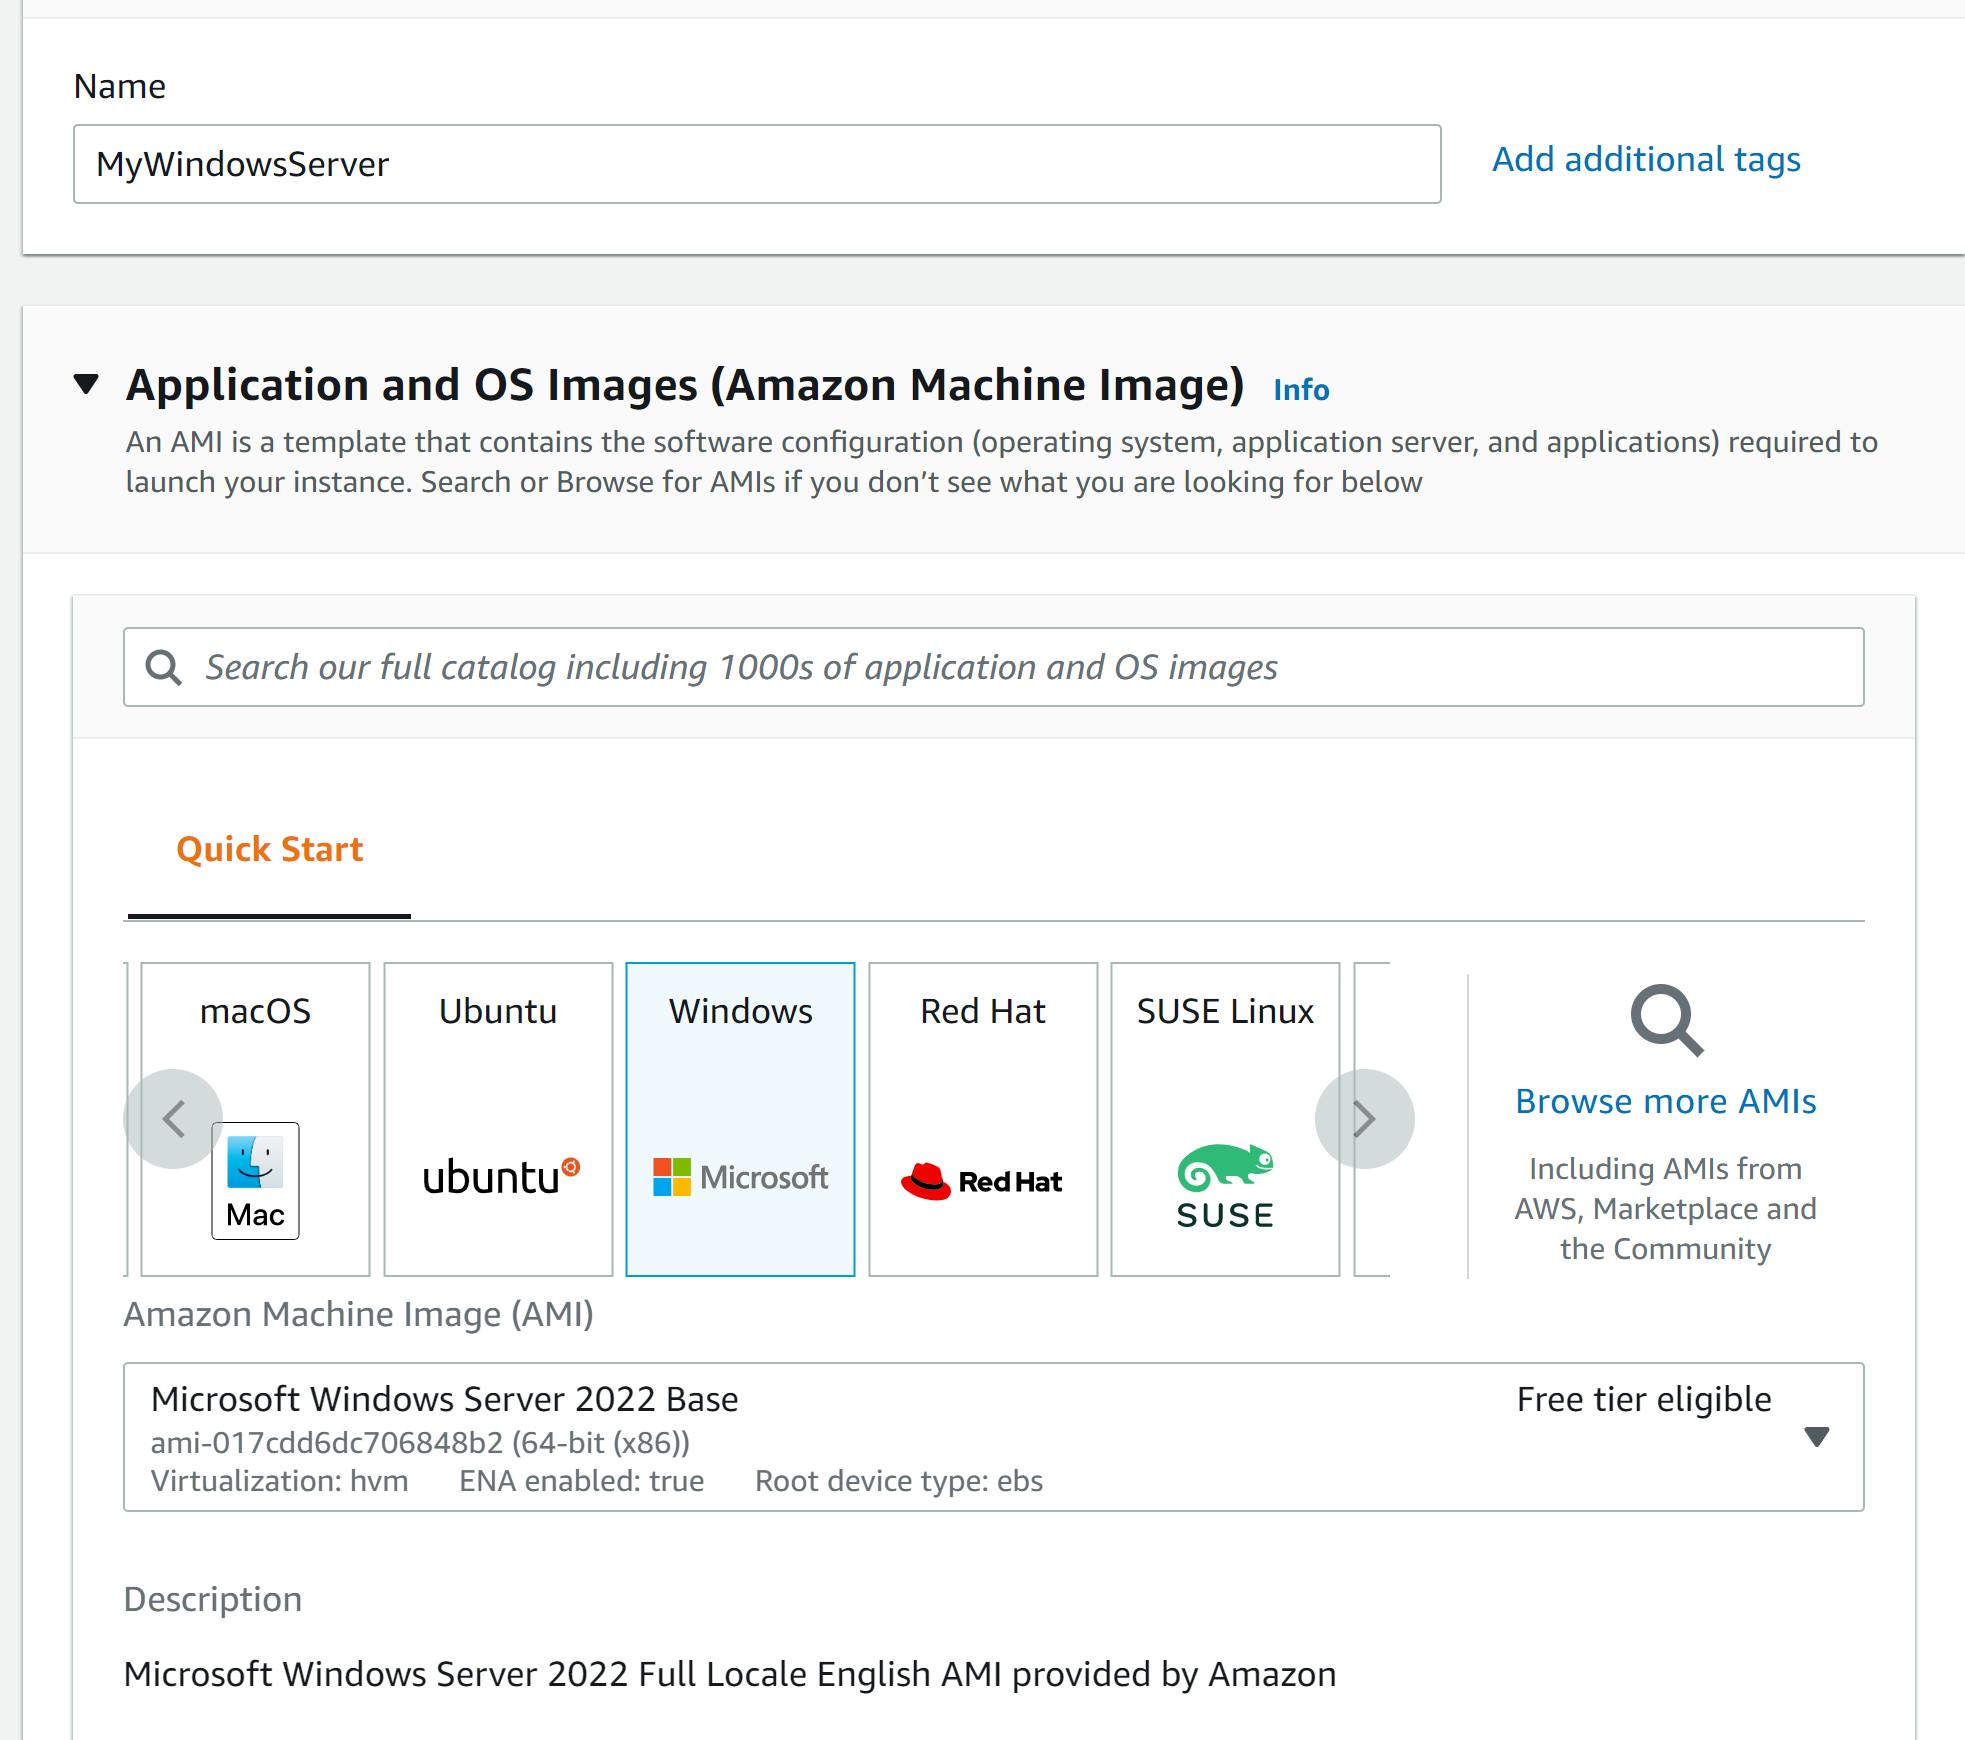
Step 2
Here you will be required to input some details and make some selections. Choose a name for your instance Selection an AMI in this case we will choose windows
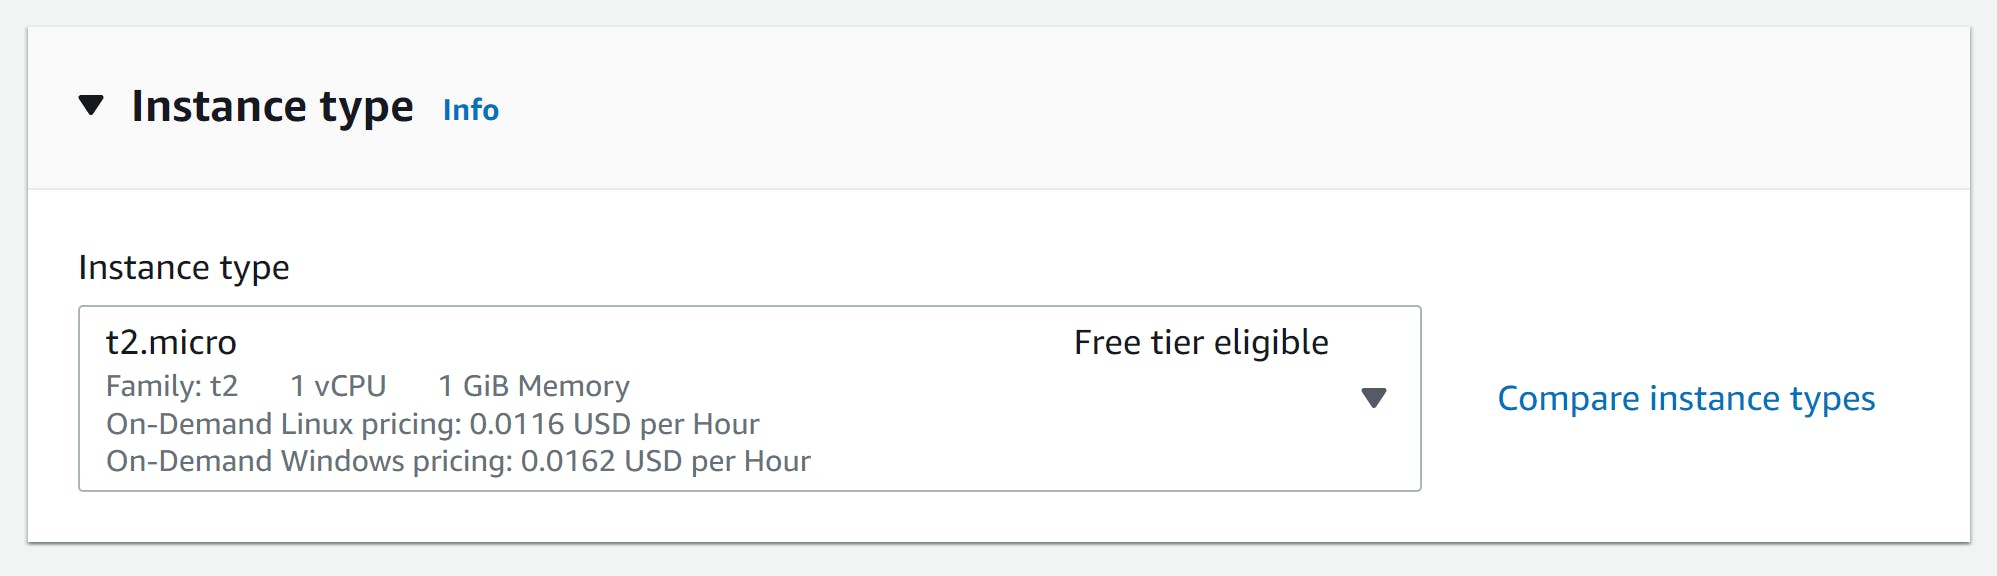
Step 3
This is where you select your RAM, CPU, Hard disk etc Select the t2 micro (it's within the free tier)
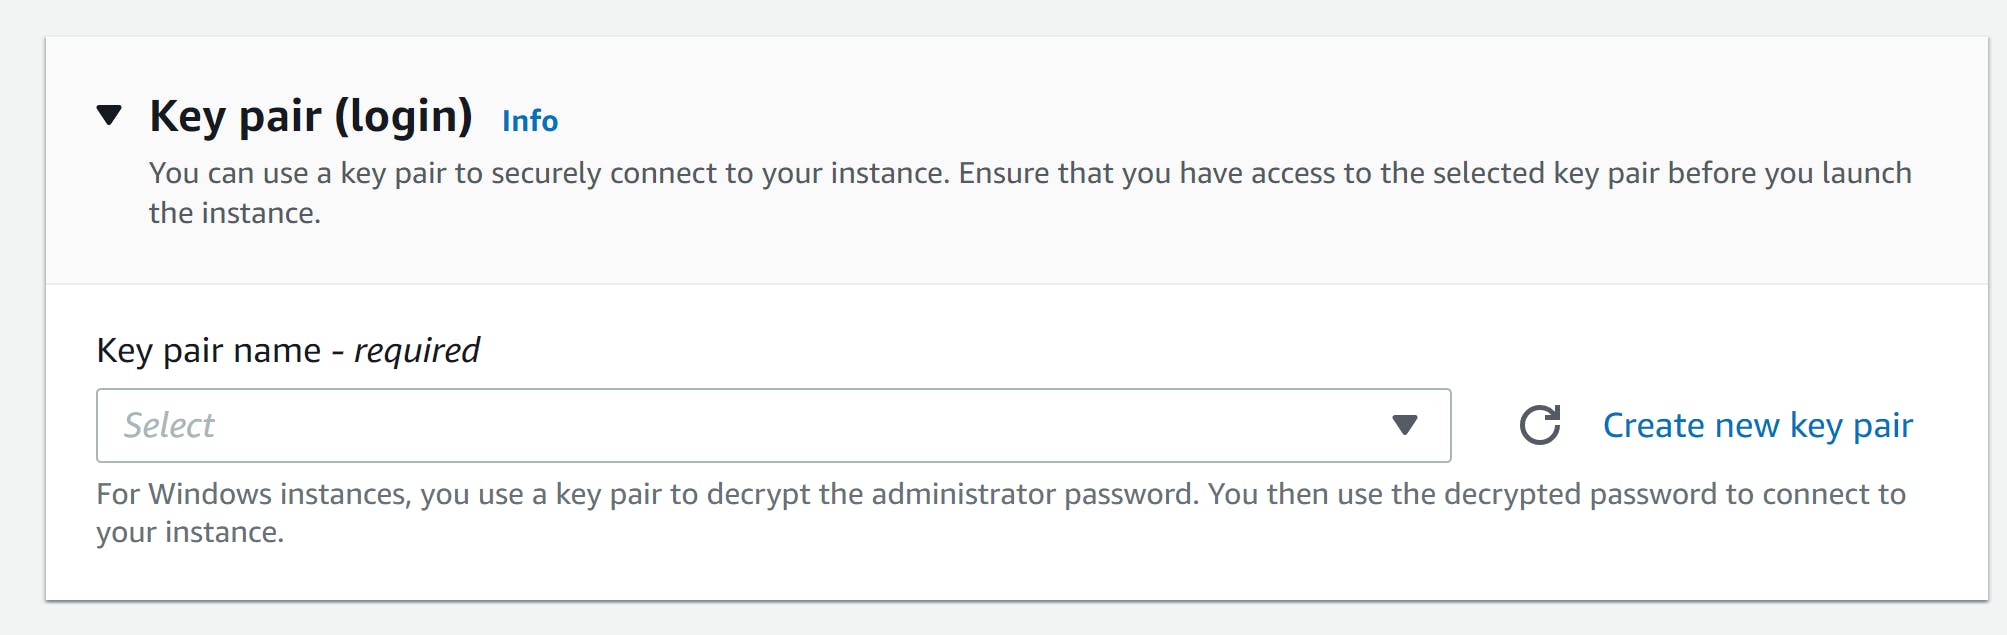
Step 4
Select an existing key pair or create a new one. for this purpose, we will create a new key pair
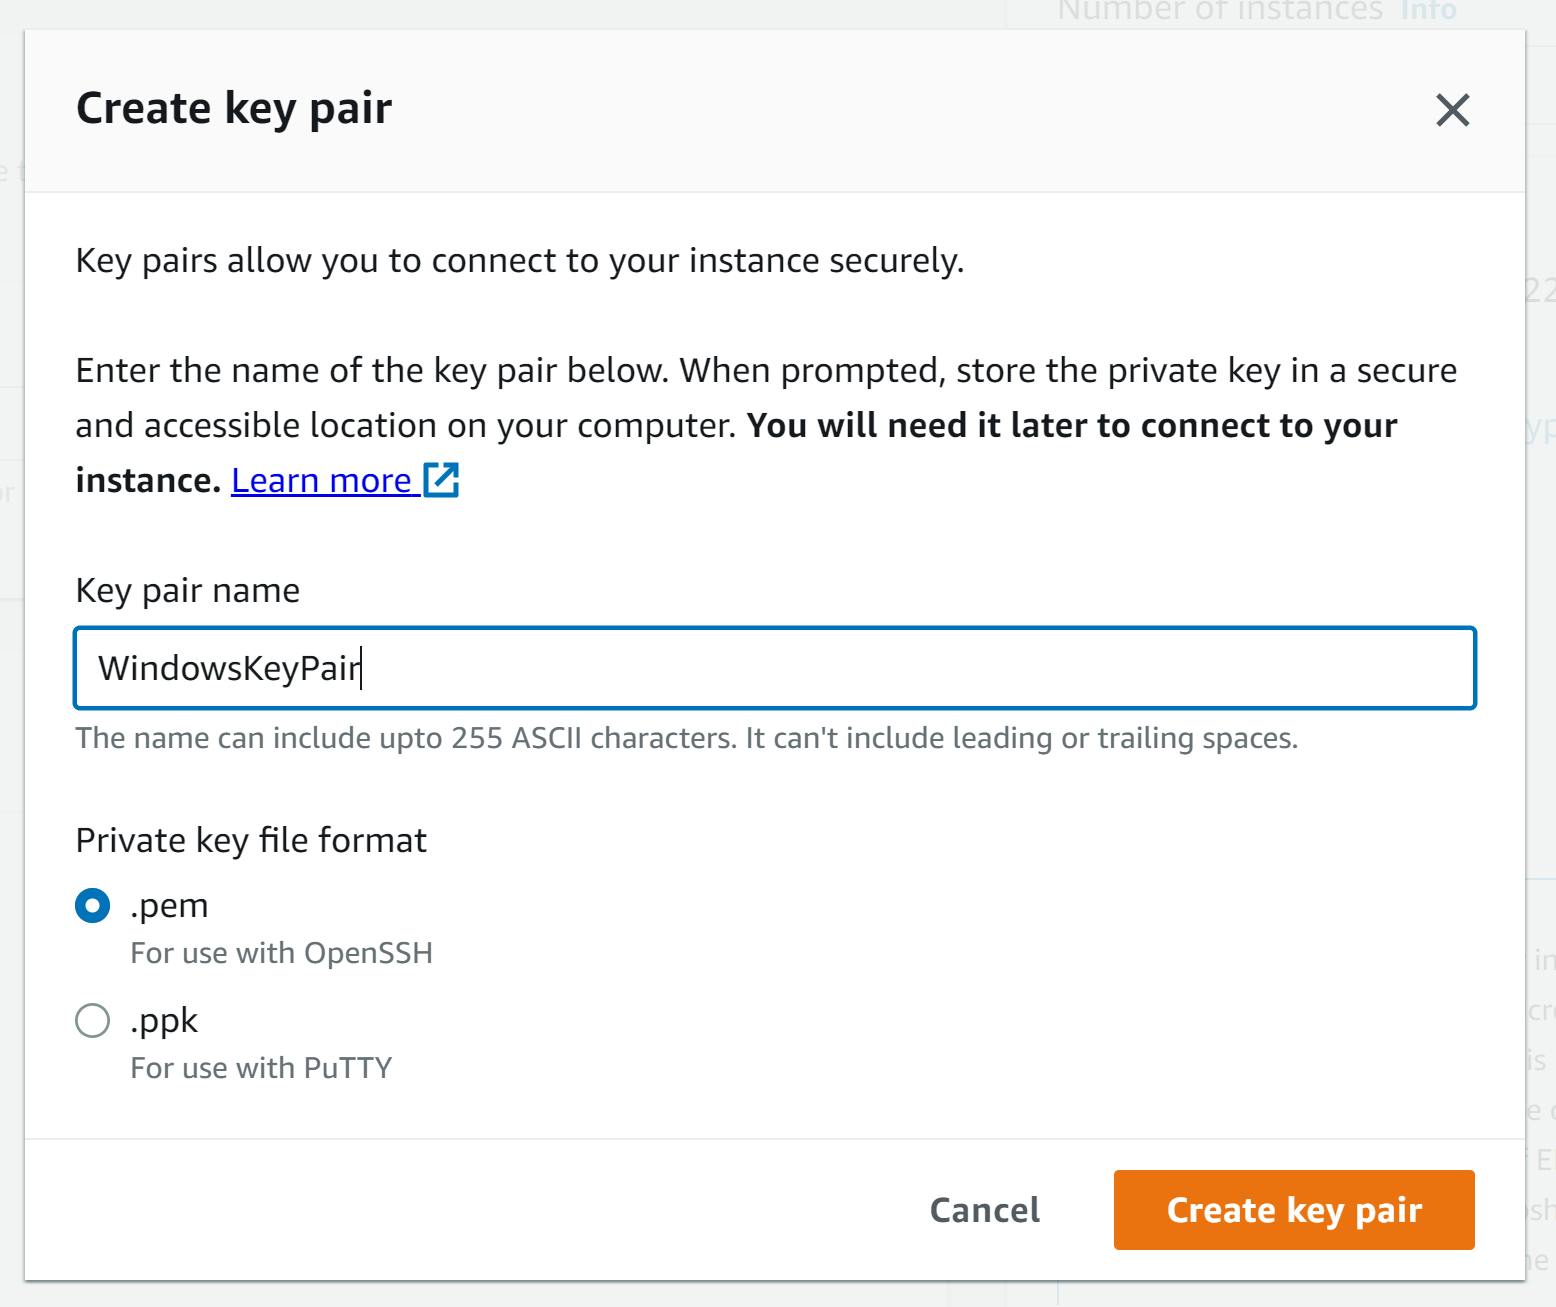
Your new keypair has been created
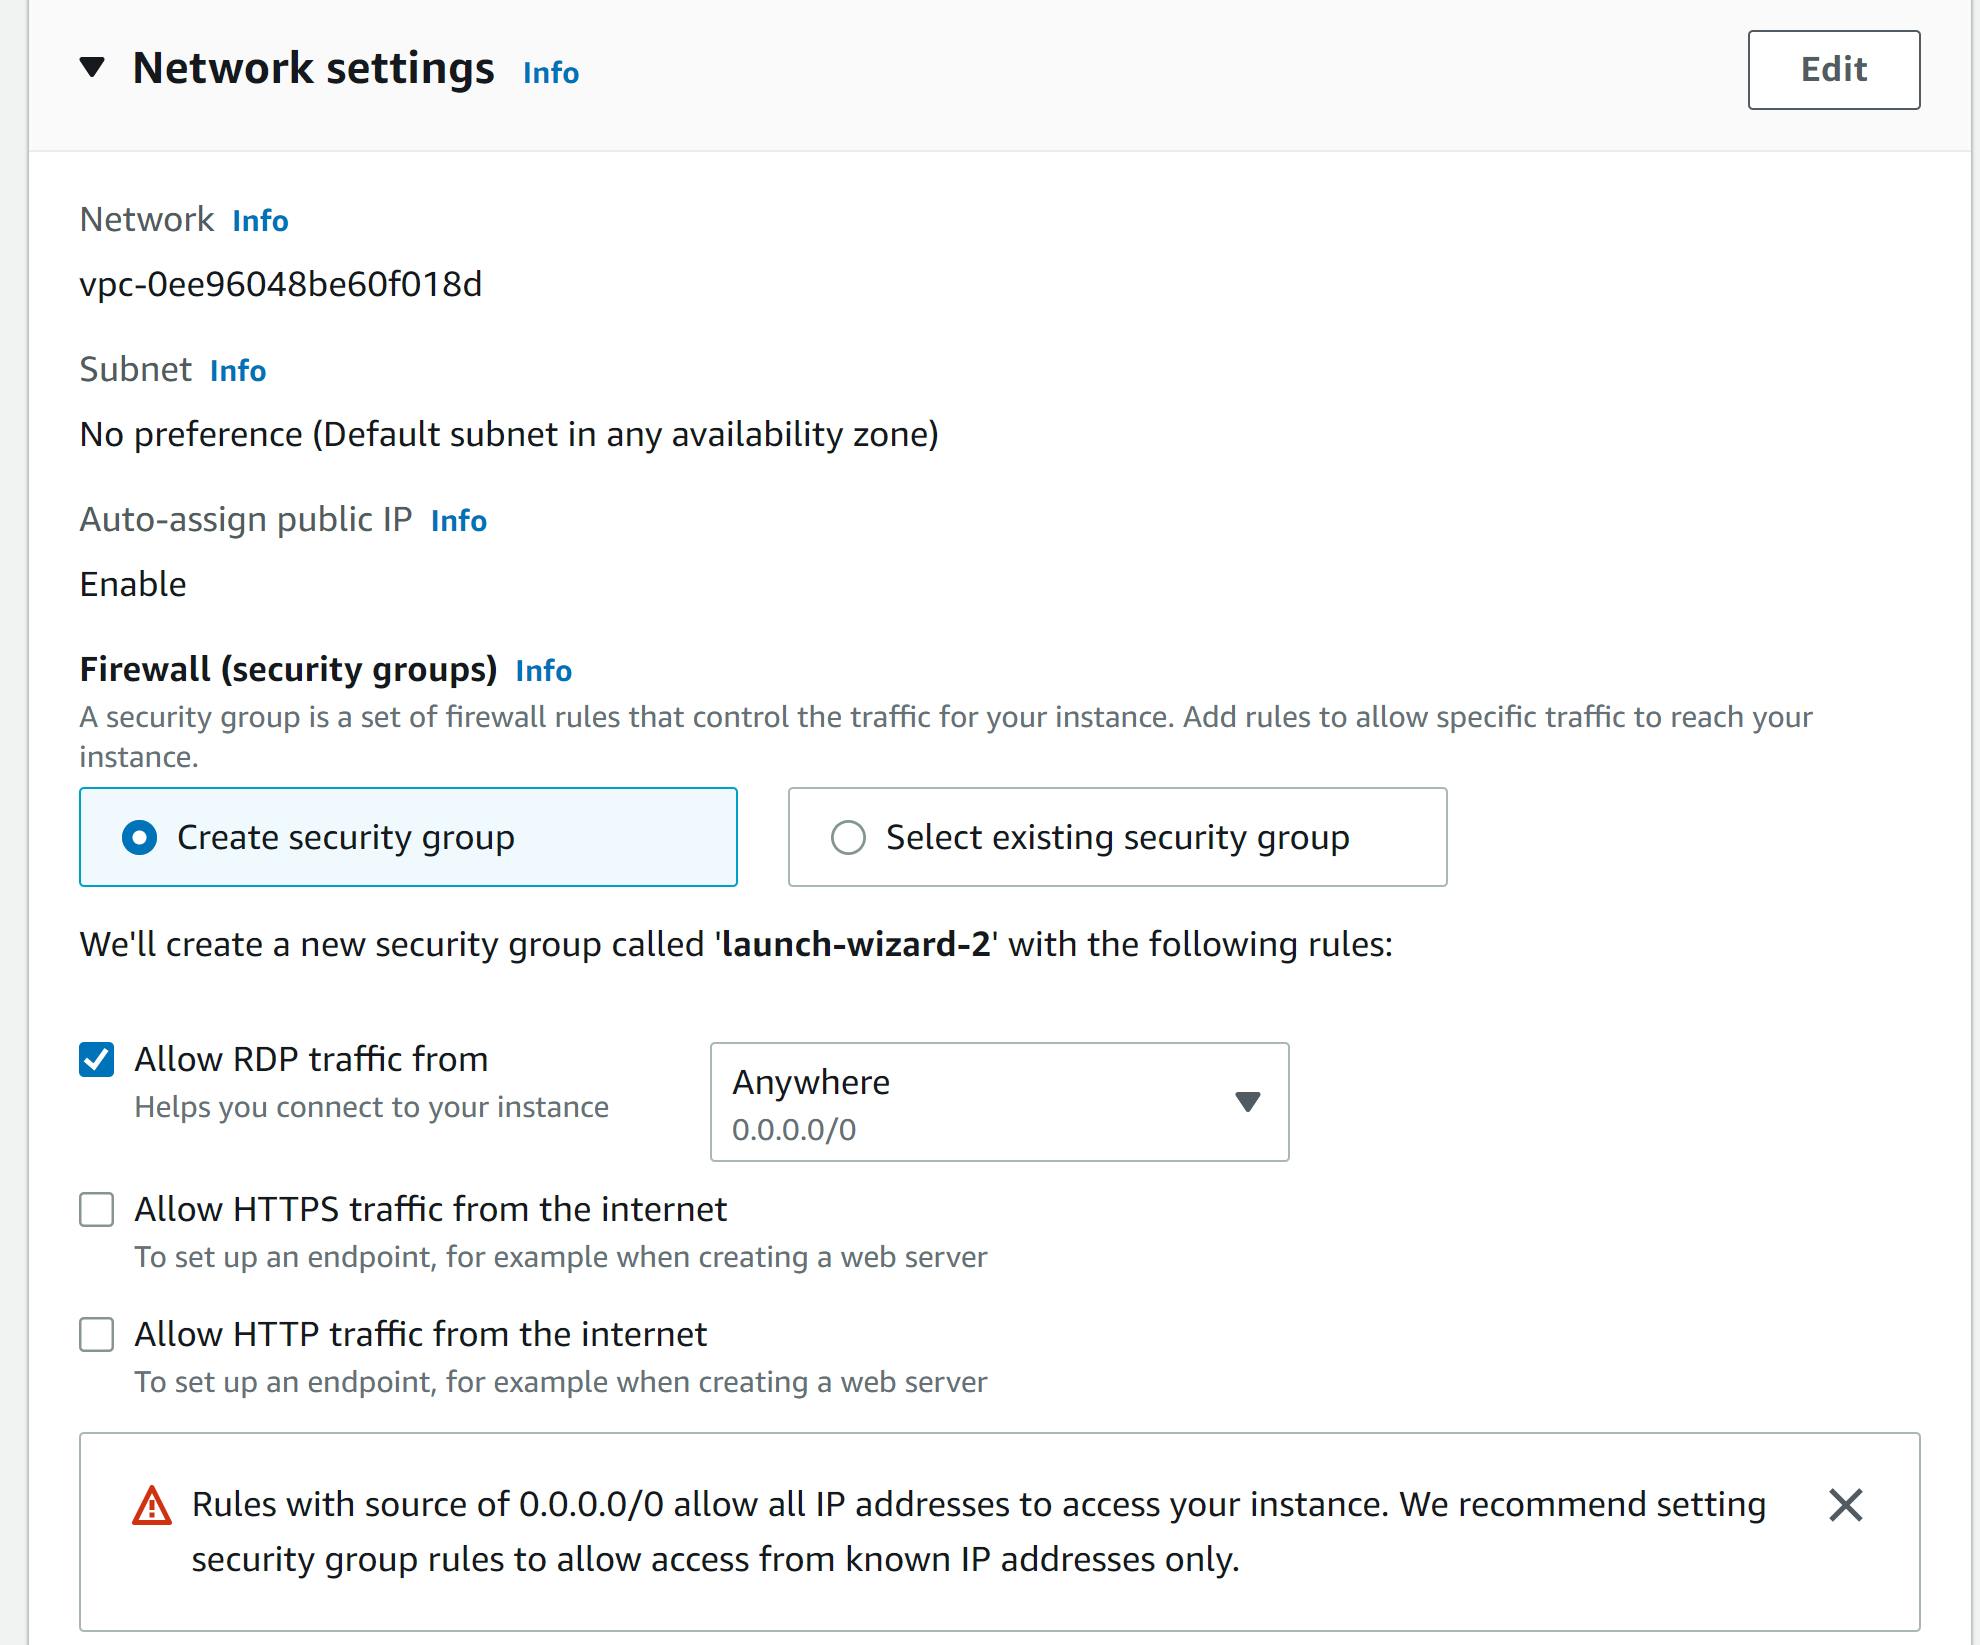
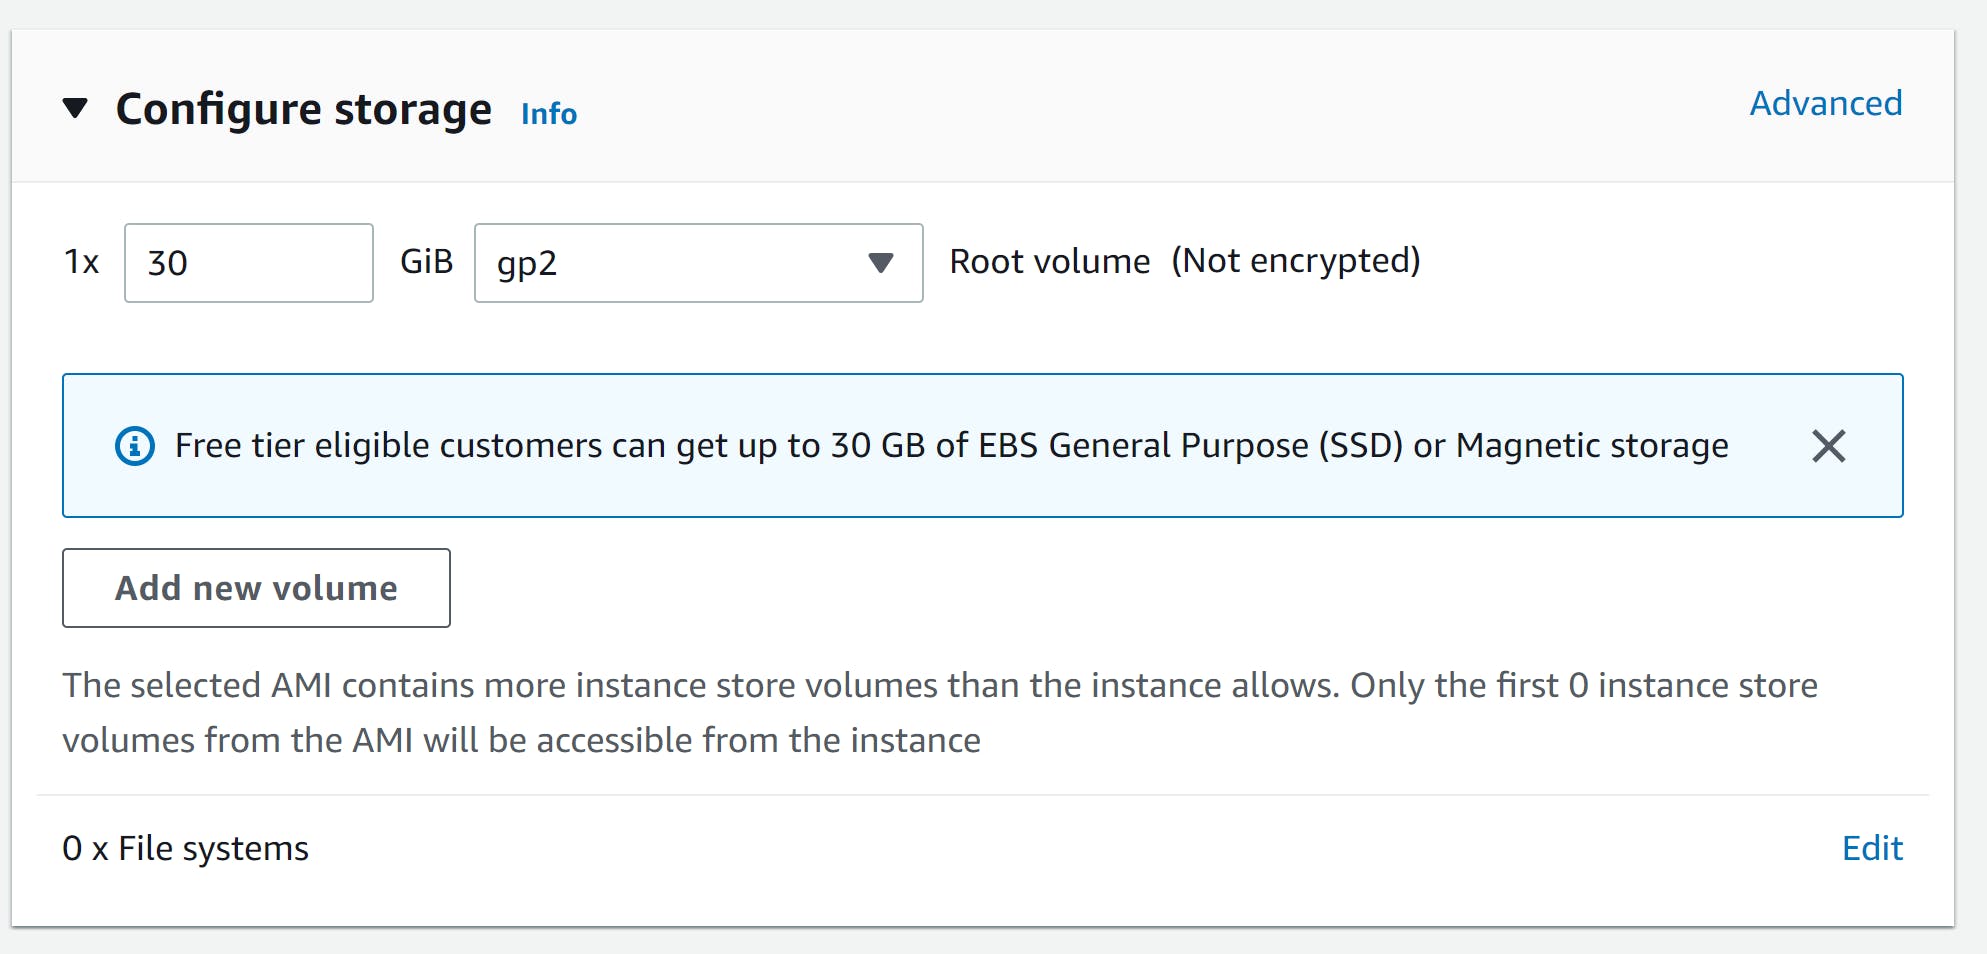
Step 5
Leave everything as default Here a default VPC, Security group has been selected by default Leave the storage settings as default too
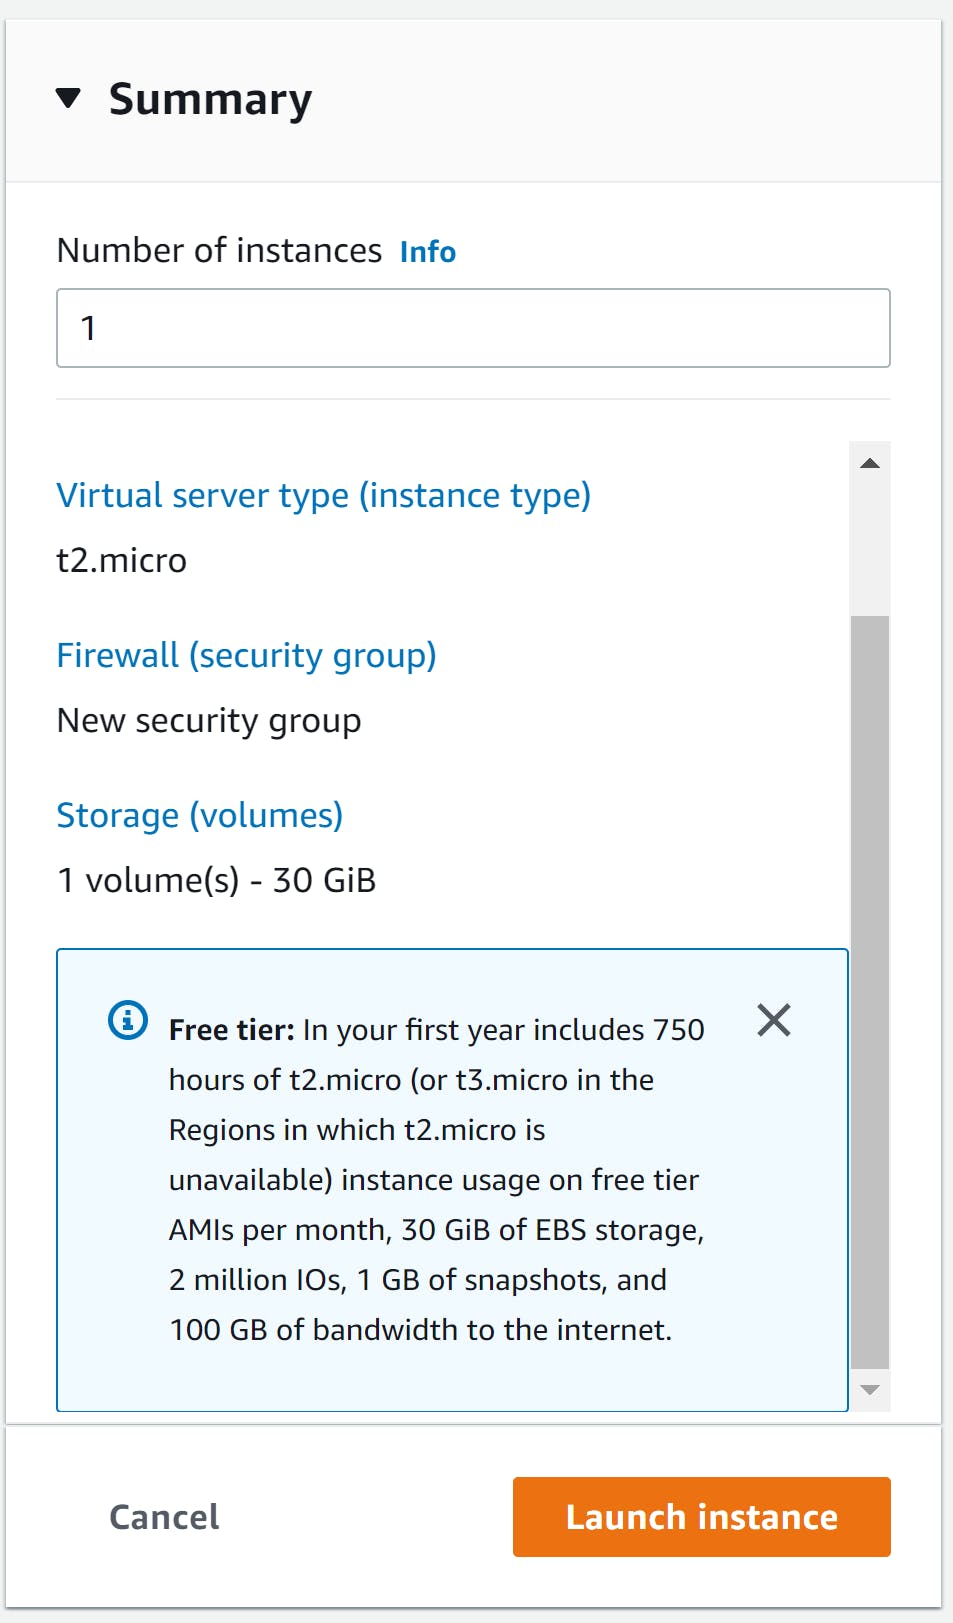
Step 6
Here is a summary of our instance Select launch instance
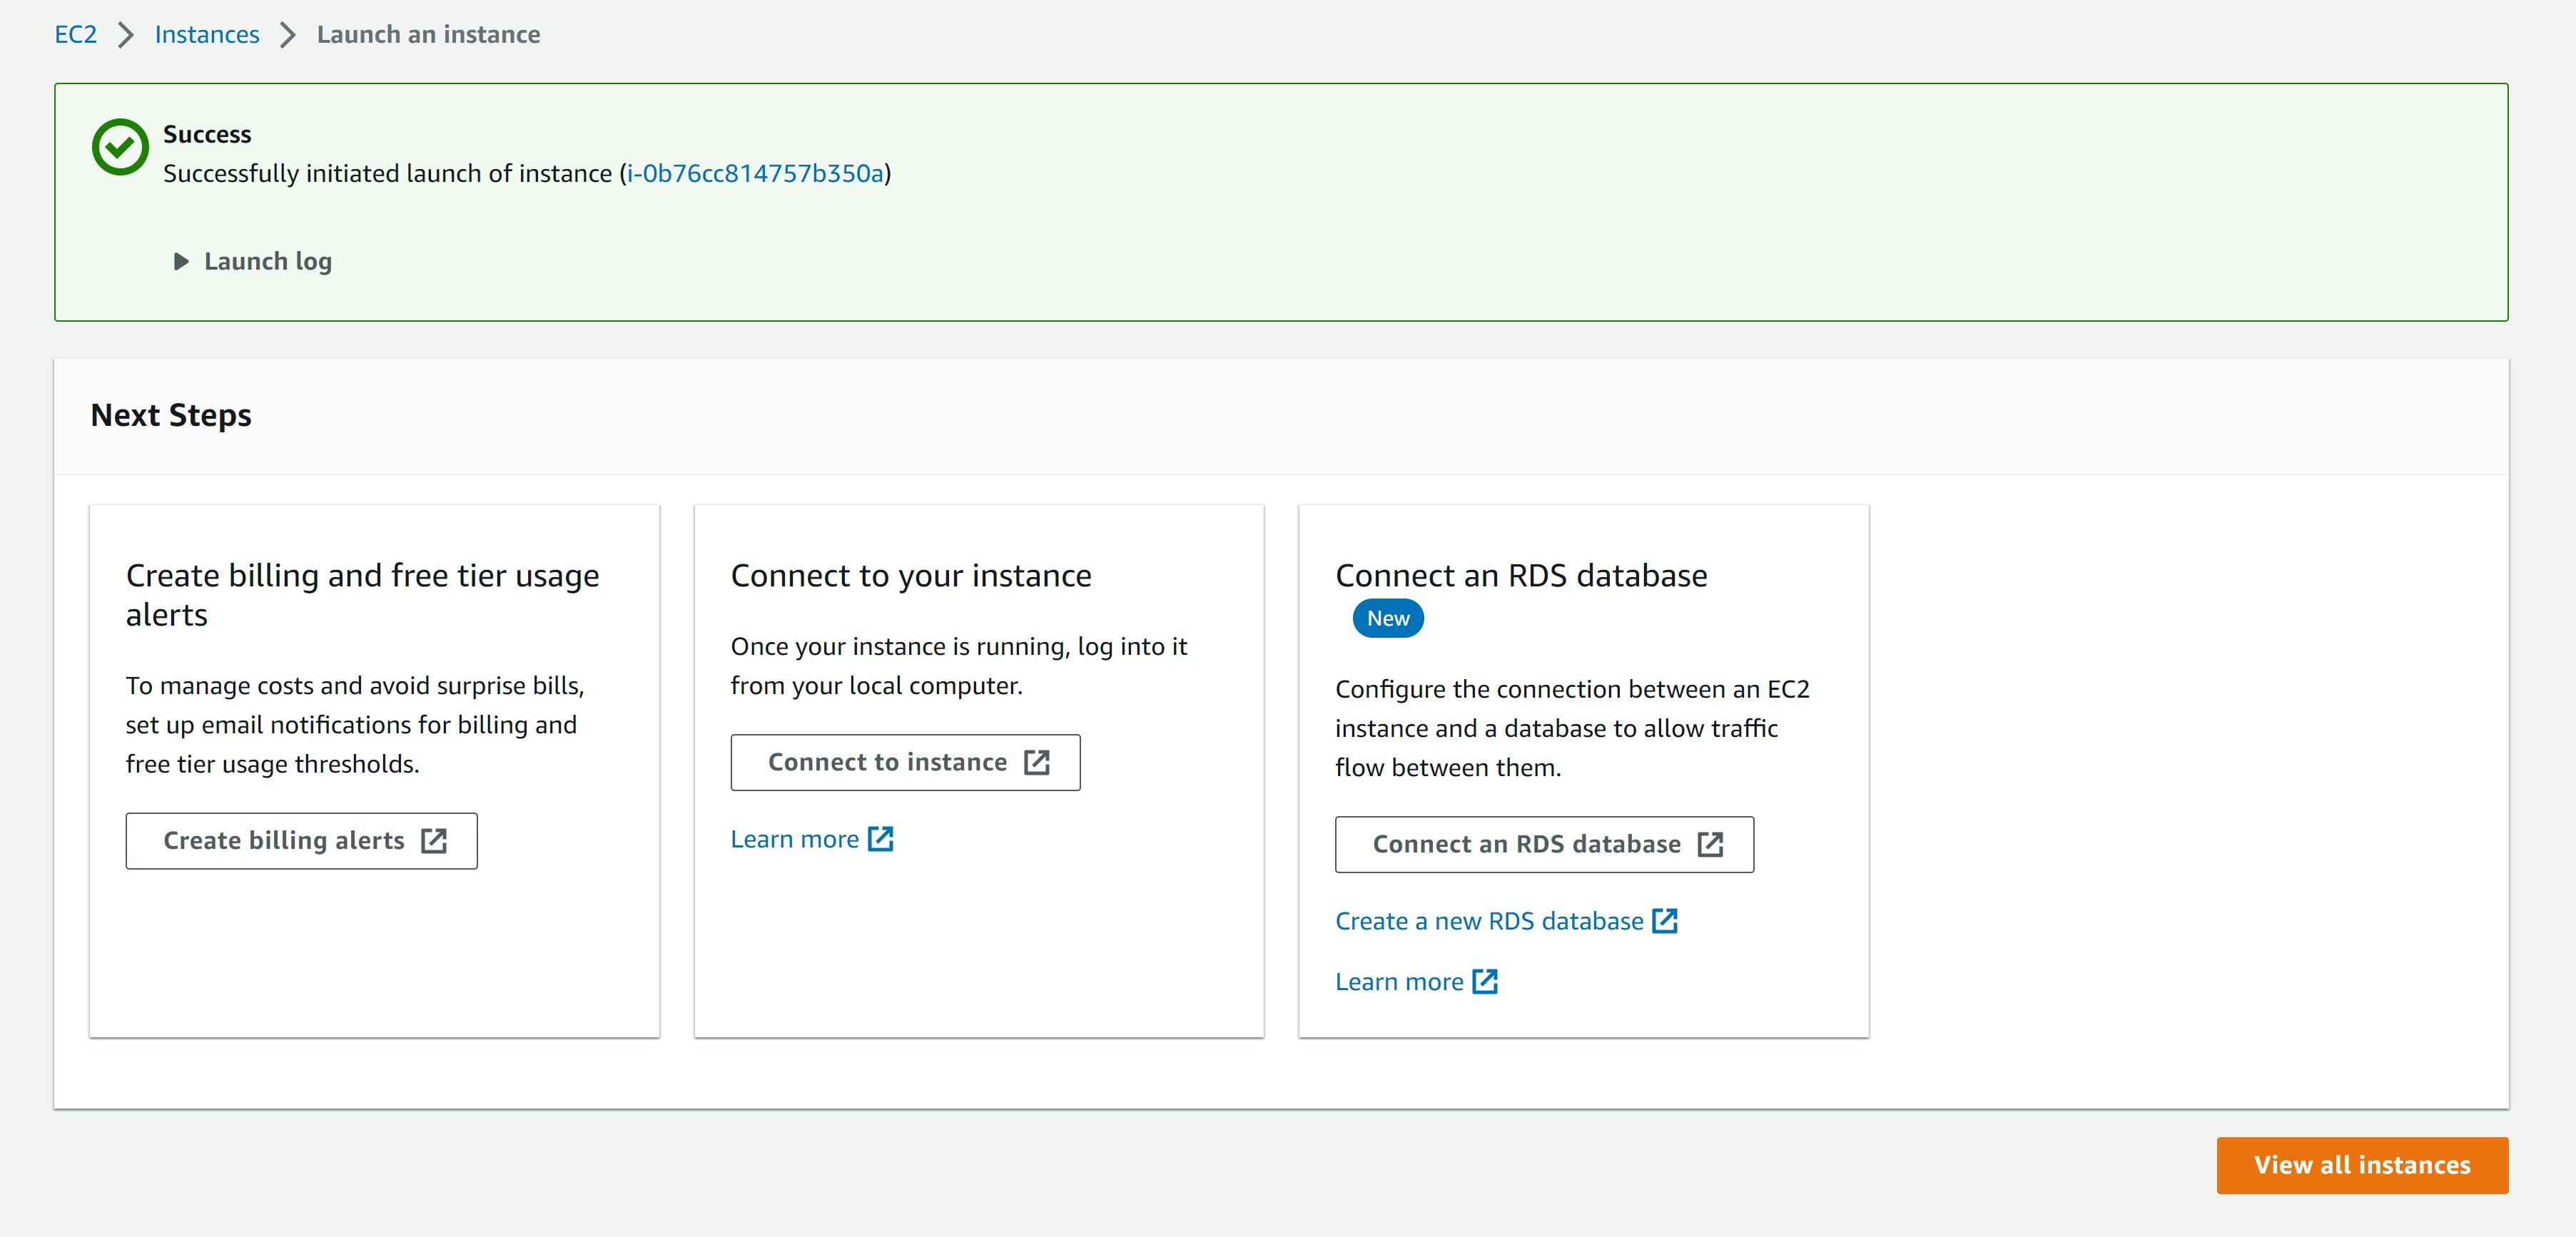
Our instance has been launched successfully, Click view all instance
Step 7
Our instance is running
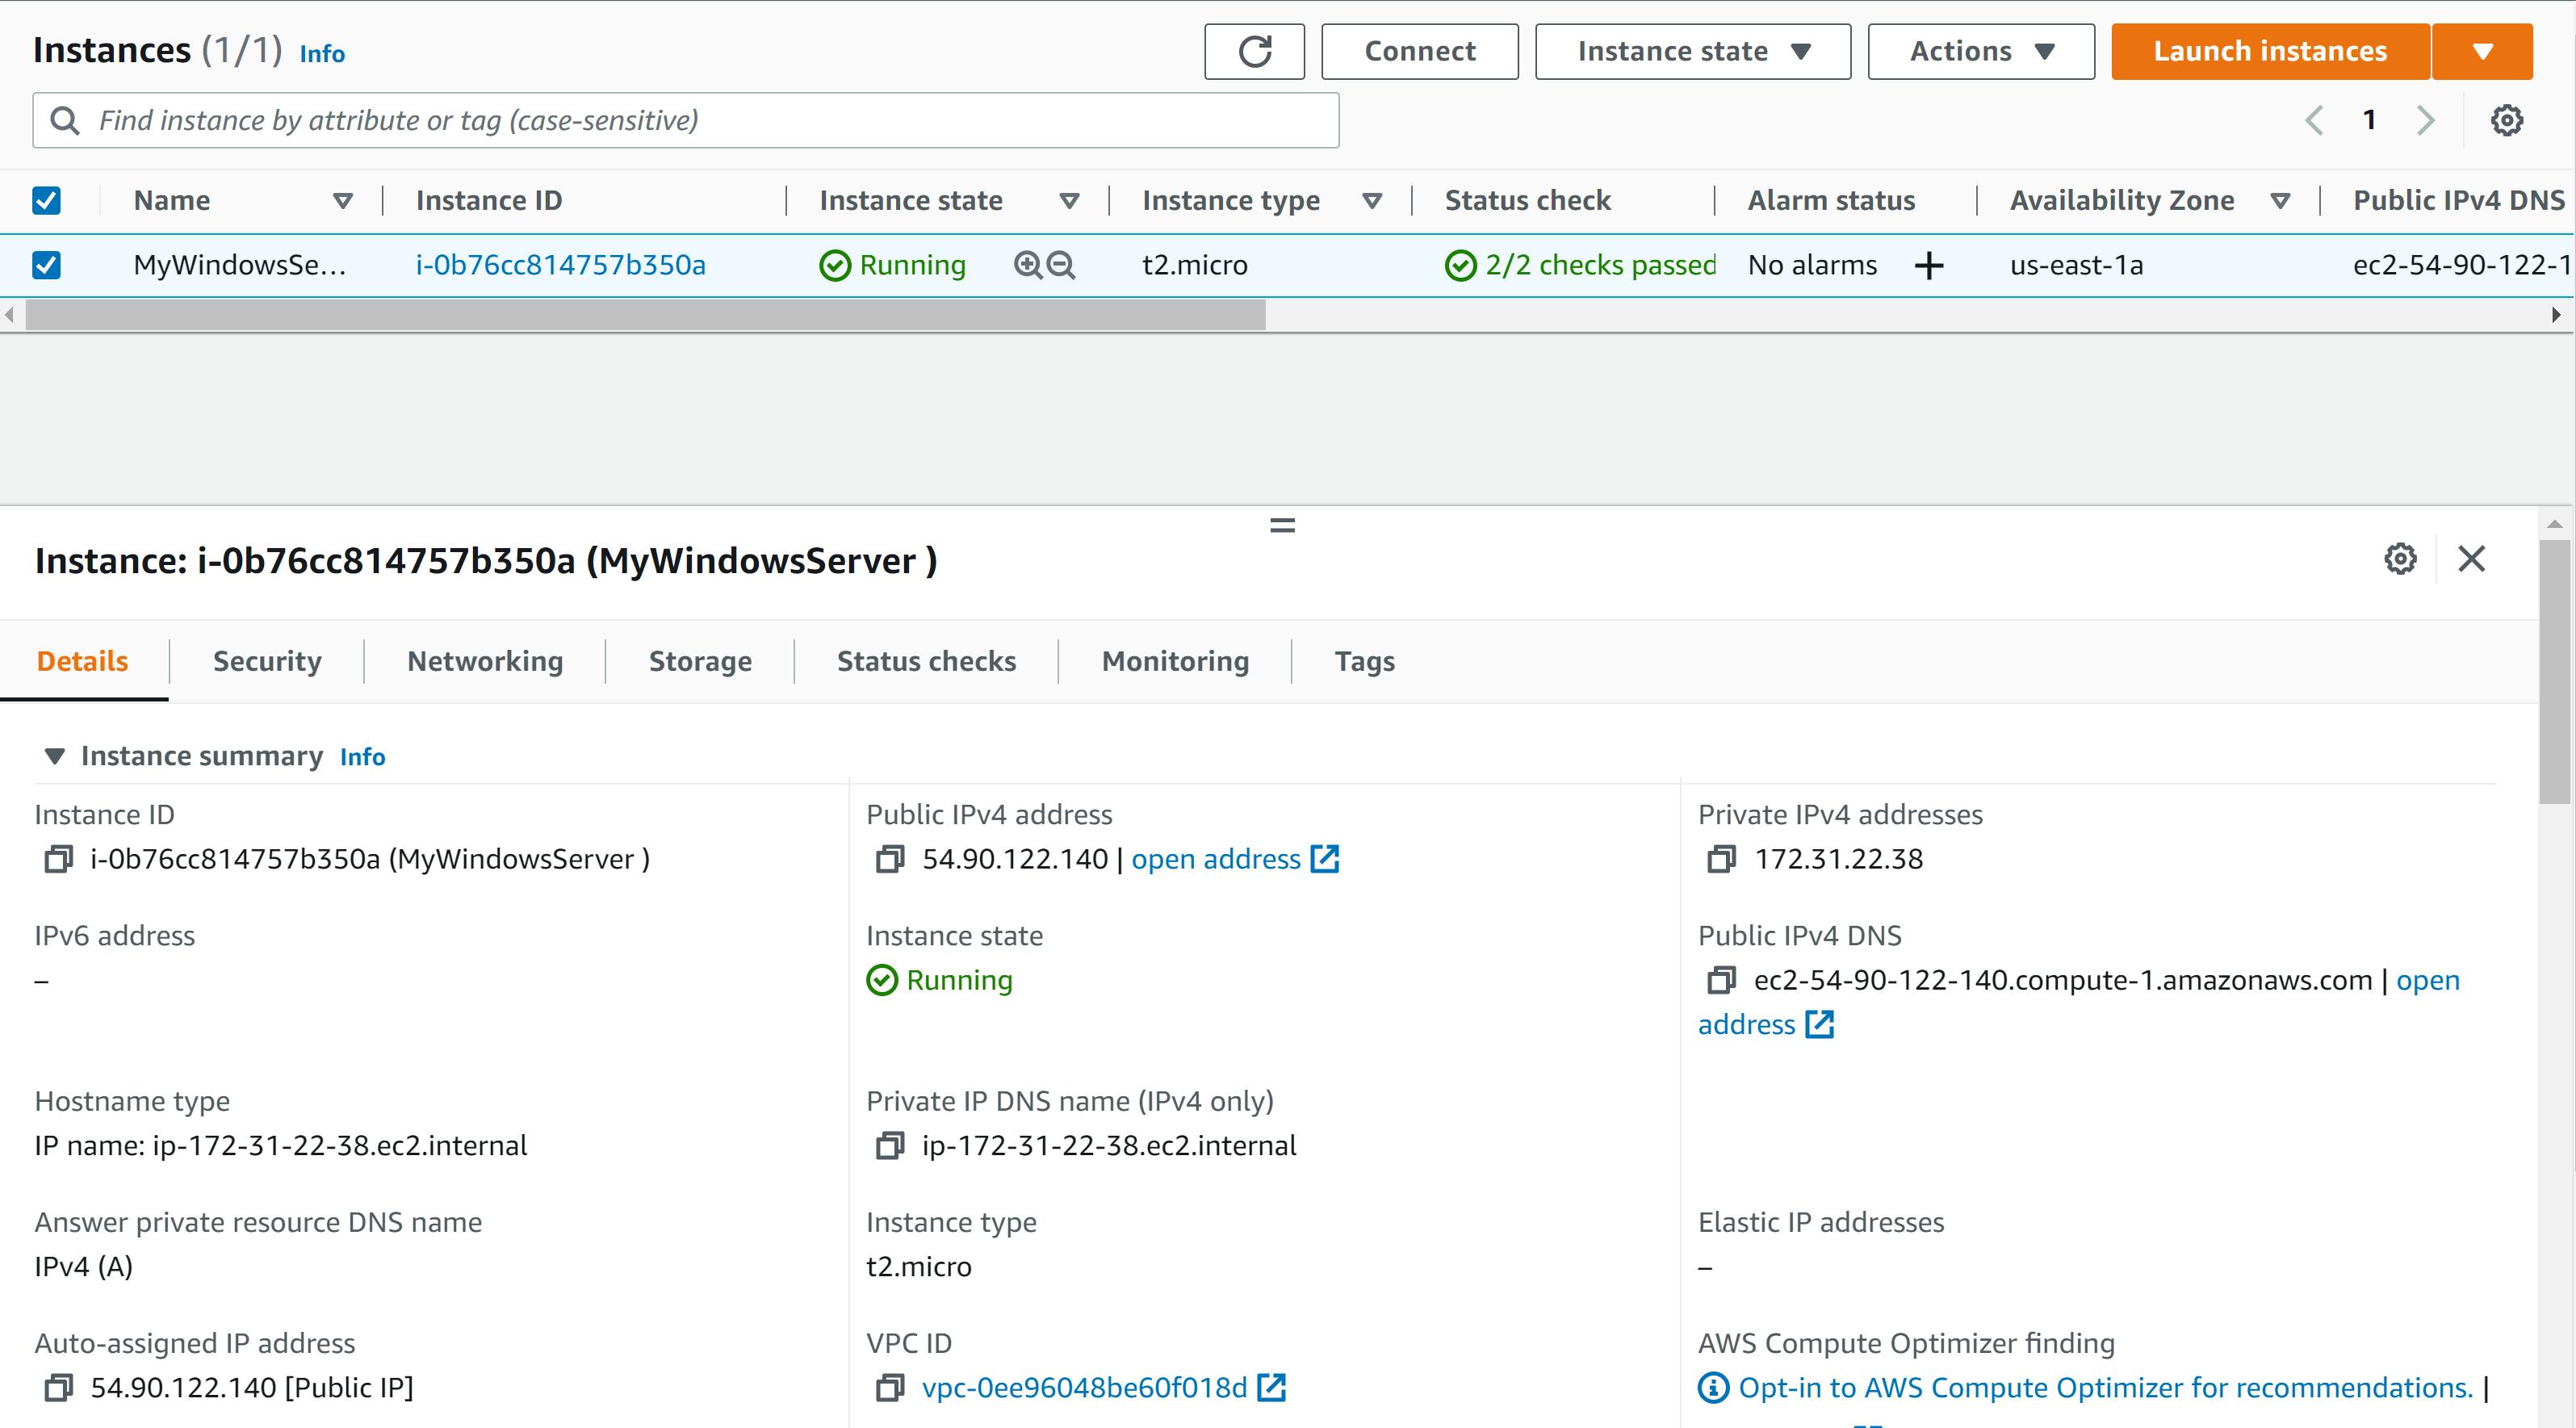
Now let's connect to our instance Click on Connect

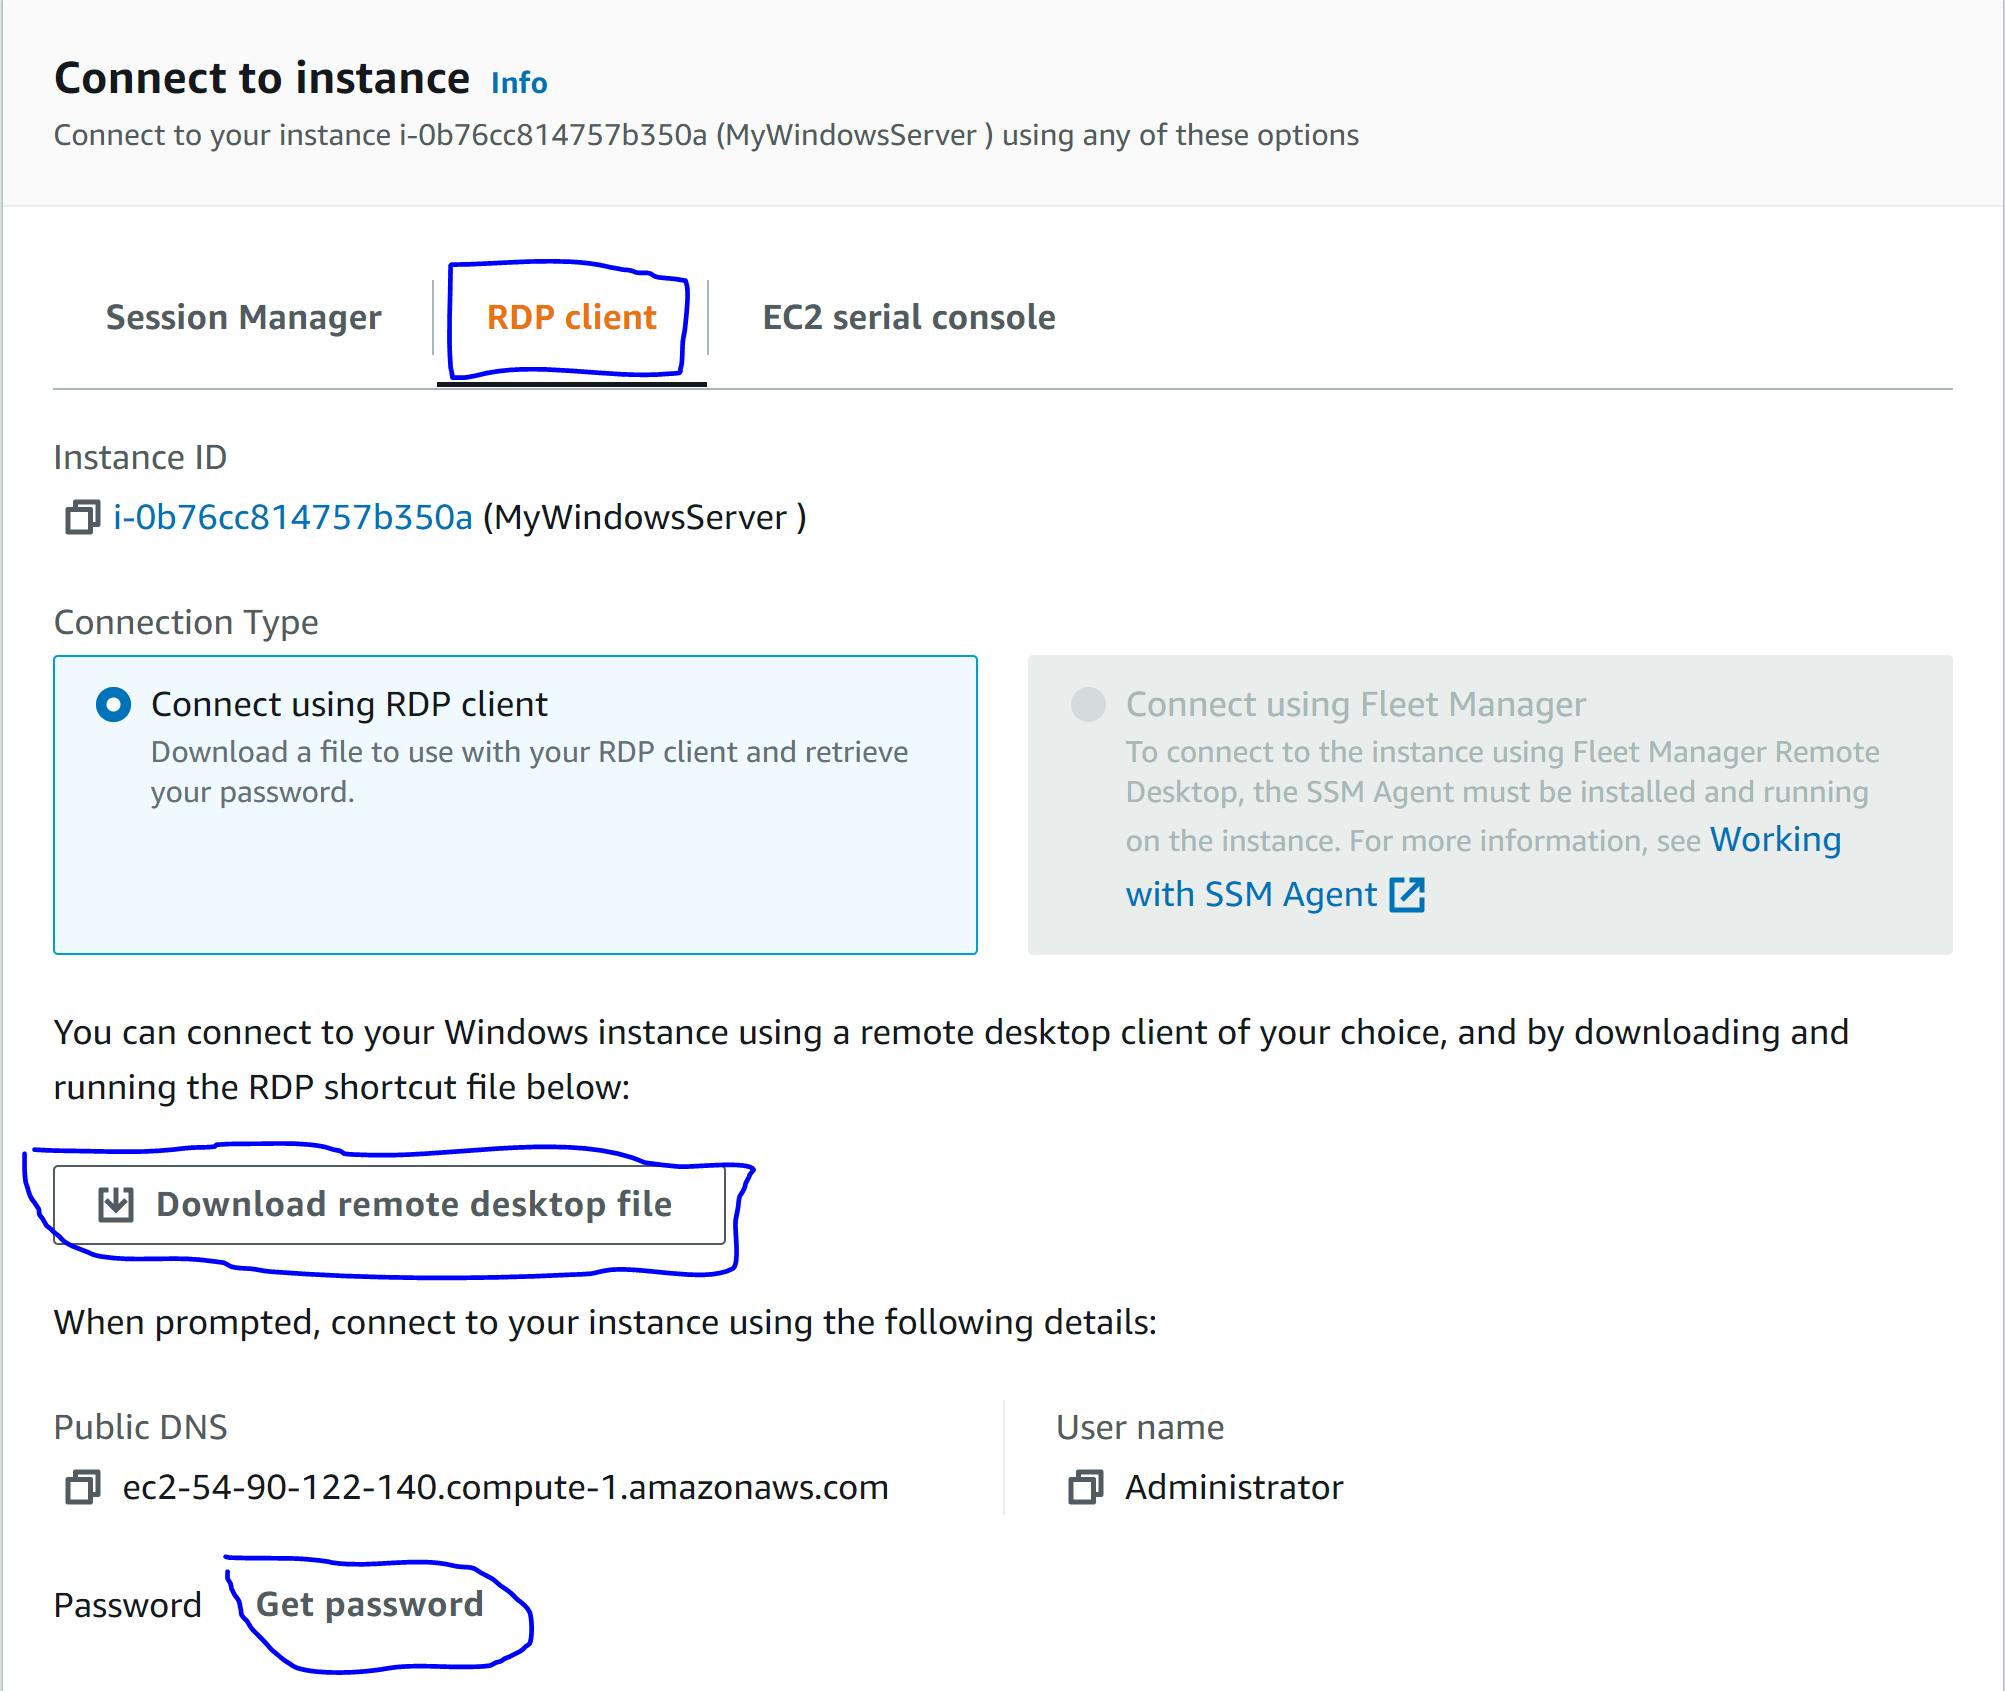
**Step 8 **
Select RDP Client (Remote Desktop Protocol Client)
Download the RDP file Now we need our key pair so click on Get password
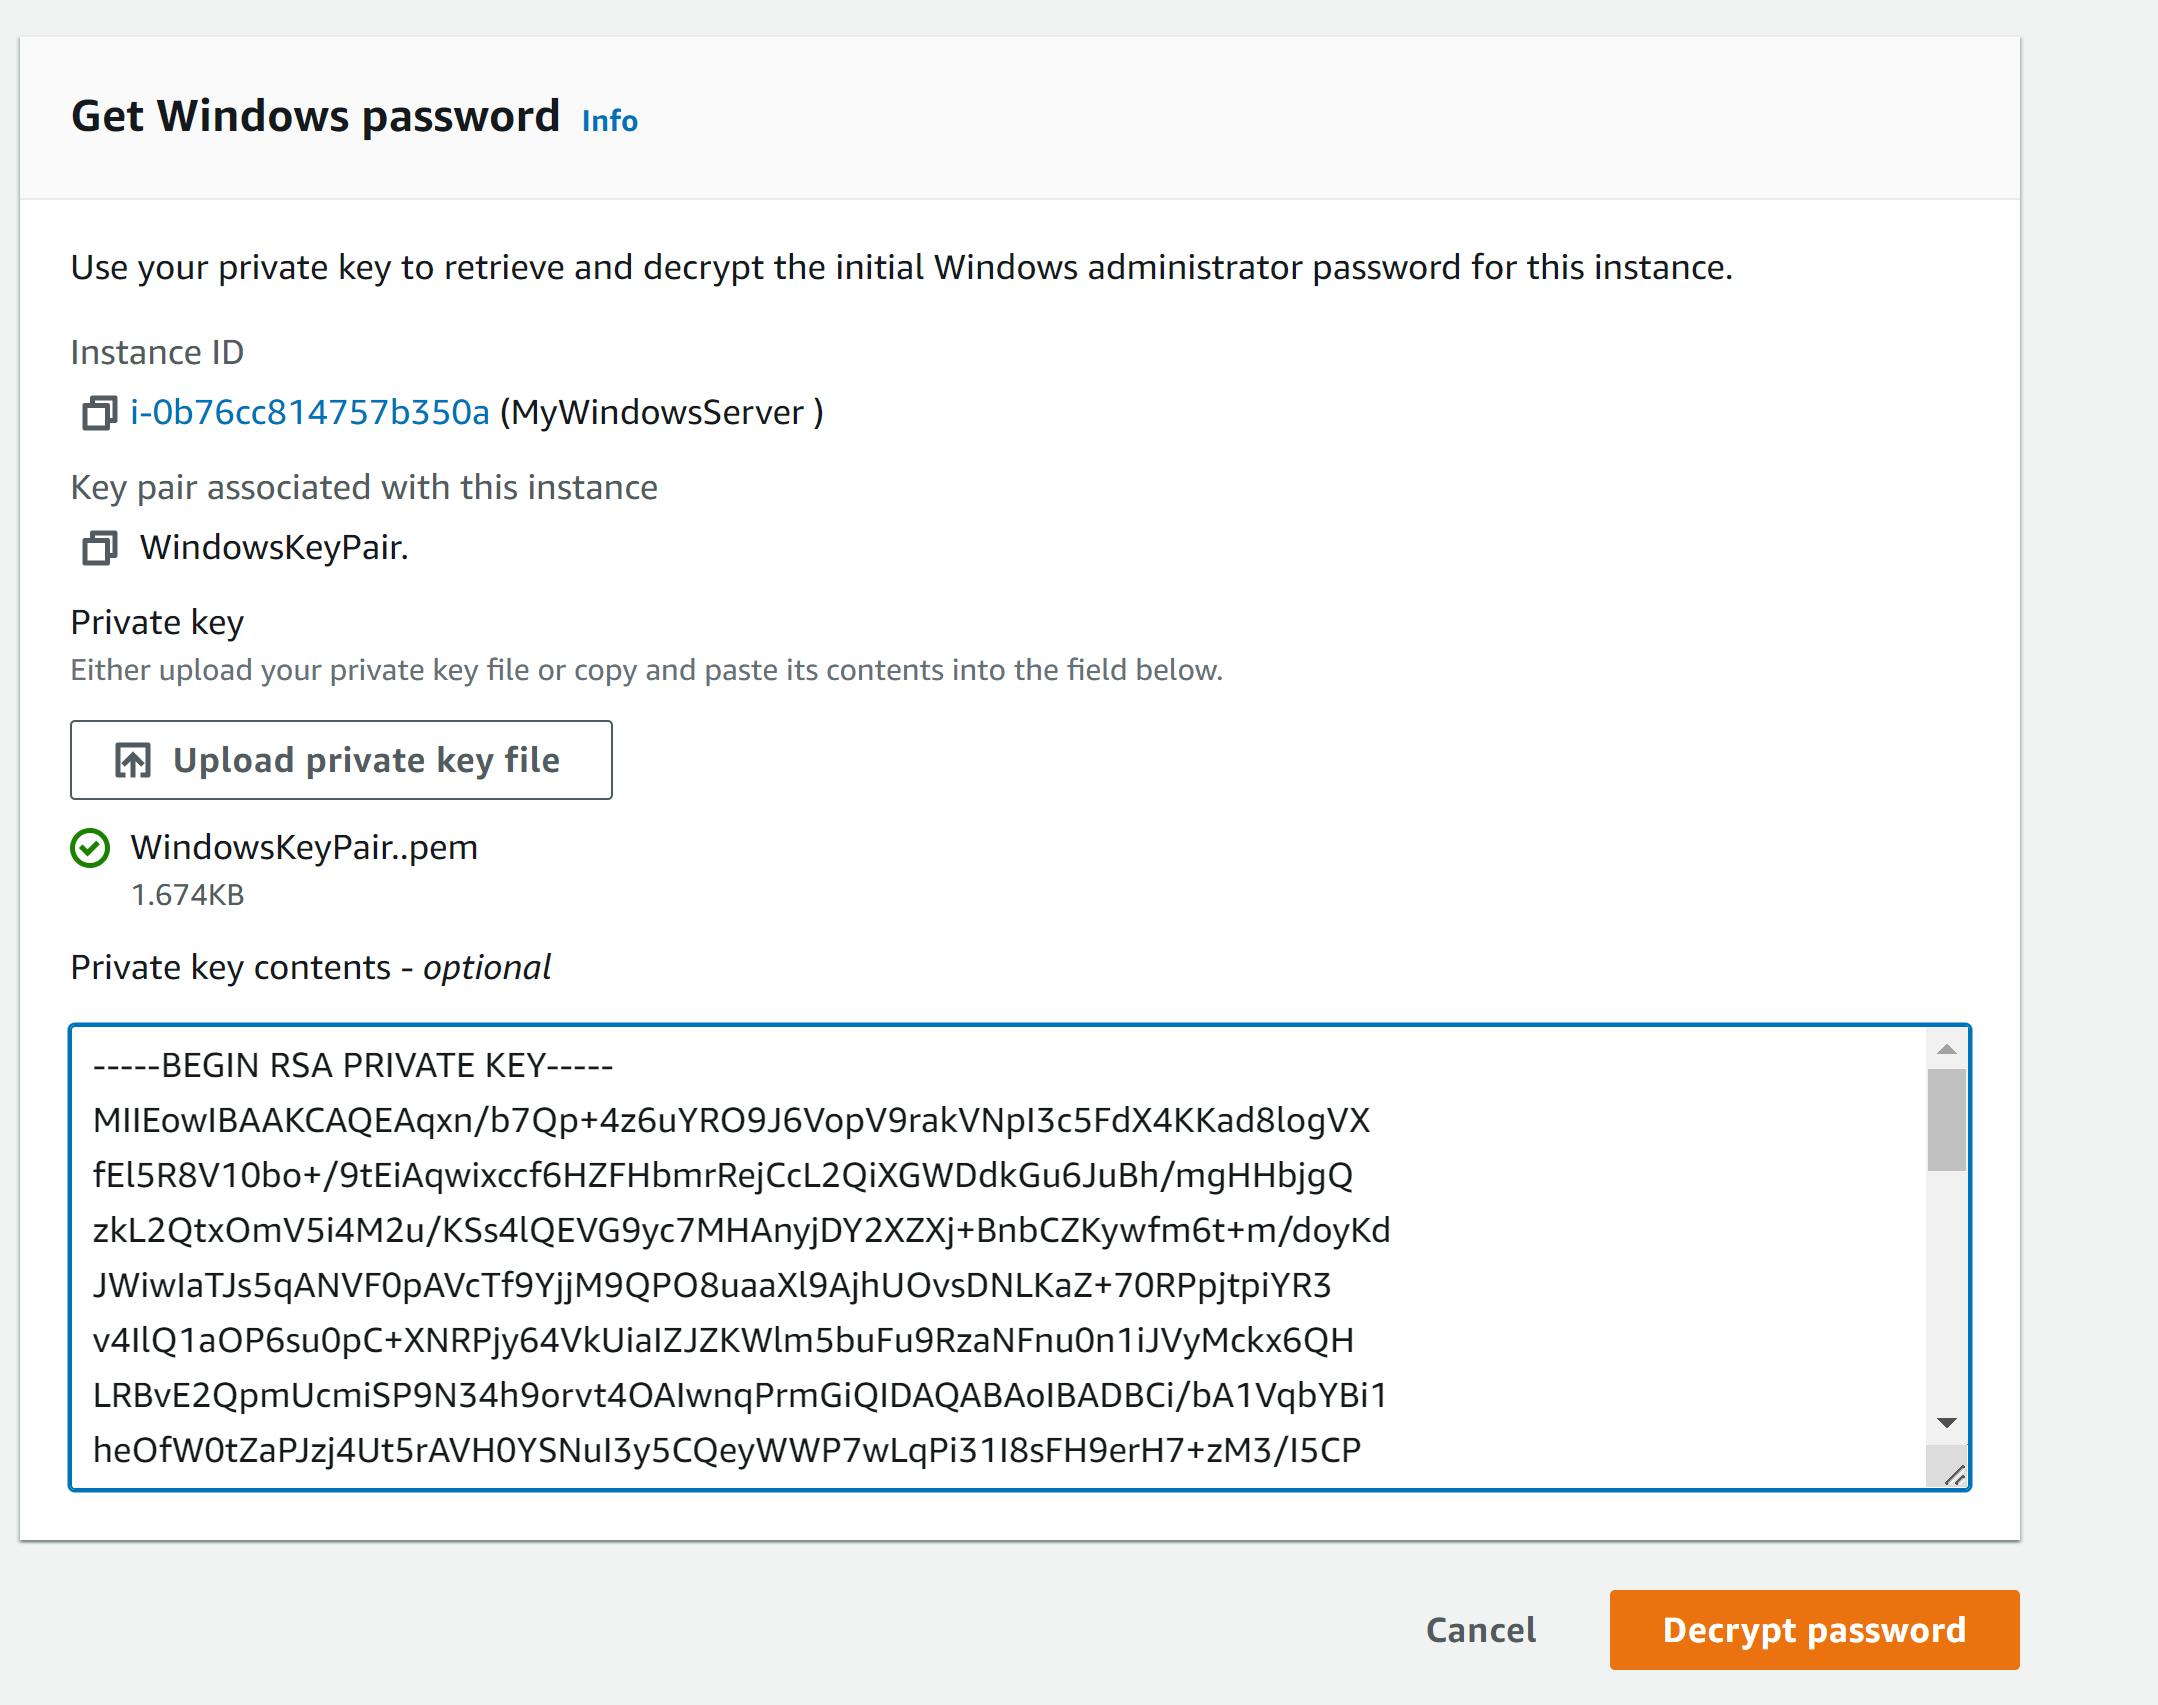
Step 9
We need to upload the key pair we created earlier upload the keypair and click on decrypt
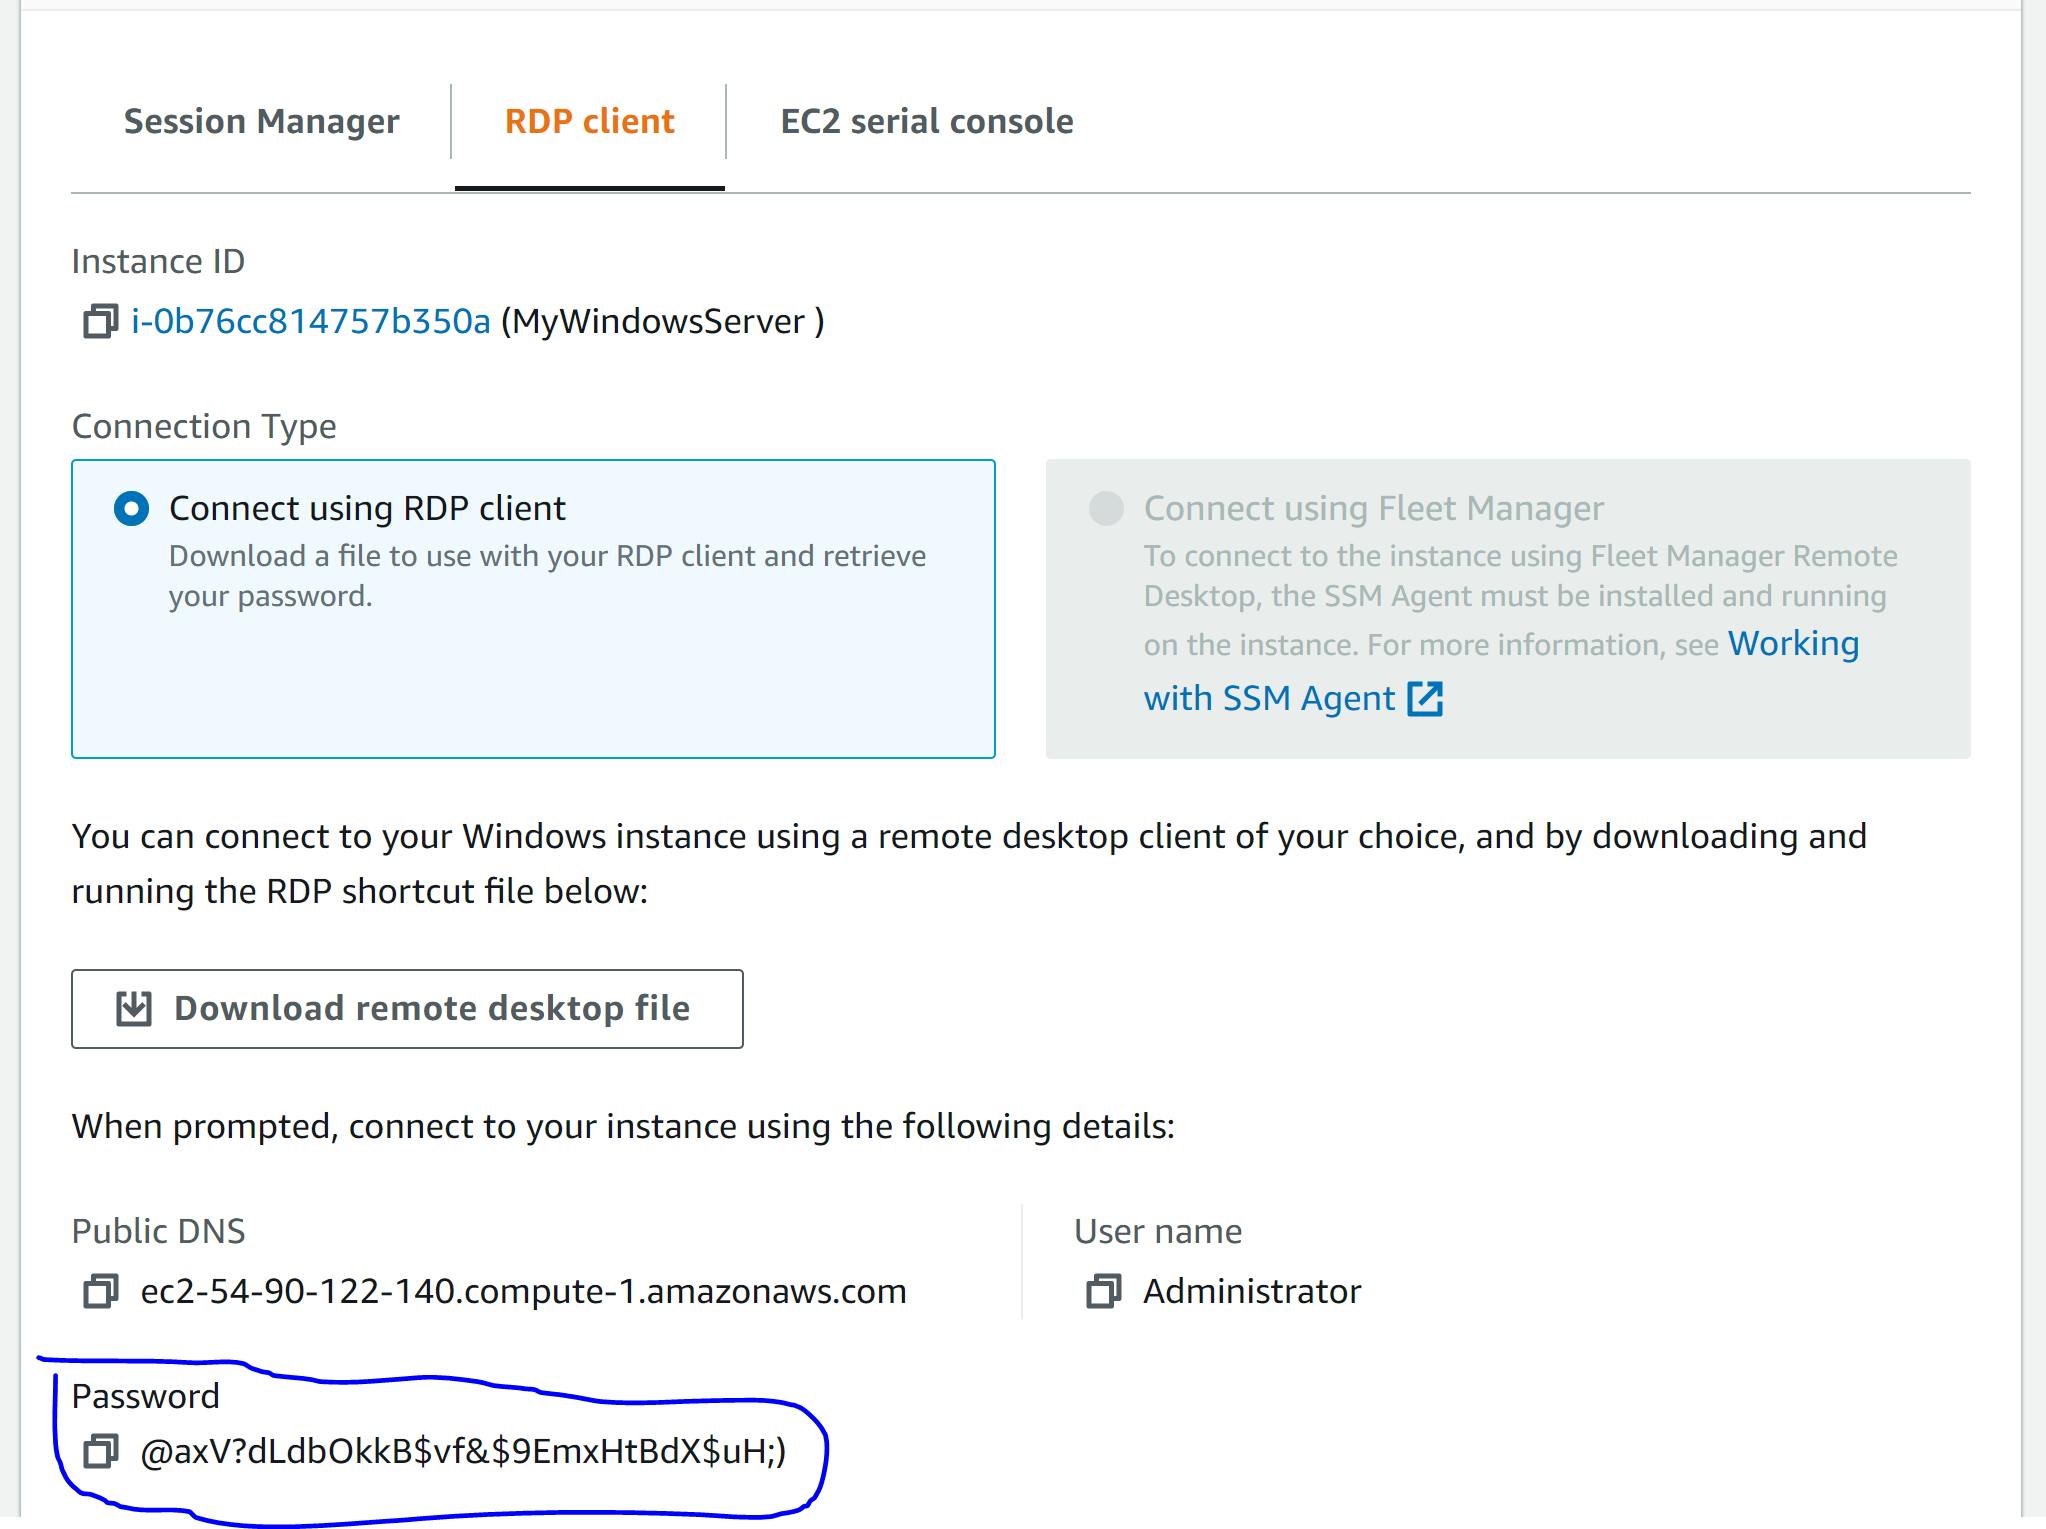
Now our password is available for use after decryption
Step 10
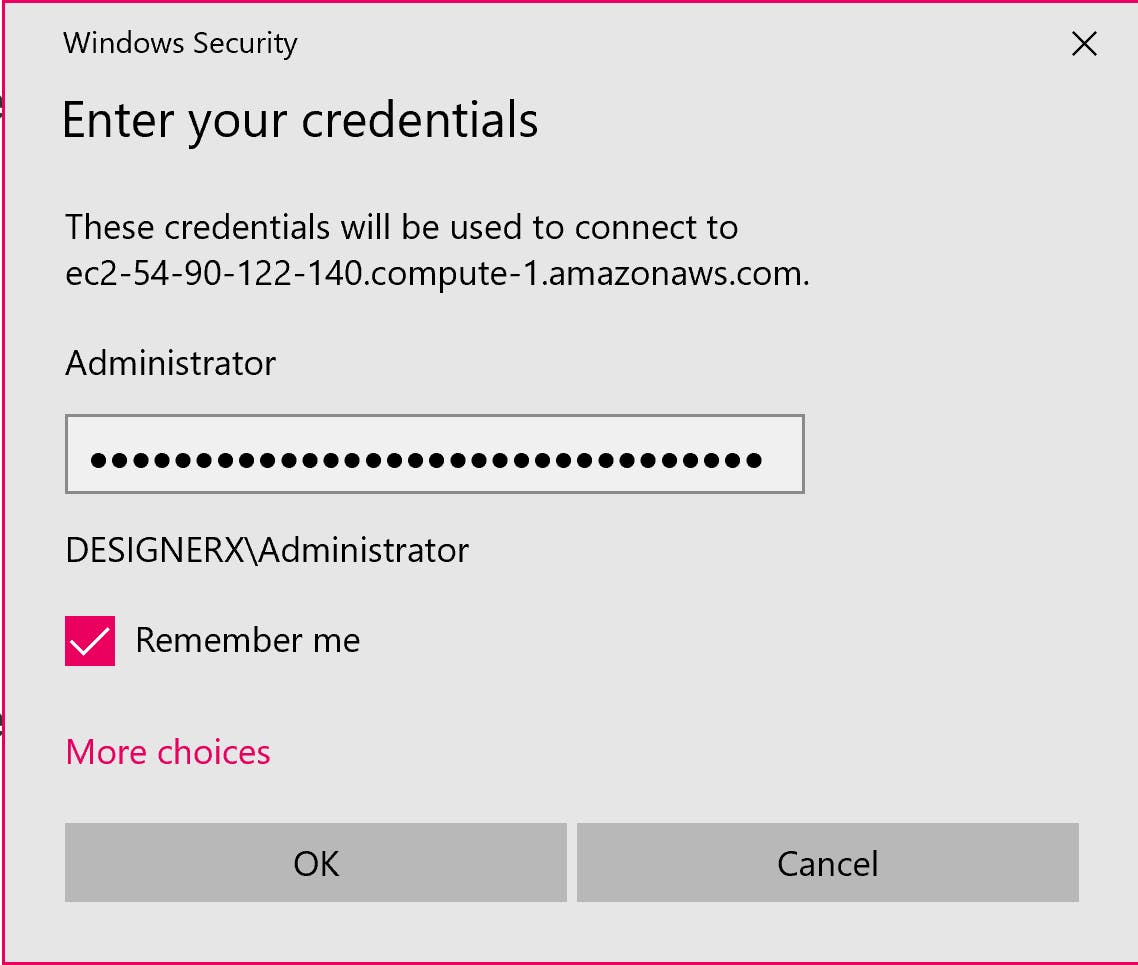
Launch the RDP client we downloaded earlier
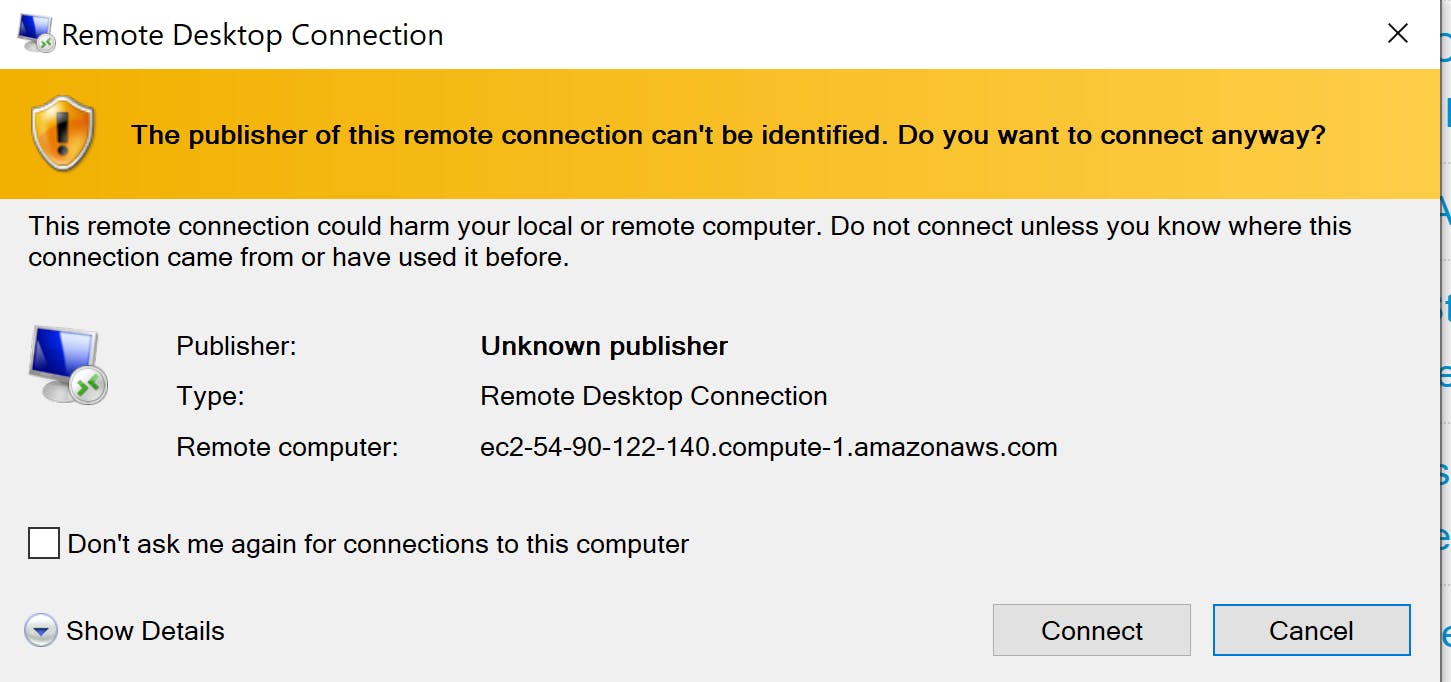
Click on Connect Enter the password we generated
Click yes
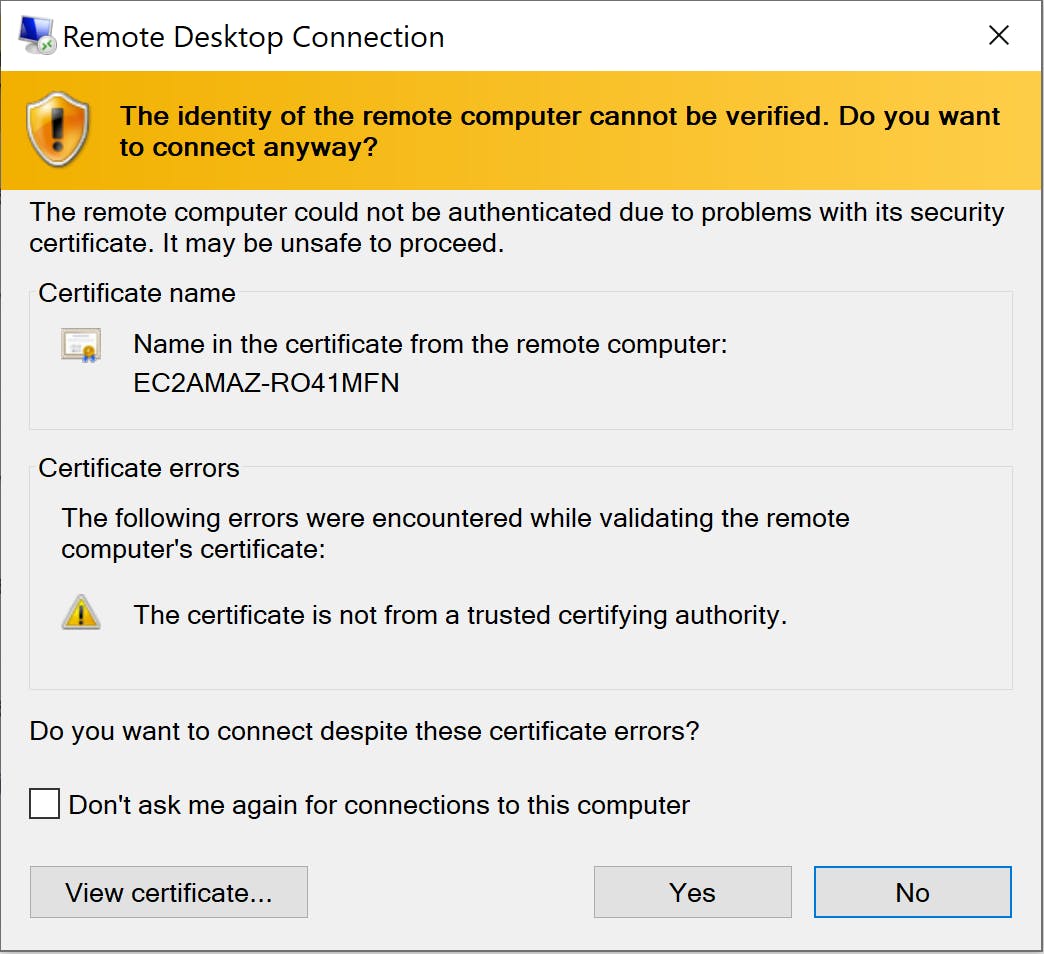
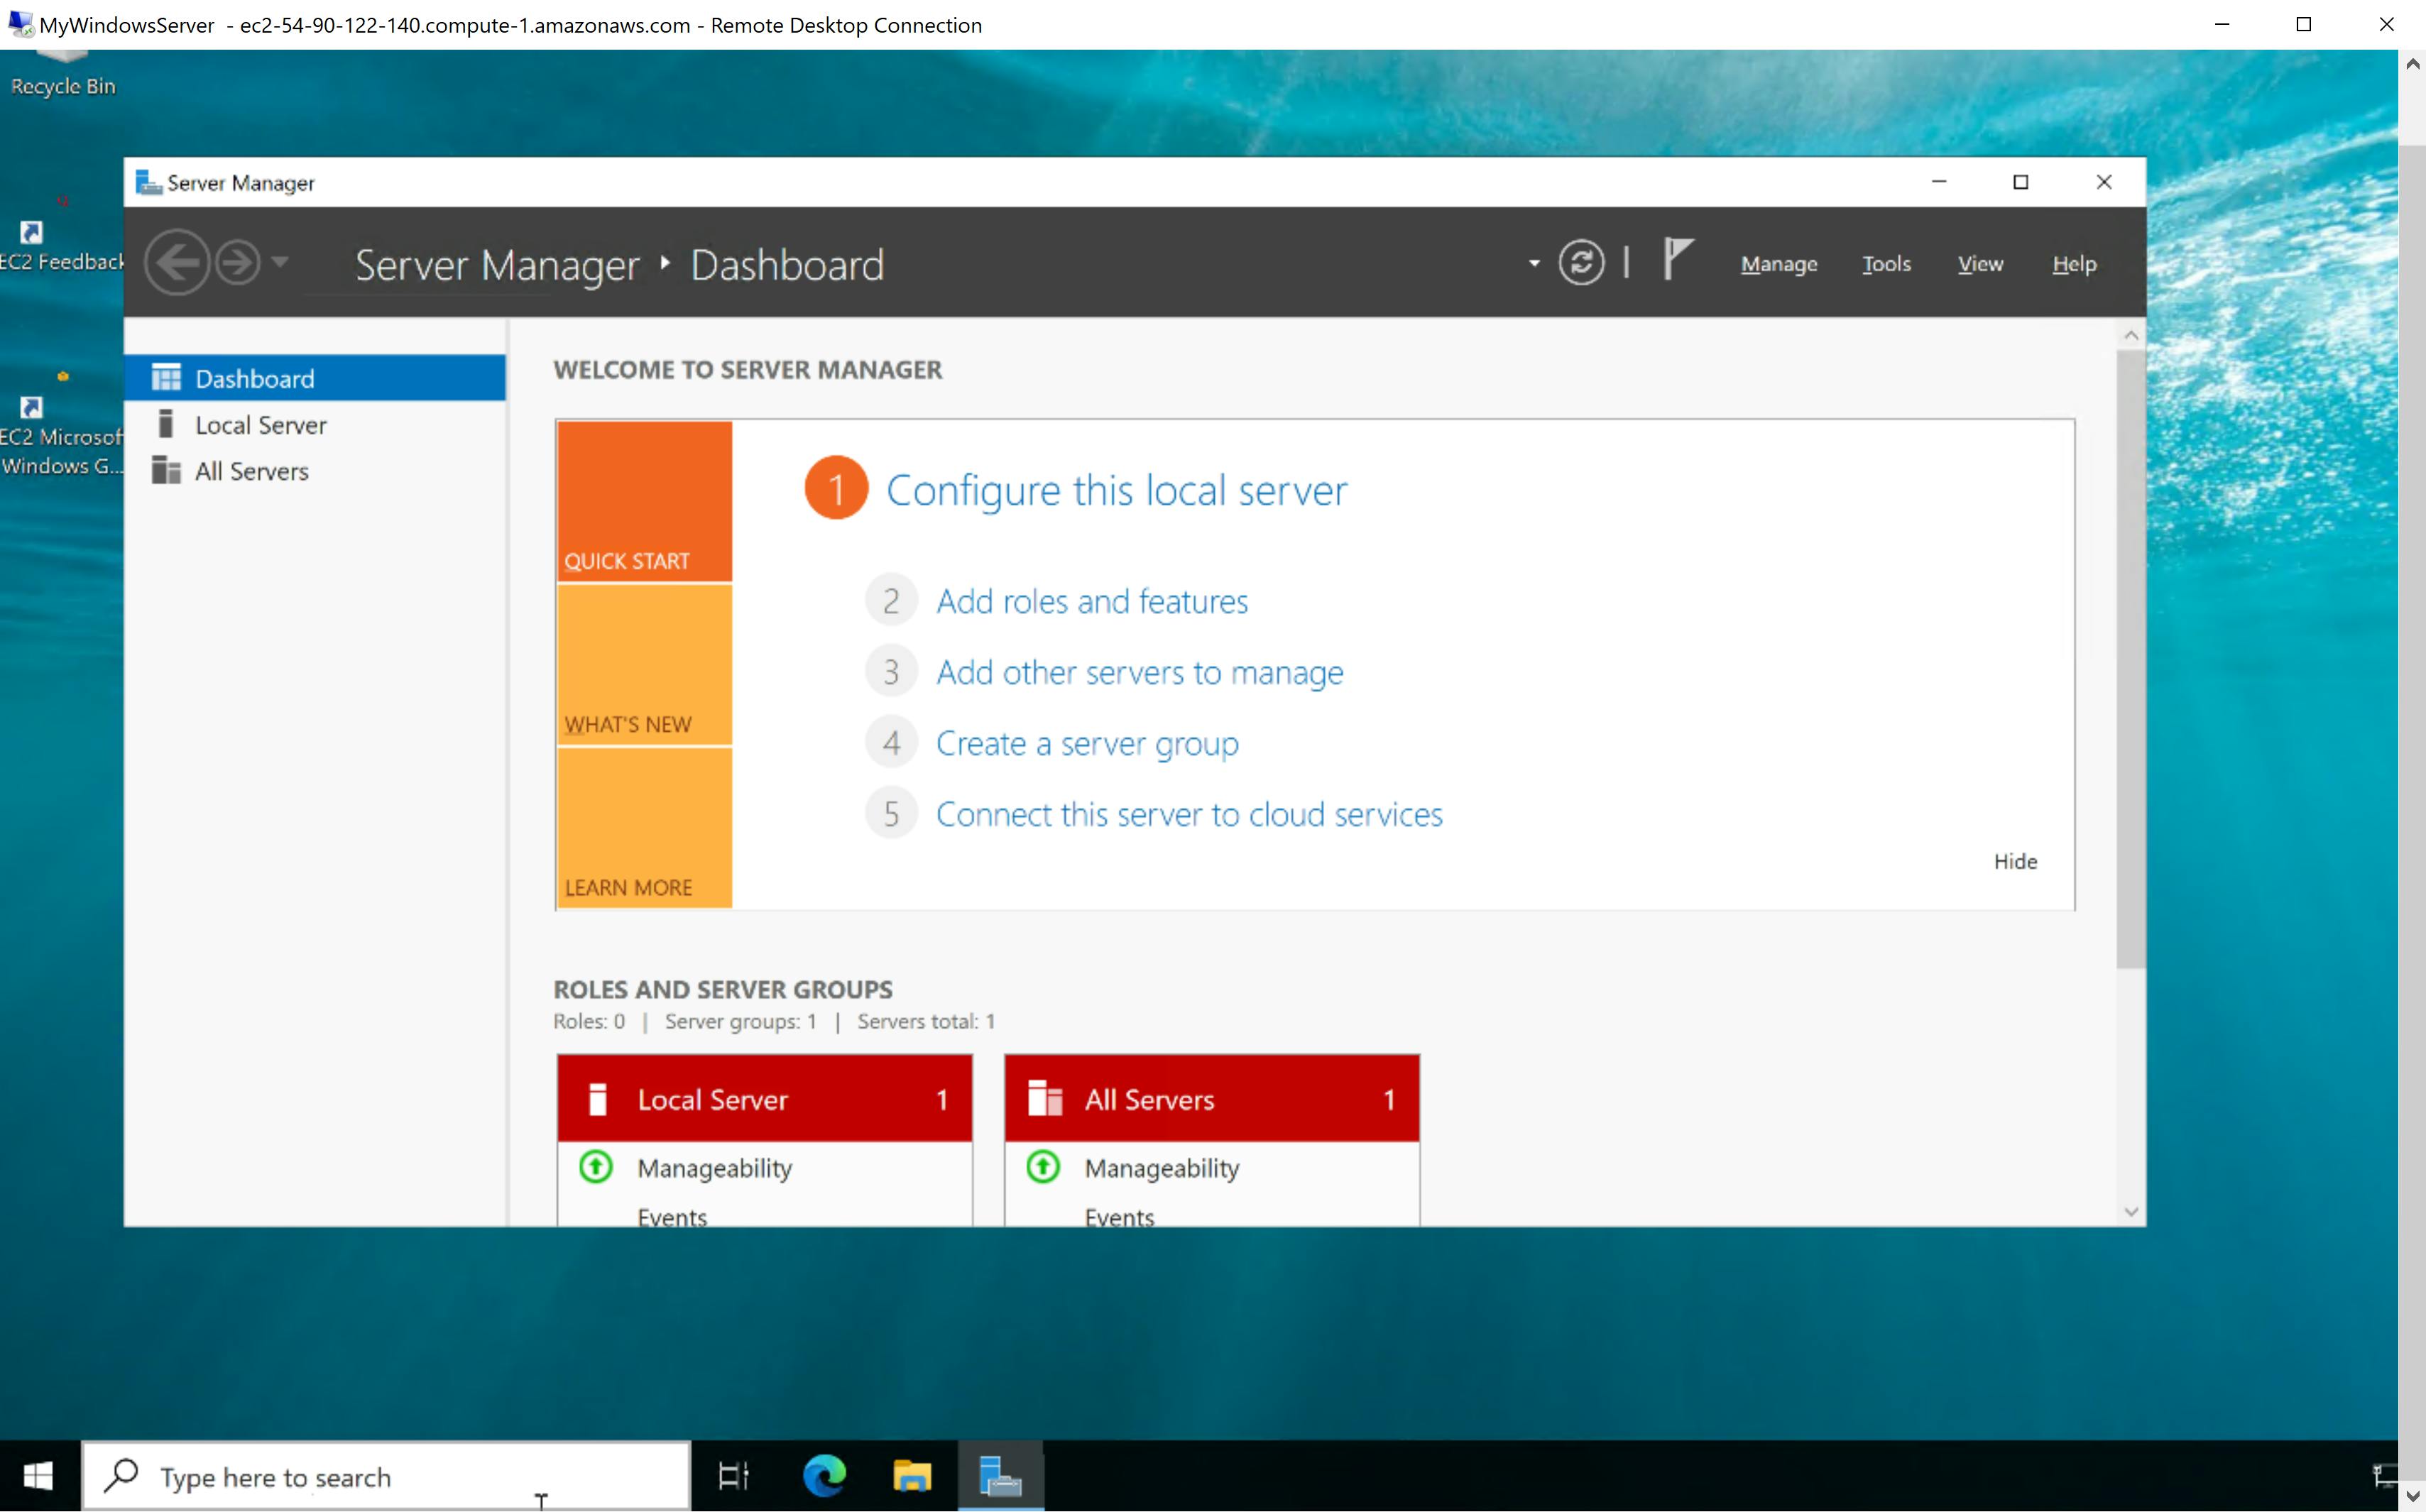
Yes! We have successfully connected to our Windows instance Now our Windows environment is ready