

Get your website up and running in 5 minutes with these few steps
Let's get started!
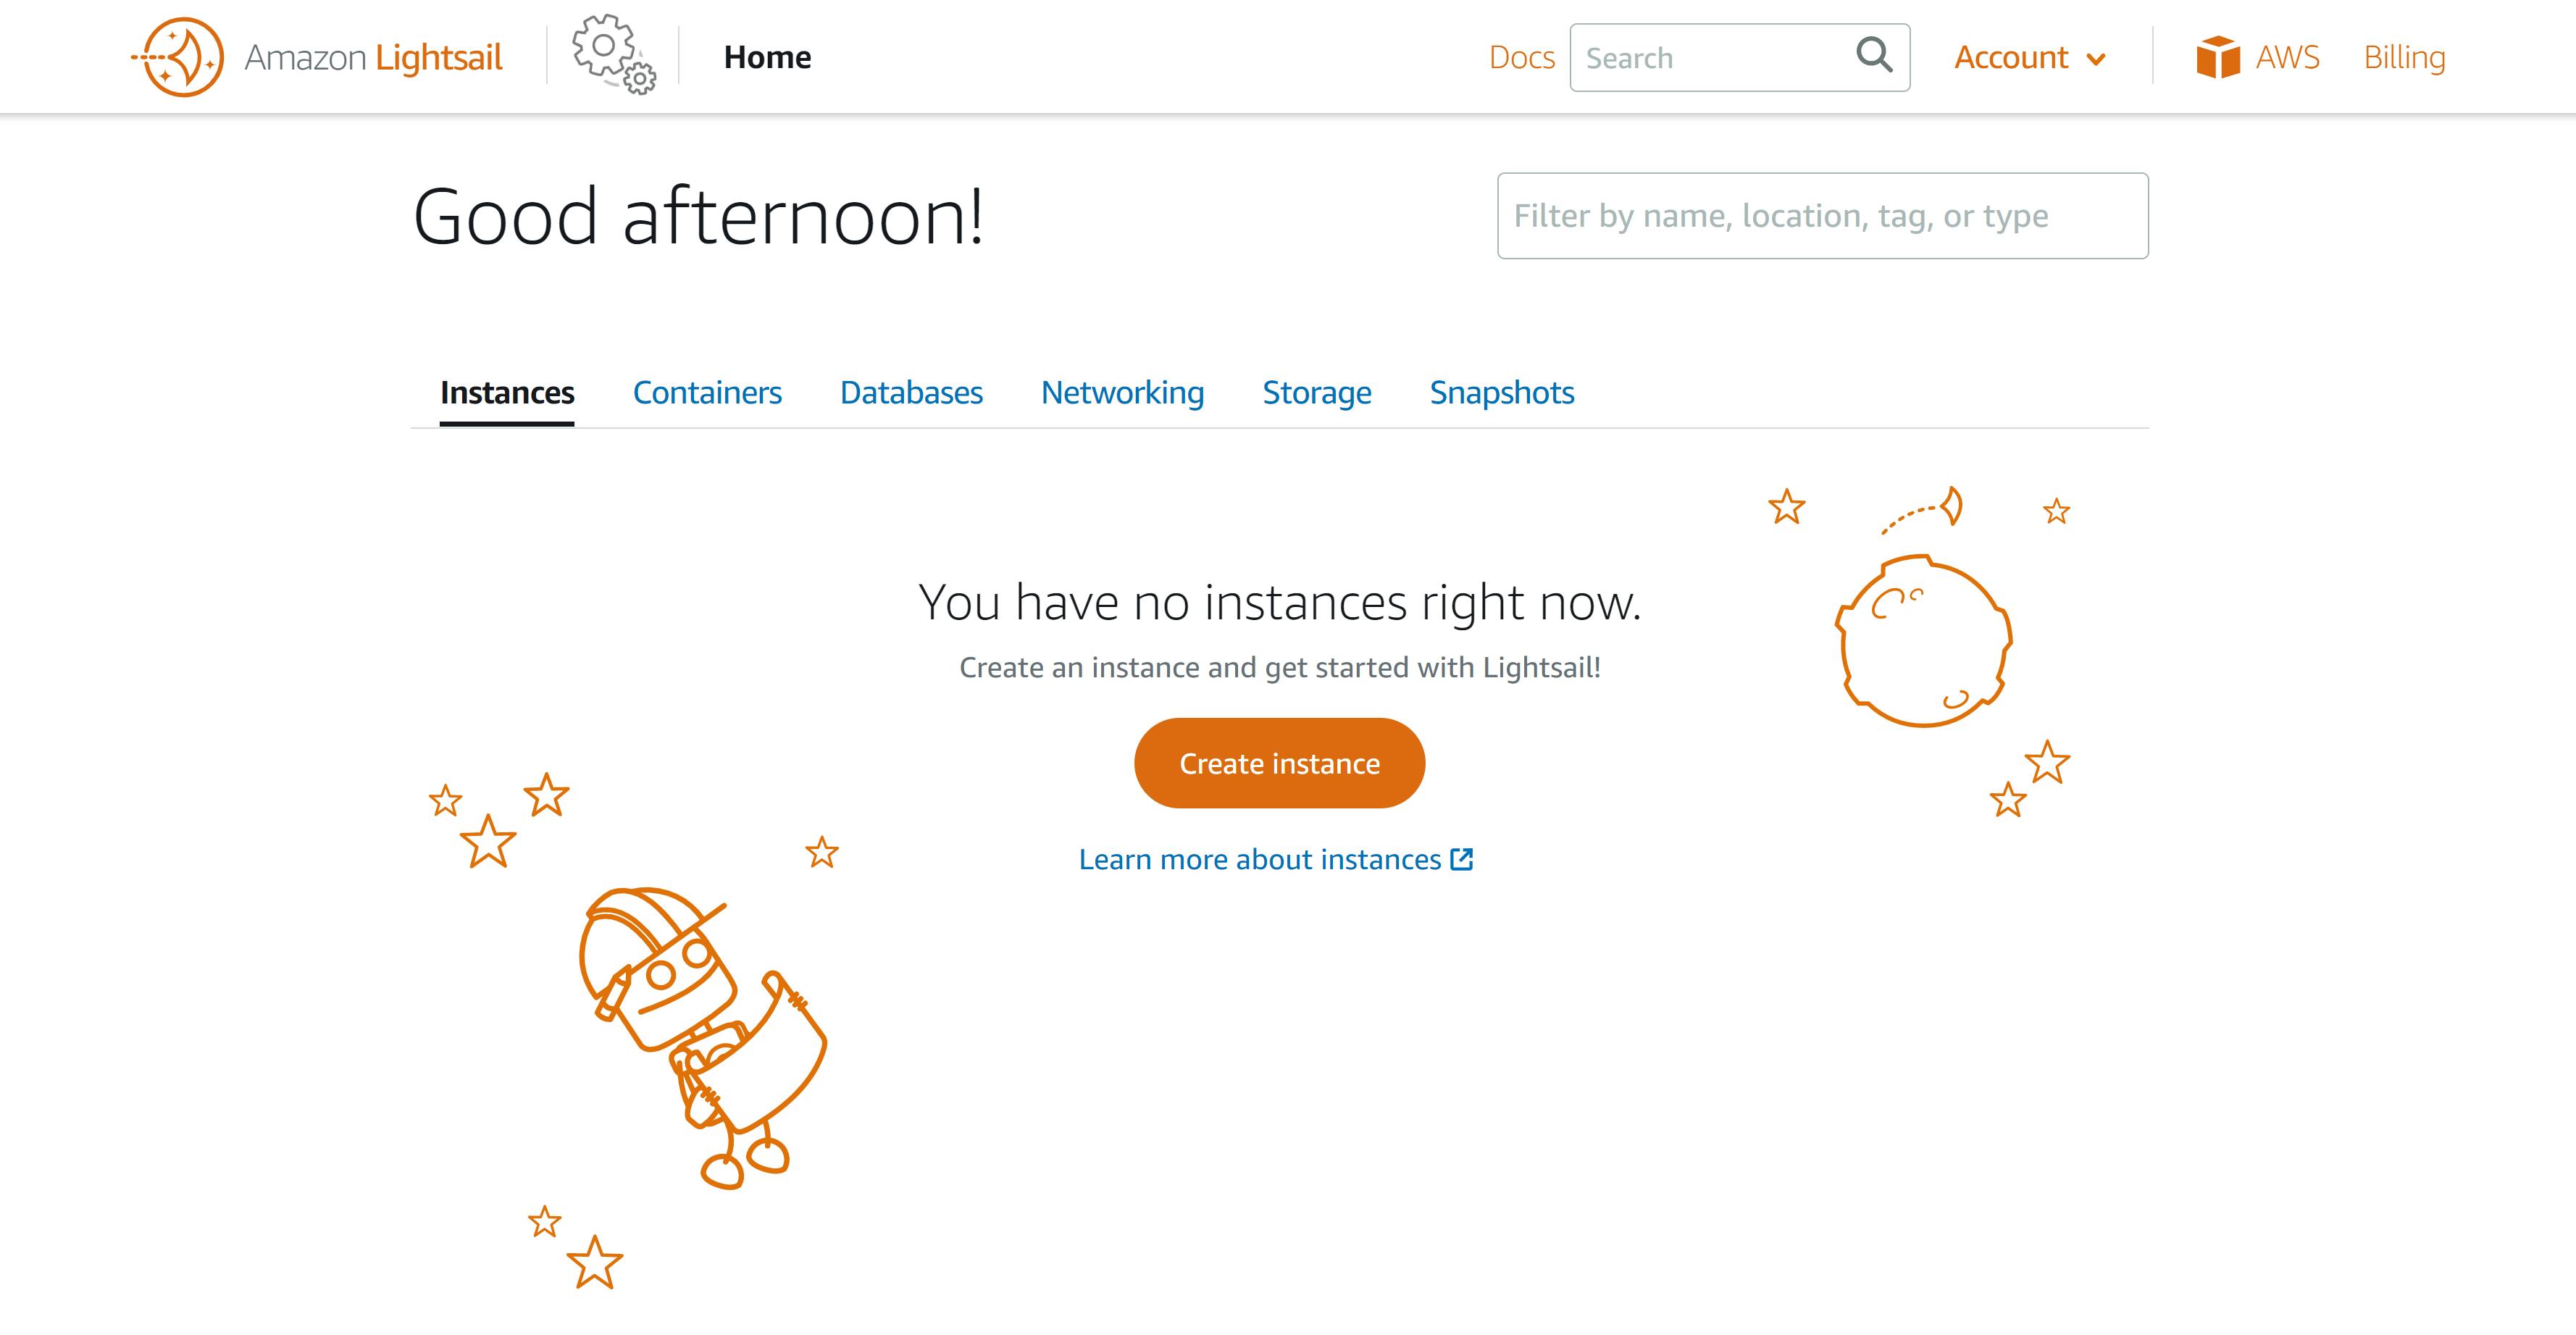
Step 1
Login to the Amazon console and Launch Lightsail
Click on create instance
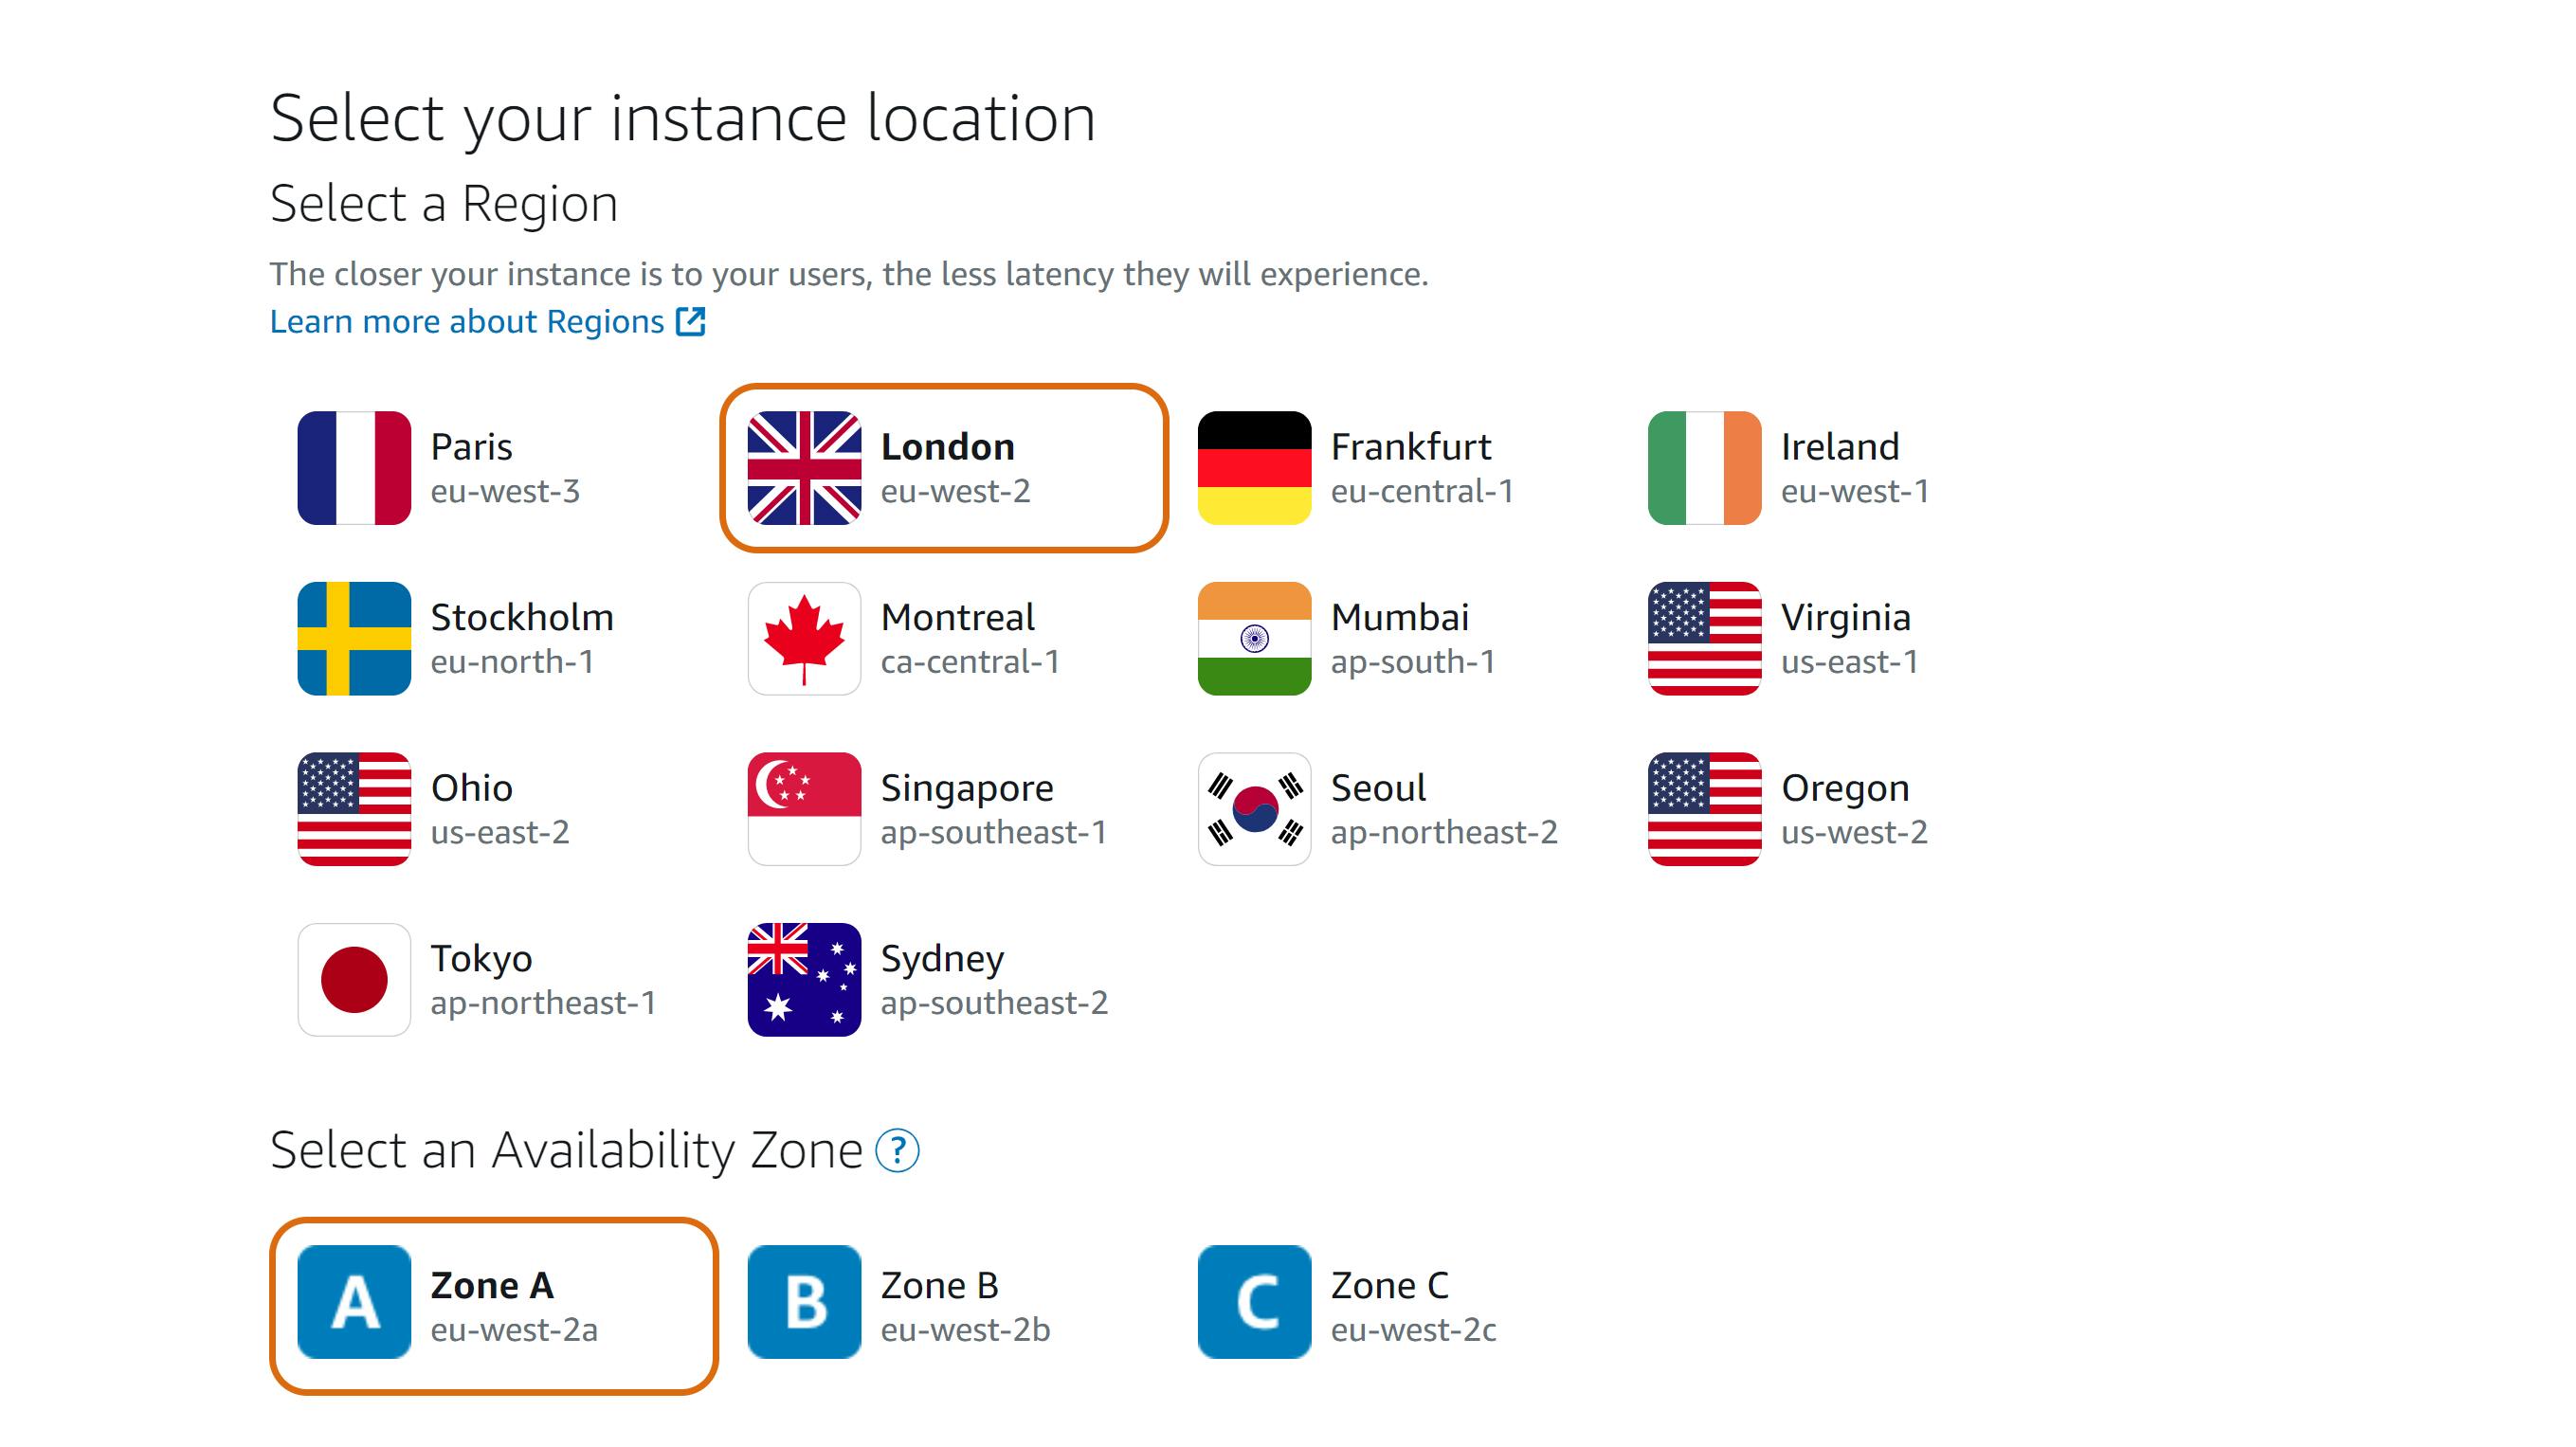
Step 2
Select a Region
Select an Availability Zone
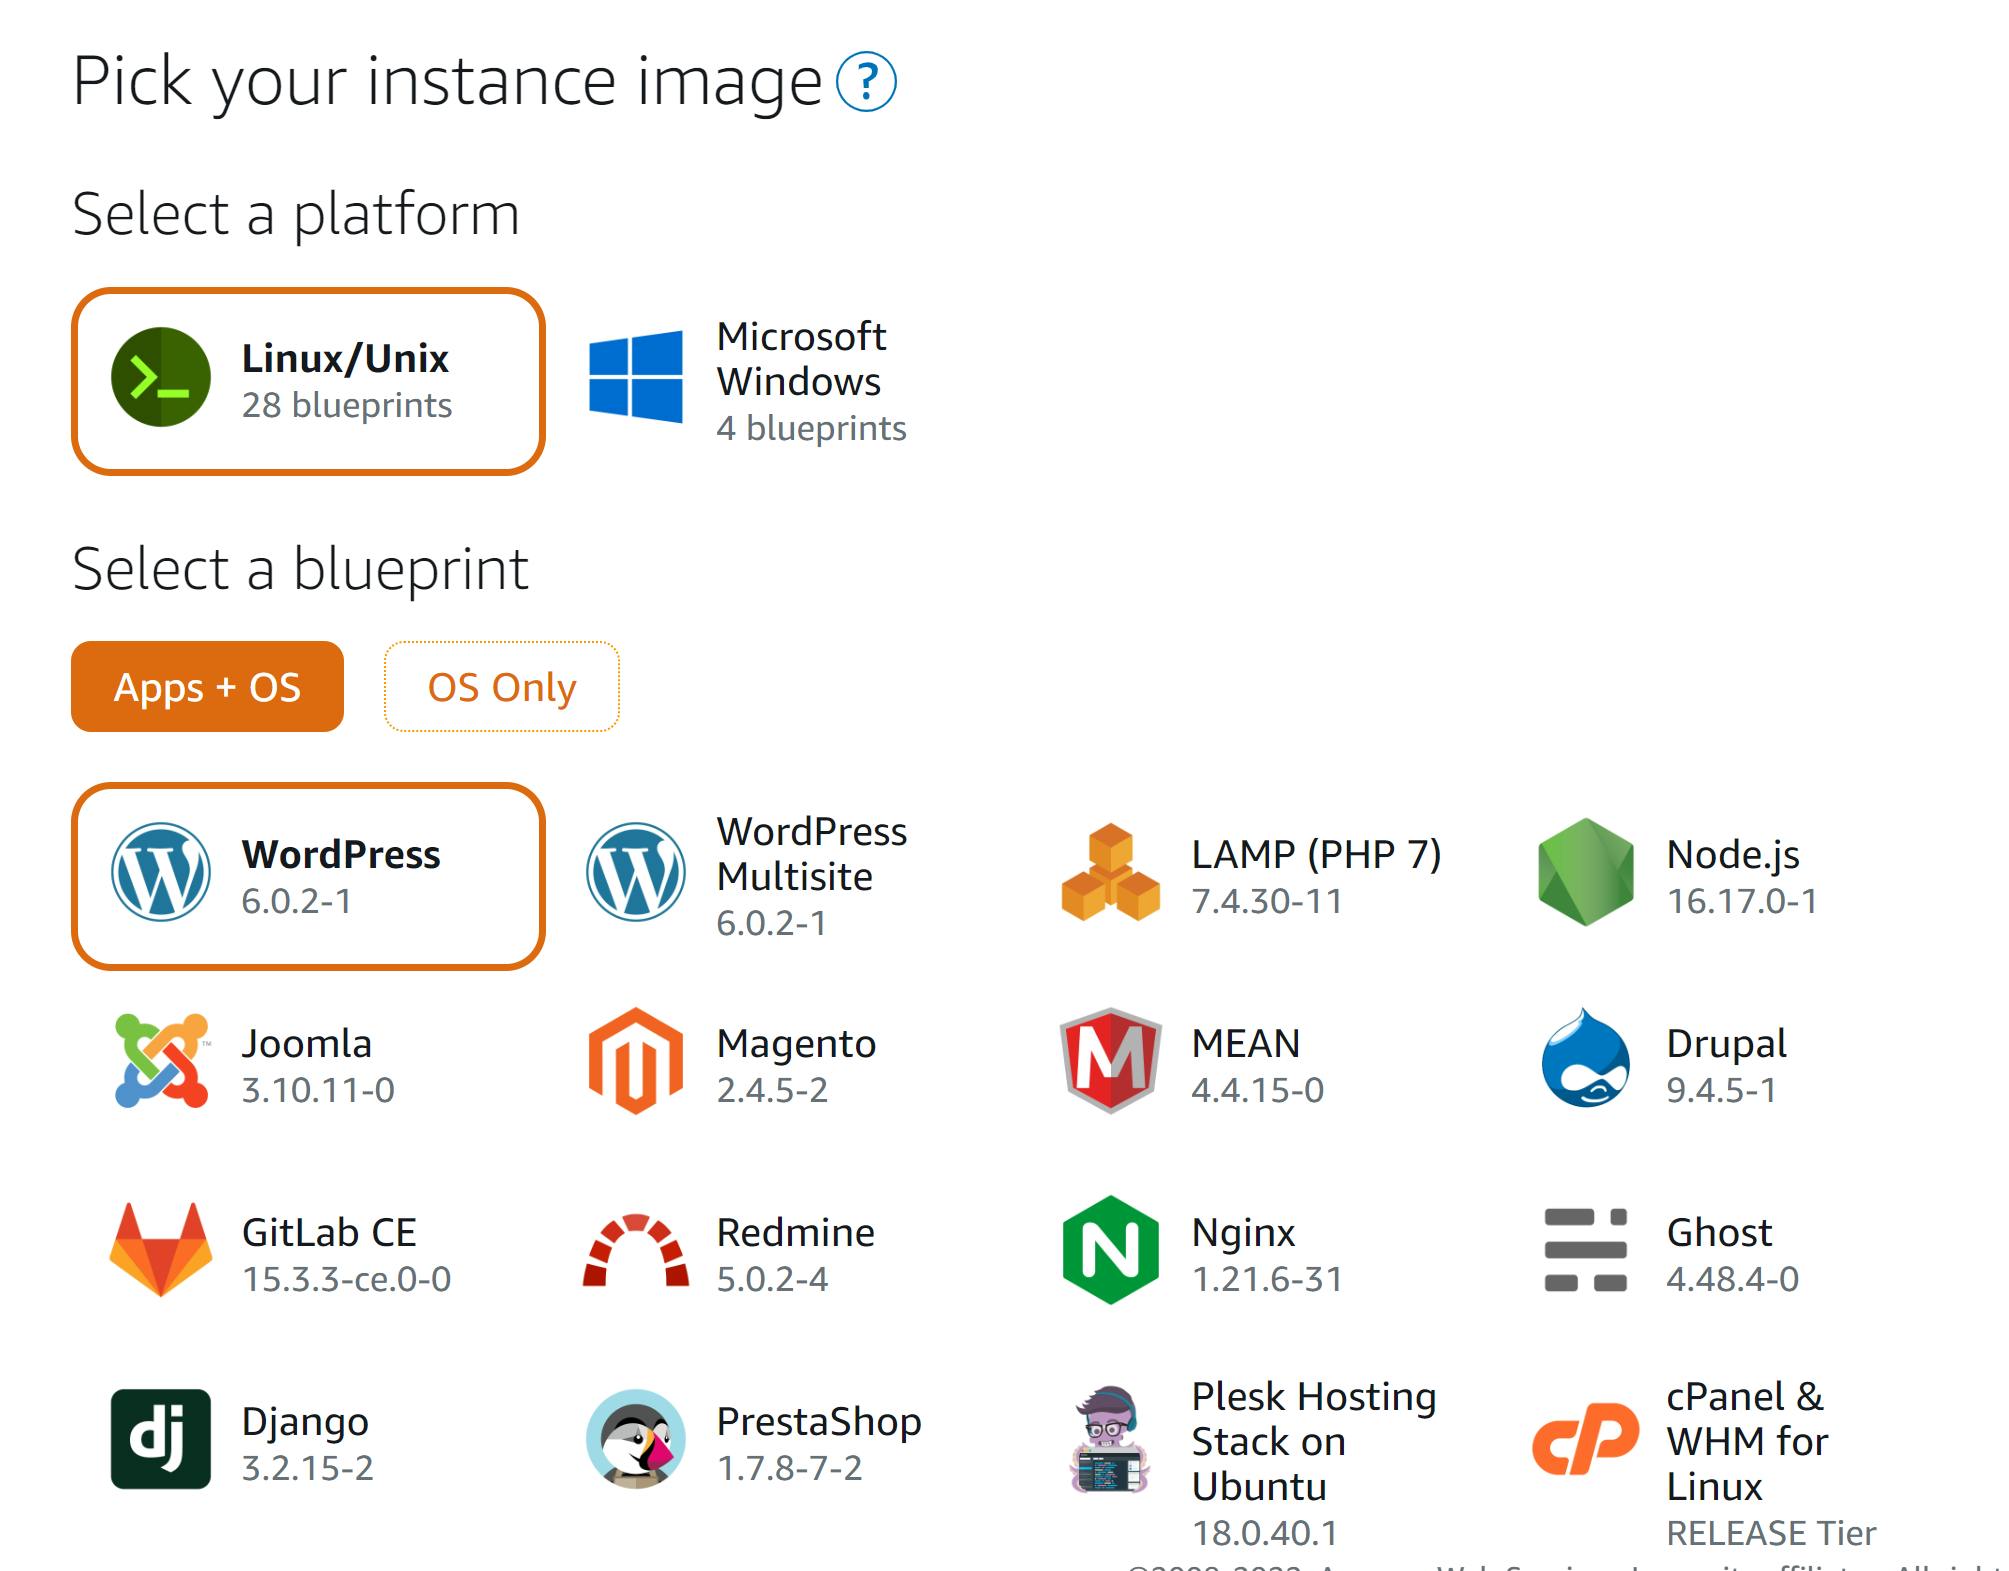
Step 3
Choose an instance image
Select Linux/Unix as the platform.
Select WordPress as the blueprint.
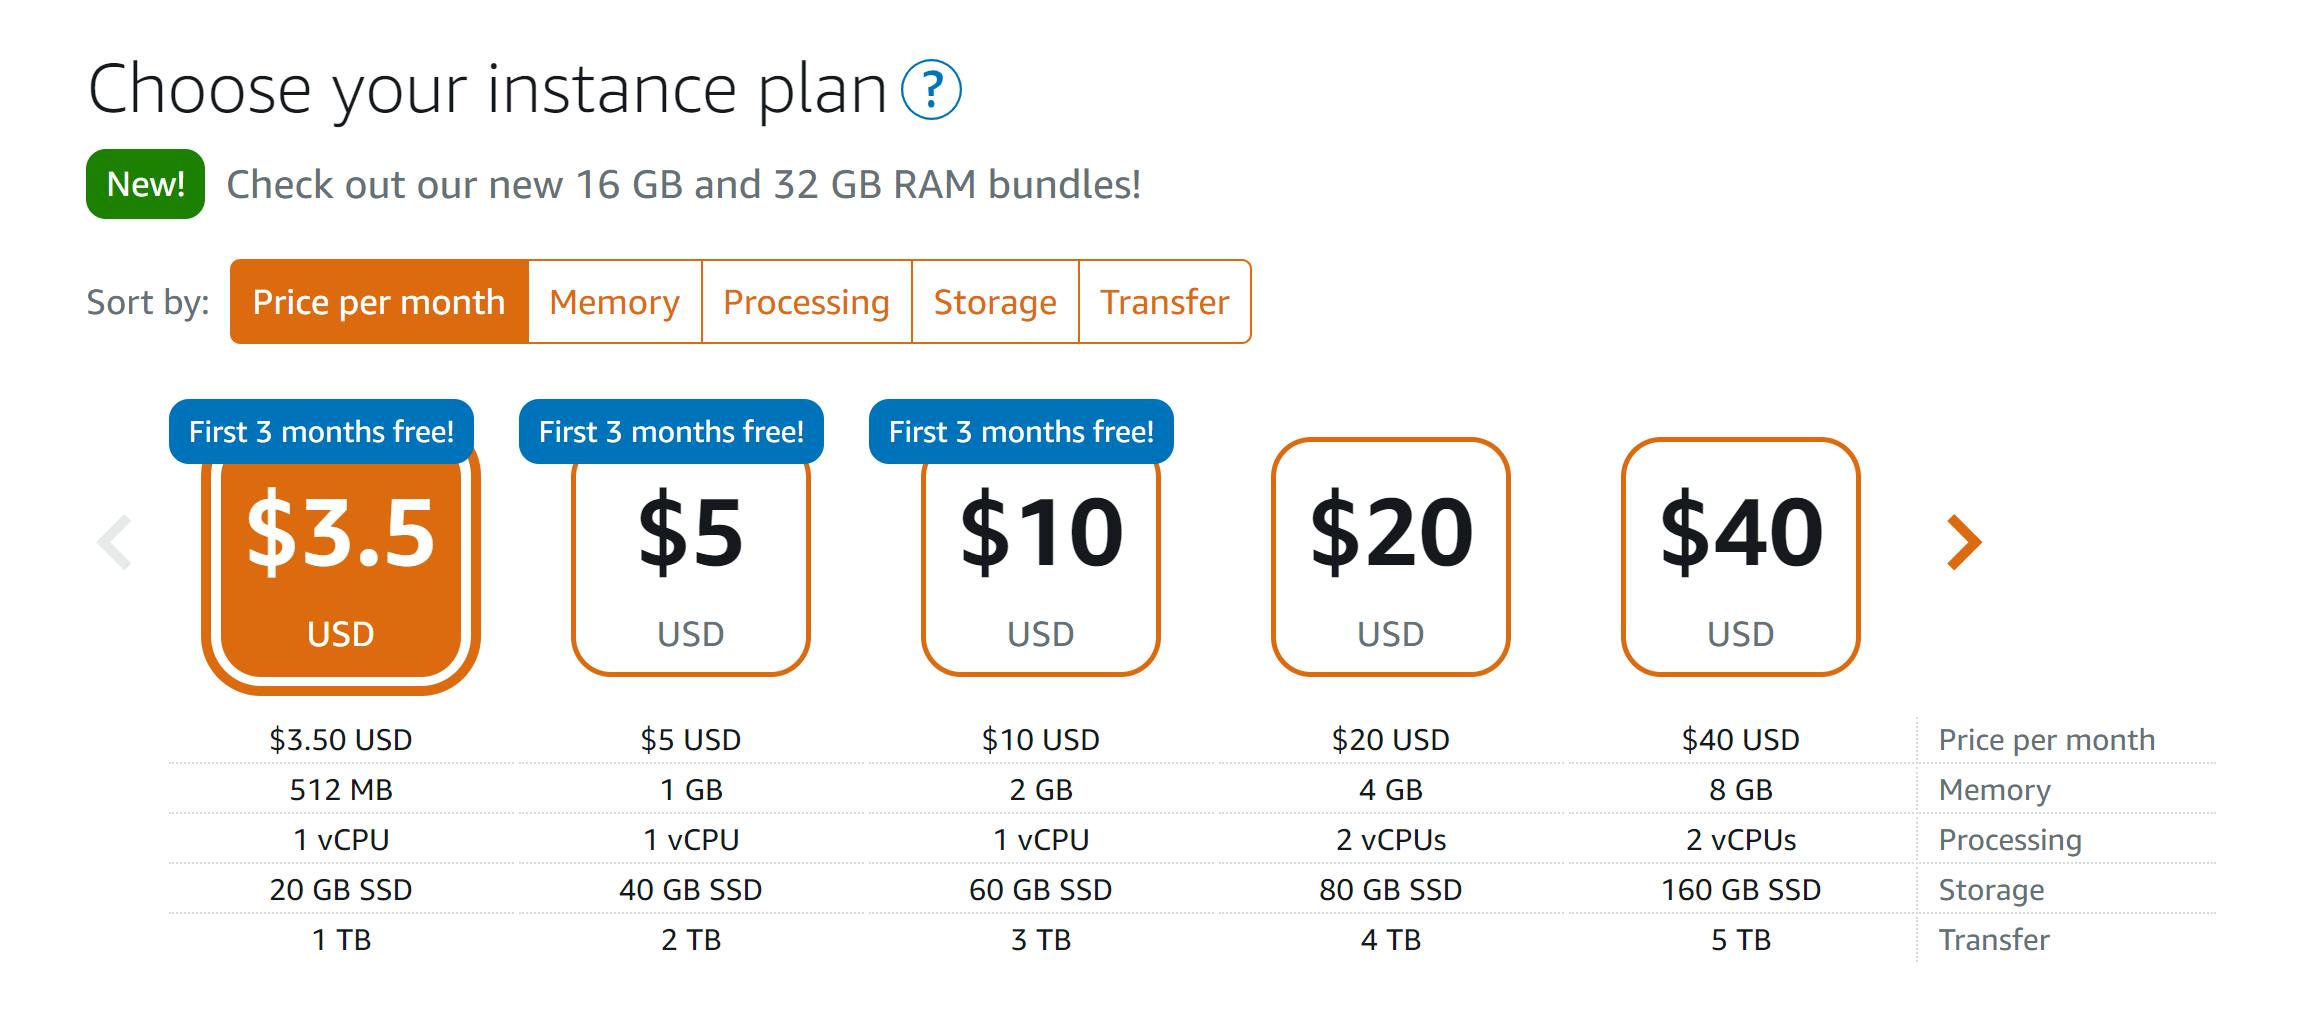
Step 4
- Choose an instance plan
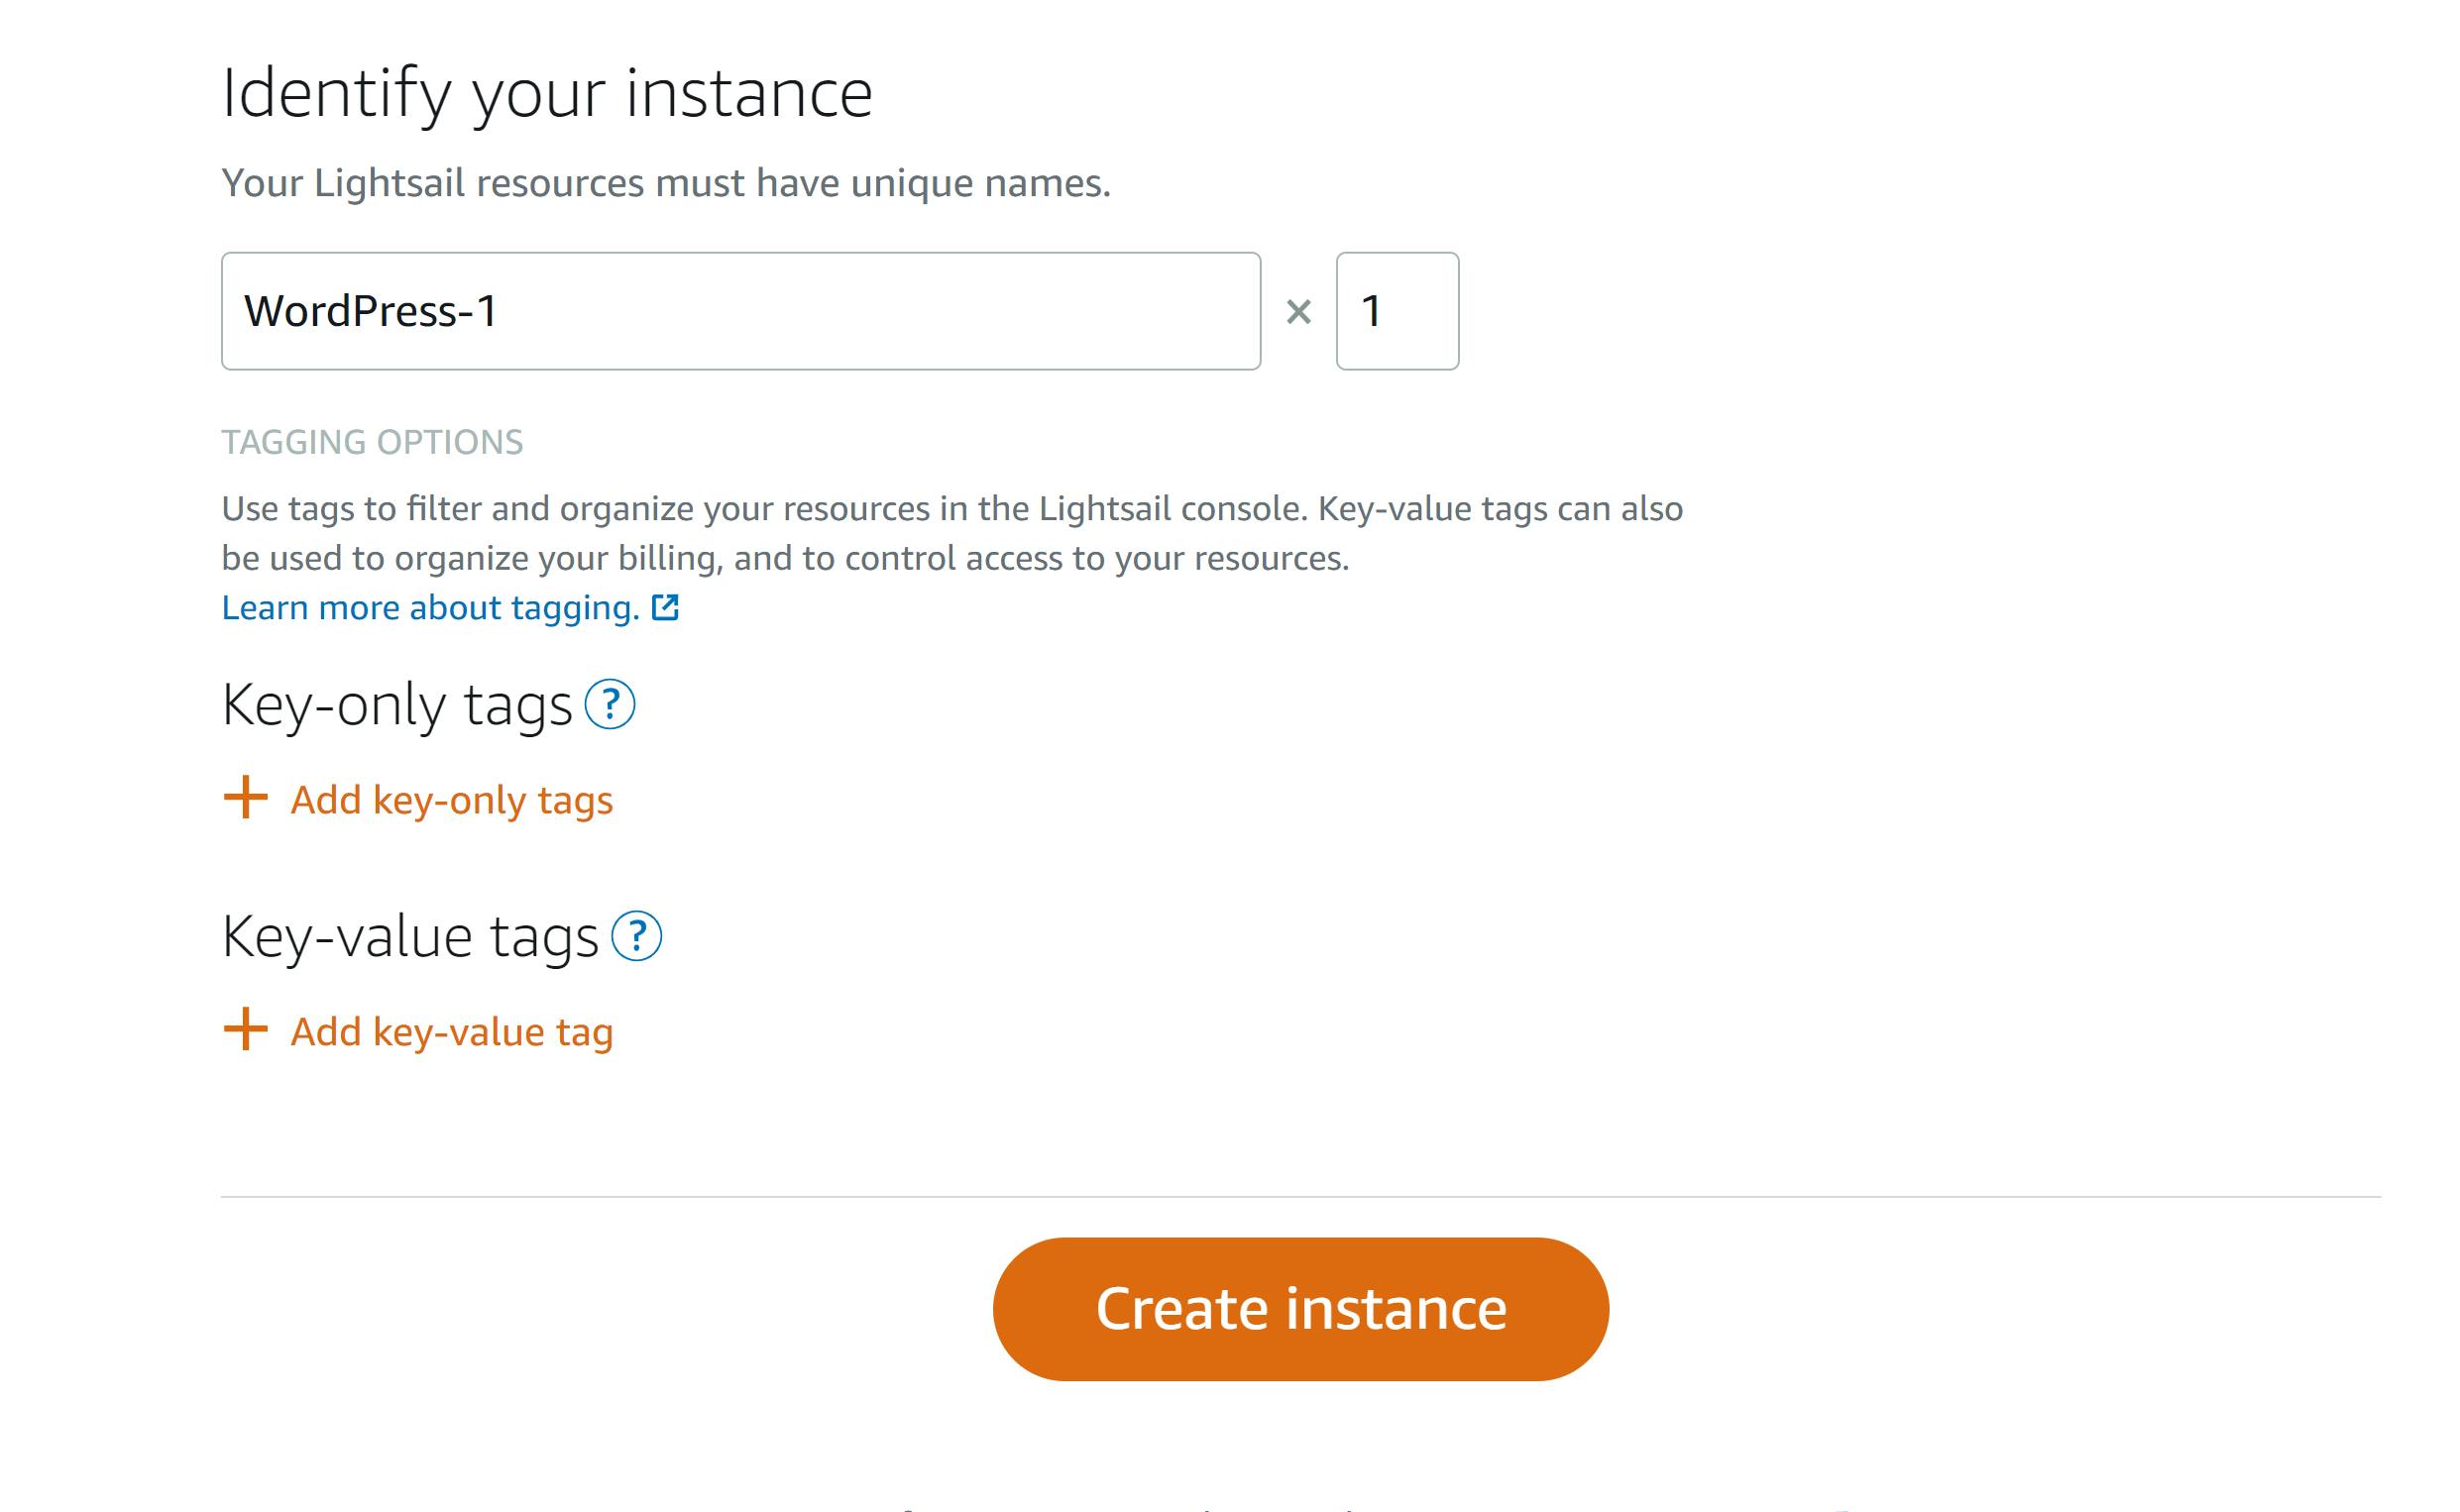
Step 5
Specify a name for the instance
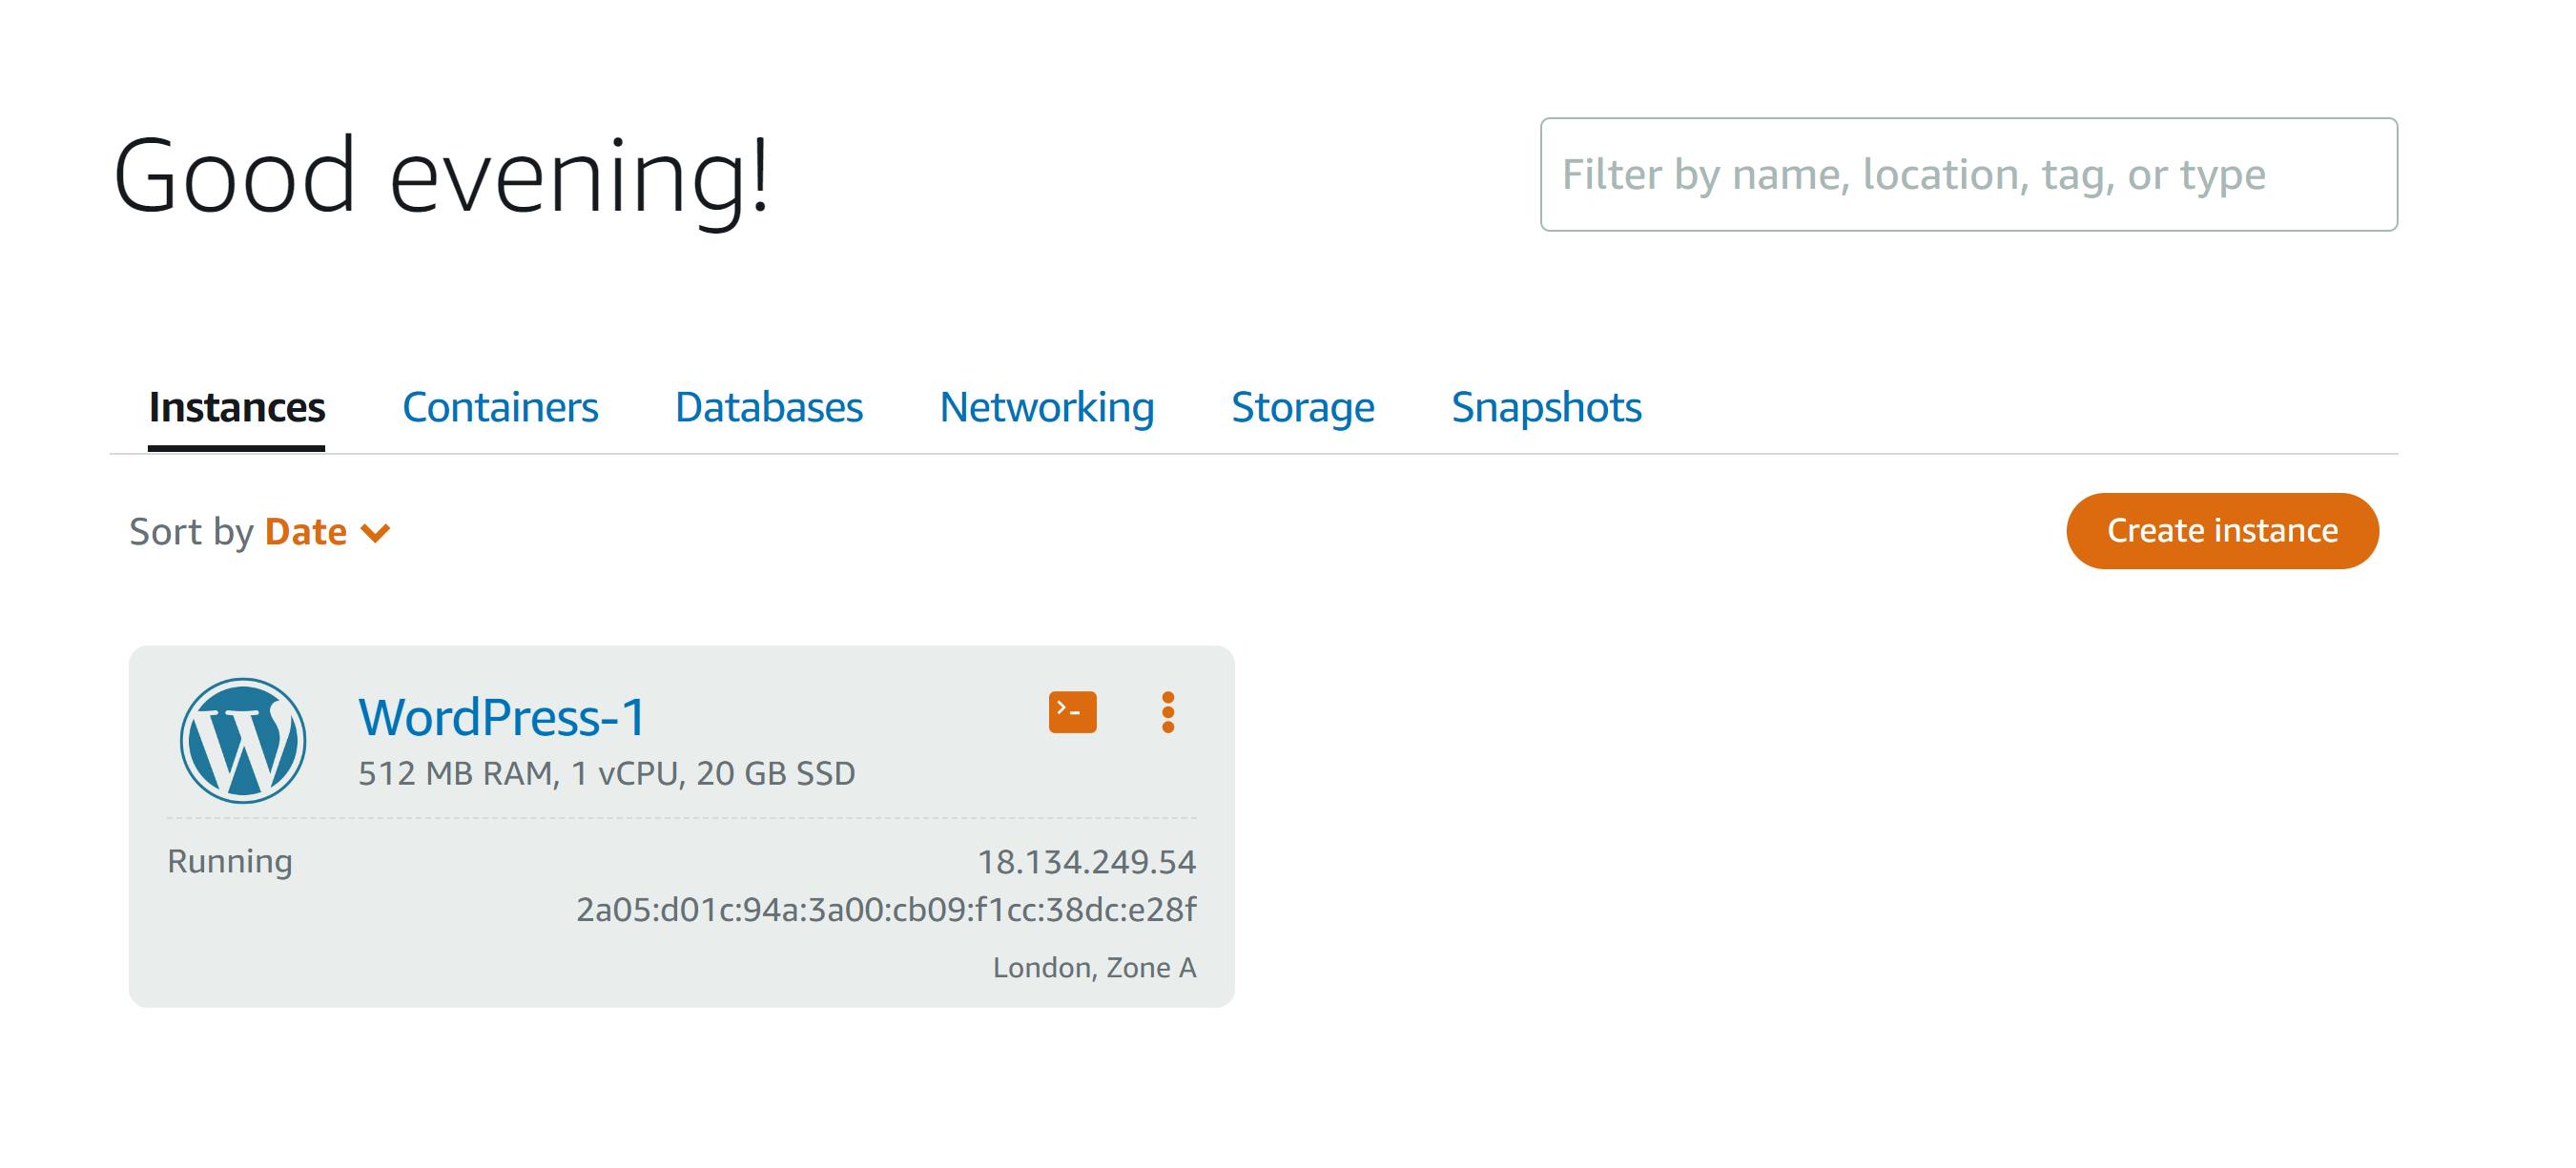
Our instance has been launched successfully
Step 6
Let's connect to our instance
Choose the SSH quick-connect icon for your WordPress instance.
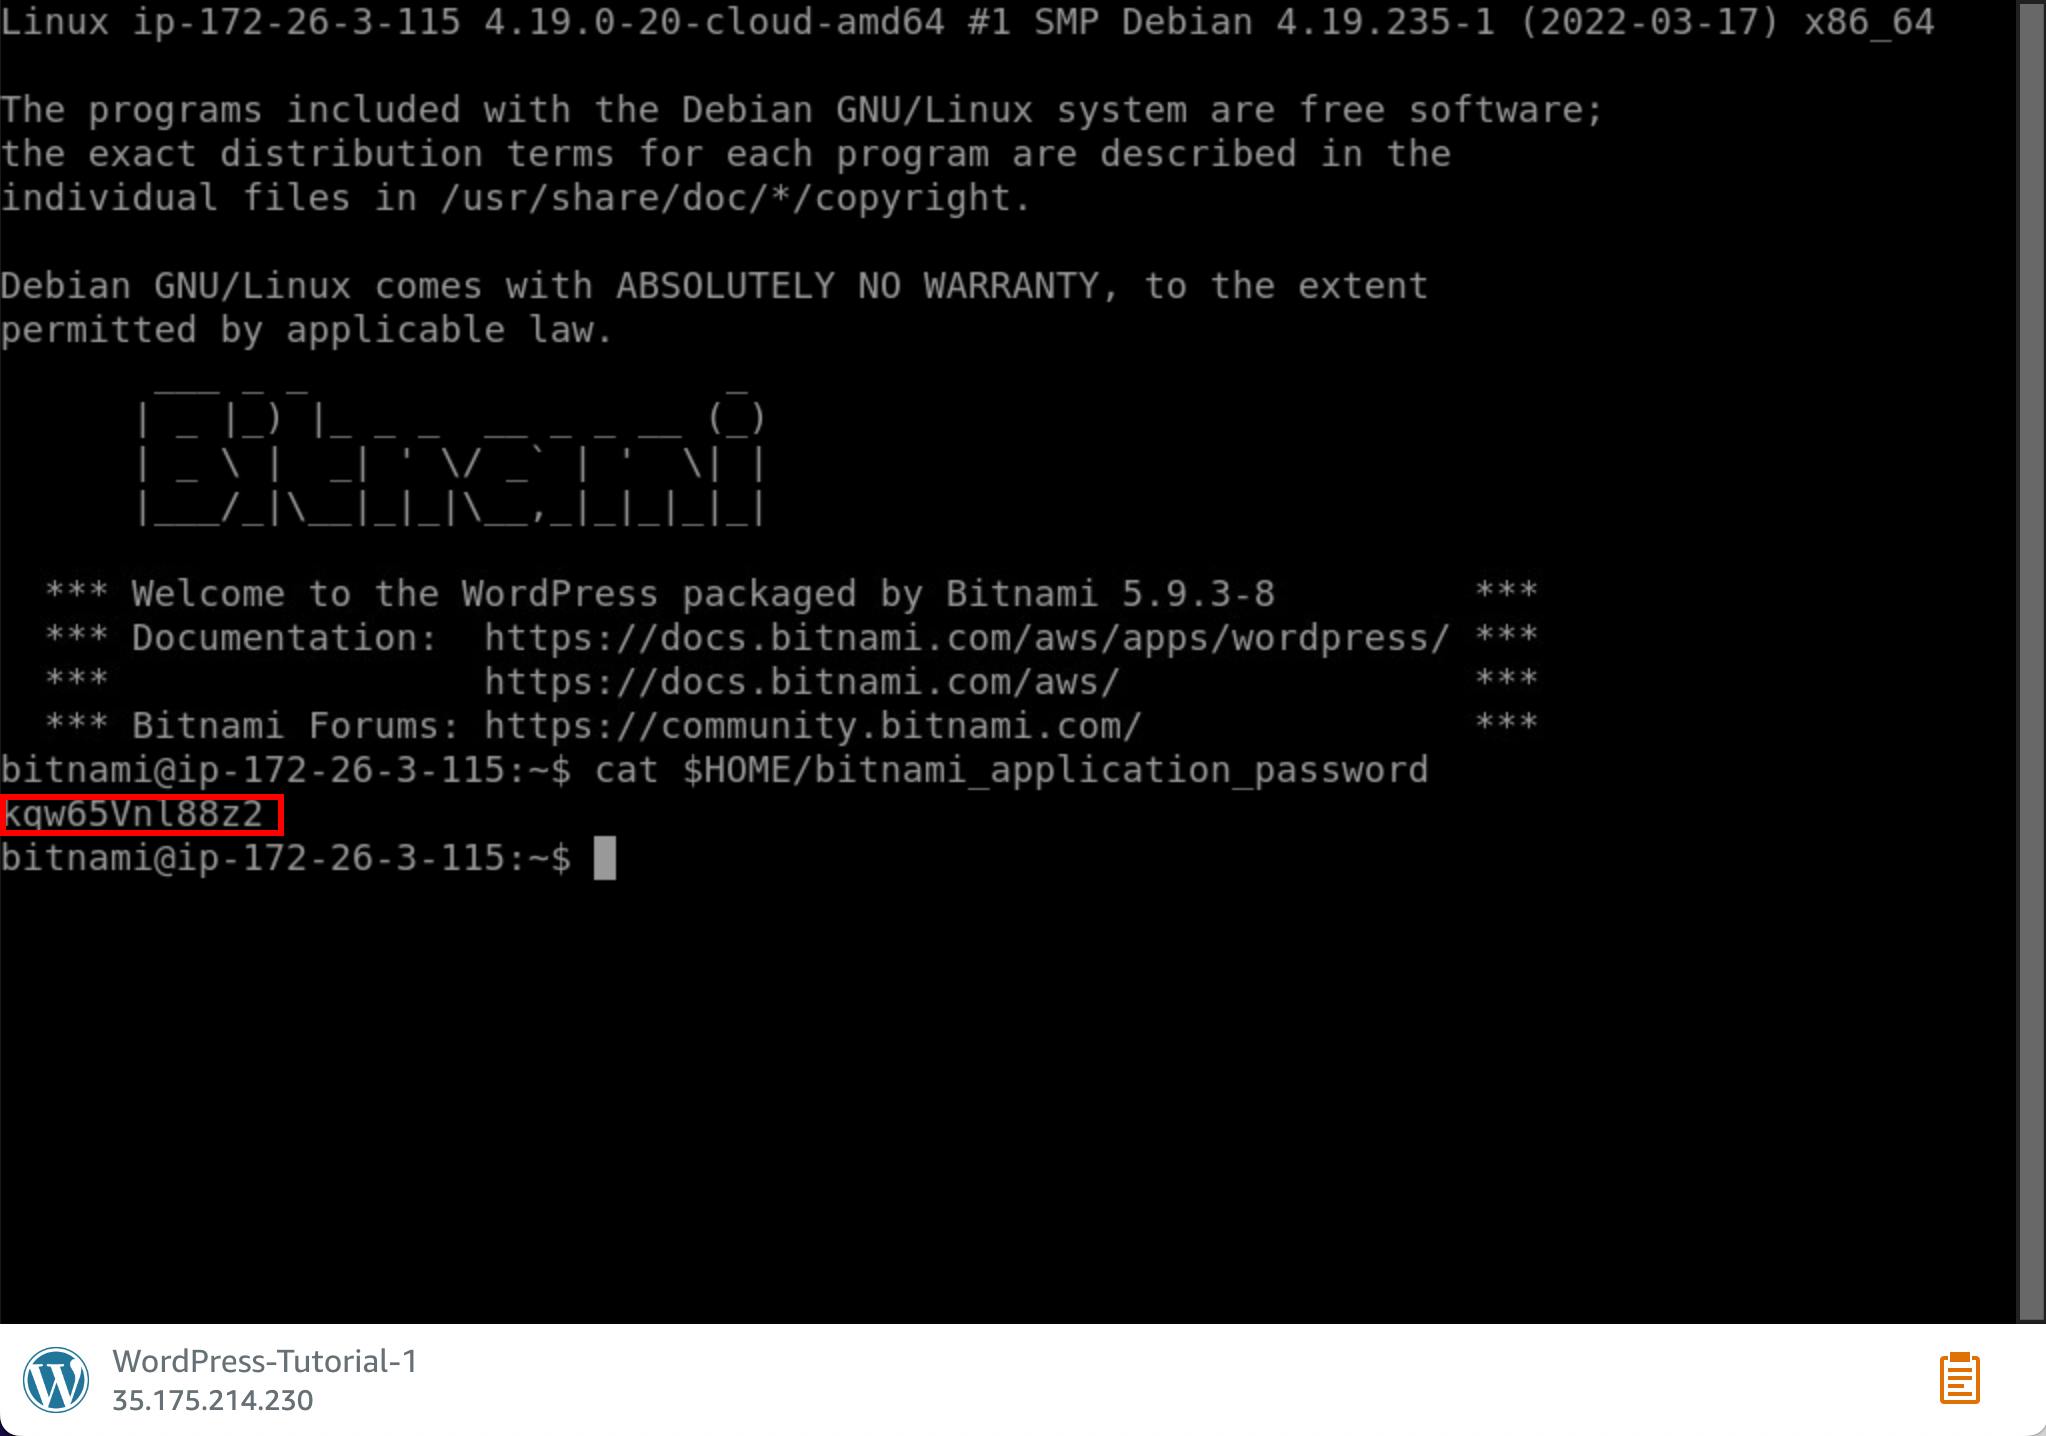
After the browser-based SSH client window opens, enter the following command to retrieve the default application password:
cat $HOME/bitnami_application_password
- Keep the password displayed on the screen. You use it later to sign in to the administration dashboard of your WordPress website
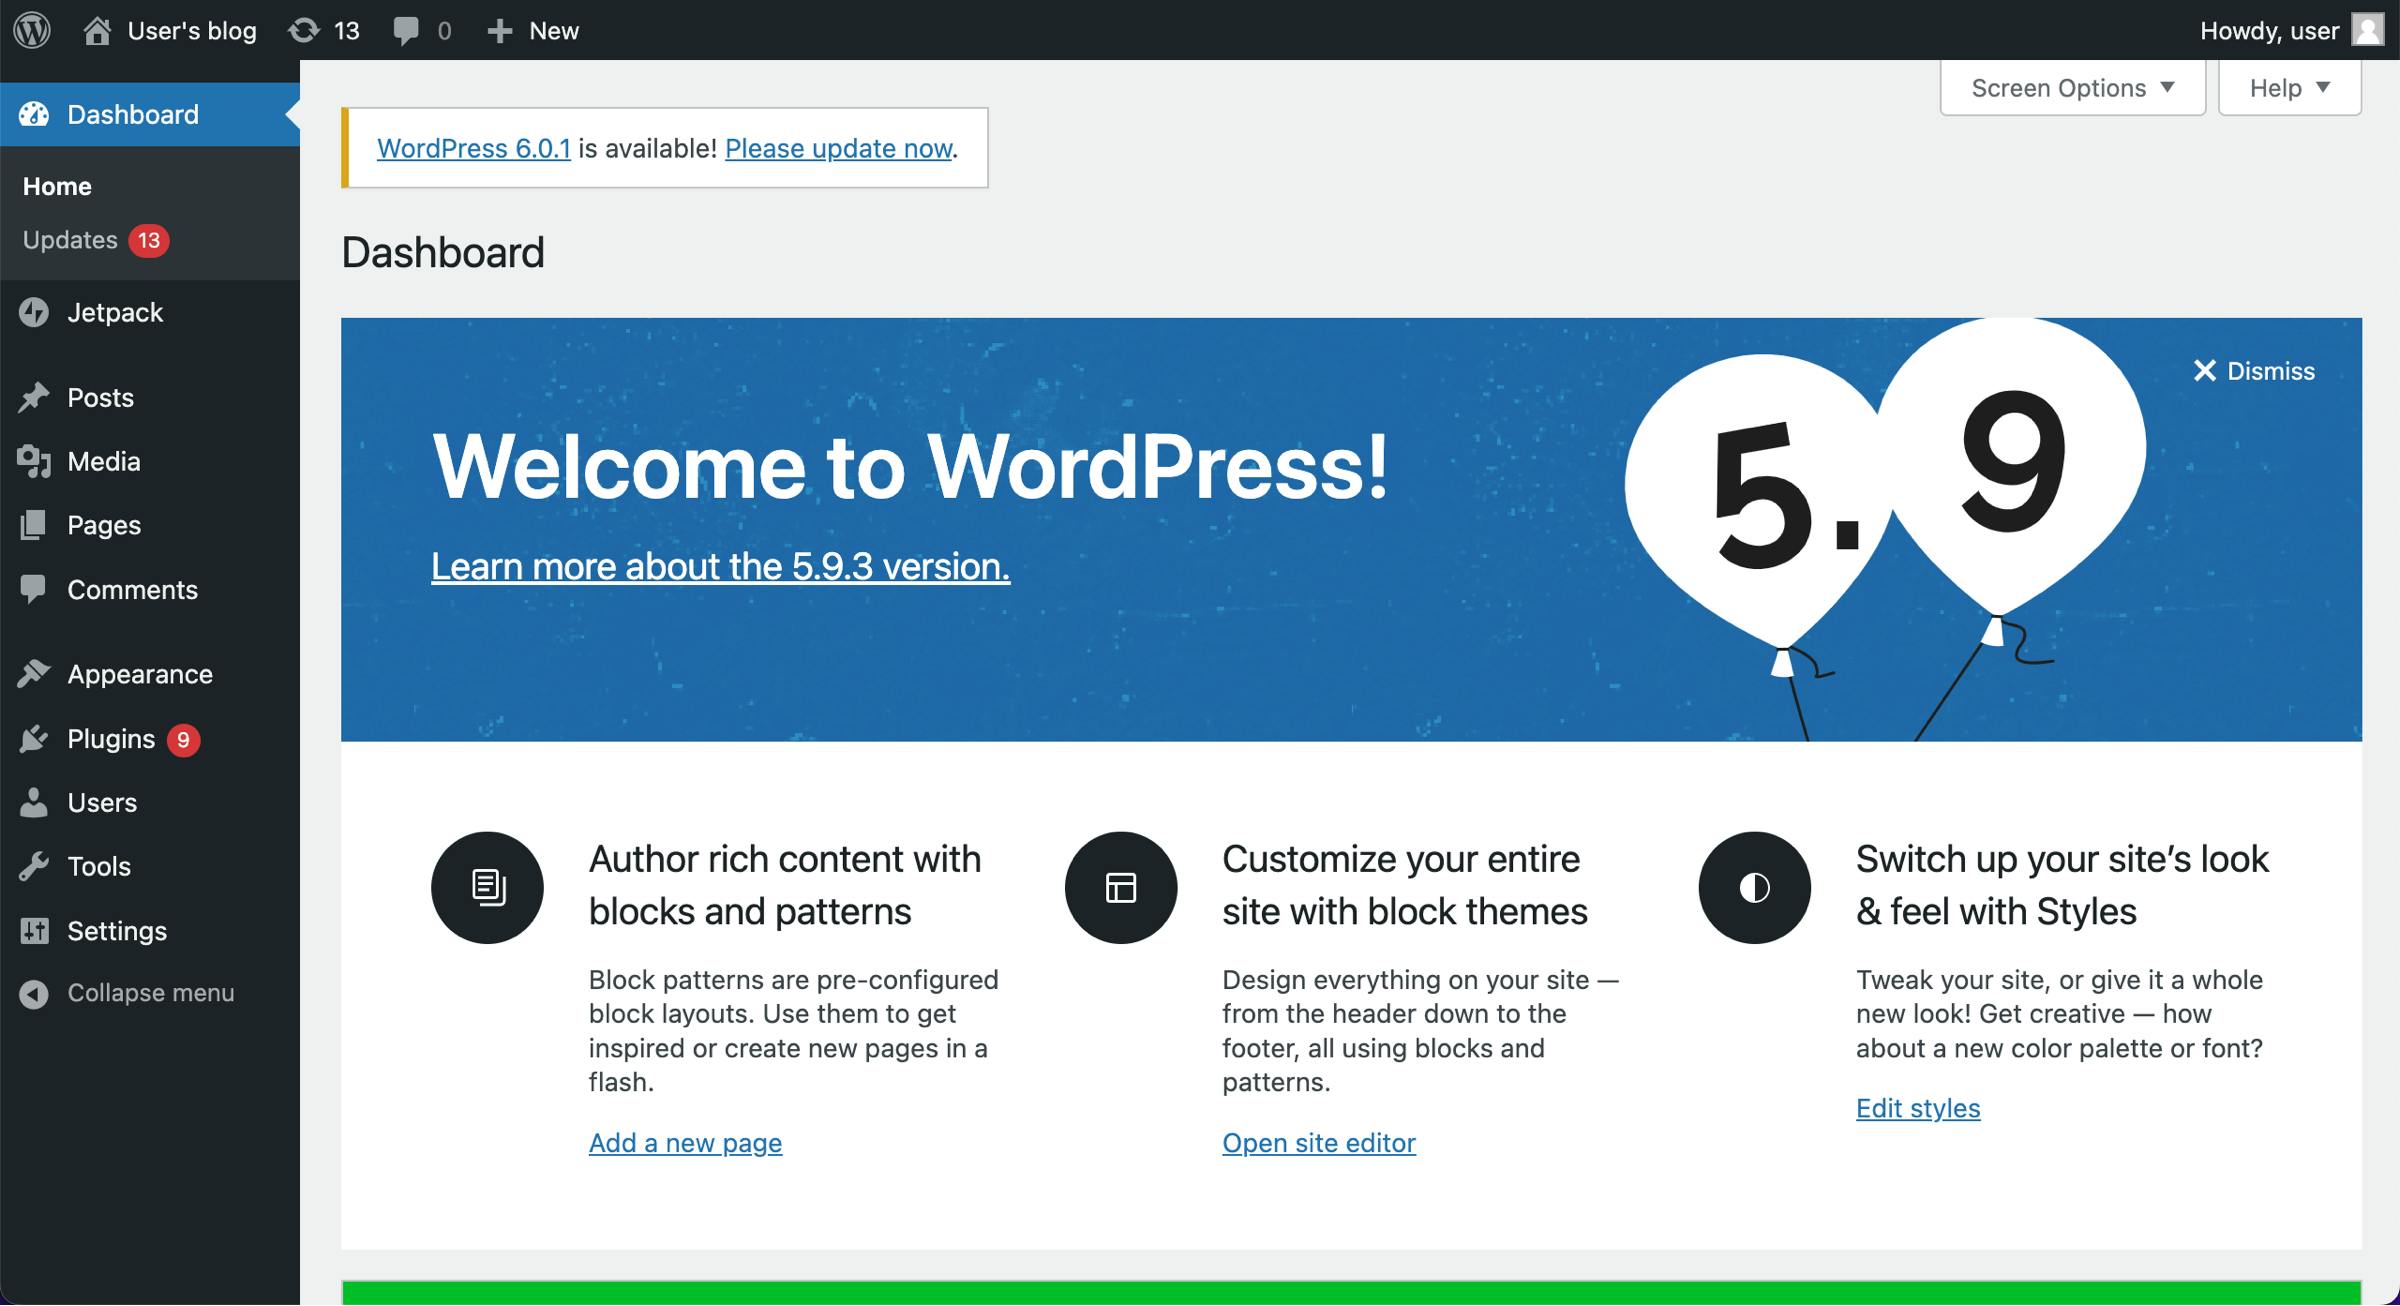
Step 7
Sign in to the admin console of WordPress
Copy the link below to a web browser
http://PublicIpAddress/wp-login.php
Replace PublicIpAddress with the public IP address of your WordPress instance.
Log in to your instance
In the username field enter "user"
In the Password box, enter the default password obtained earlier then login
Viola!
You are now signed in to the administration dashboard of your WordPress website where you can perform administrative actions.